“Operation Dropbox” – Installing a Stillen Intake and axle-back exhaust on NICO’s Nissan Cube
CubeDriver.com started modifying Project Cube almost before the ink was dry on the contract.With a lowered stance, and upgraded wheels and tires, it was time to turn our thoughts towards a little performance increase.While the Cube is no stoplight warrior by any means, there’s no reason not to add a few mild modifications.
Stillen was way ahead of the game with aftermarket parts for the Cube, and their intake and exhaust upgrades looked promising. So, phone calls commenced and packages began making their way from Stillen’s Costa Mesa location to the NICOclub.com headquarters in sunny Surprise, Arizona.
The first step in upgrading Project Cube’s performance was to replace the restrictive stock air box with the Stillen Hi-Flow Intake. According to the guys at Stillen, power and throttle response should improve throughout the entire RPM range. They state the intake is the best dollar-per-horsepower investment by far.
The next step was to upgrade the exhaust. Now, the Cube’s exhaust system isn’t too shabby – it’s actually very well-designed, with minimal bends and nice workmanship. Stillen’s Performance Exhaust focuses on the axle-back section, since there’s not a lot of gains to be had by upgrading the entire catback. Starting with a full stainless muffler for long lasting performance, they polish it to a high luster, then connect the performance rear section to the factory system with more stainless tubing.The muffler is finished off with their custom oval tip, which echoes the shape found in the rear window of the Cube. According to the guys at Stillen, this free flowing performance rear section exhaust provides the attitude, performance and tone that the Cube deserves.
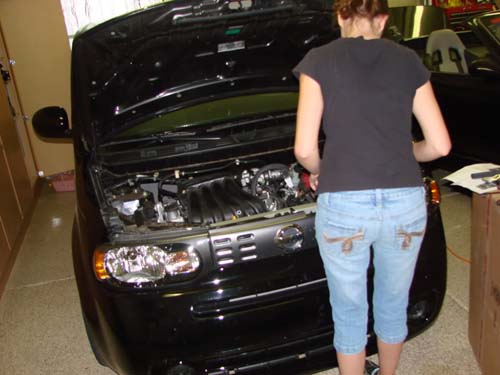
To make this project a little more interesting, we decided to have Becky (nissangirl74), NICOclub’s Business Manager, do the install. Greg (AZhitman) was on hand to pass the tools and document the progress for you guys. So, let’s get started!
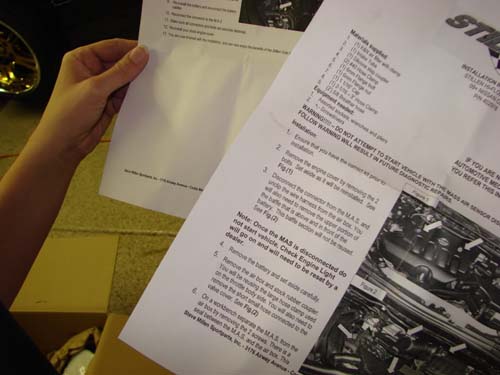
Tools needed:
10mm and 14mm socket
8 mm nut driver (or socket) for hose clamps
A couple extensions
Pliers
Screwdriver (flat and Phillips)
Wire cutter (to snip a couple wiring harness ties)
PB Blaster
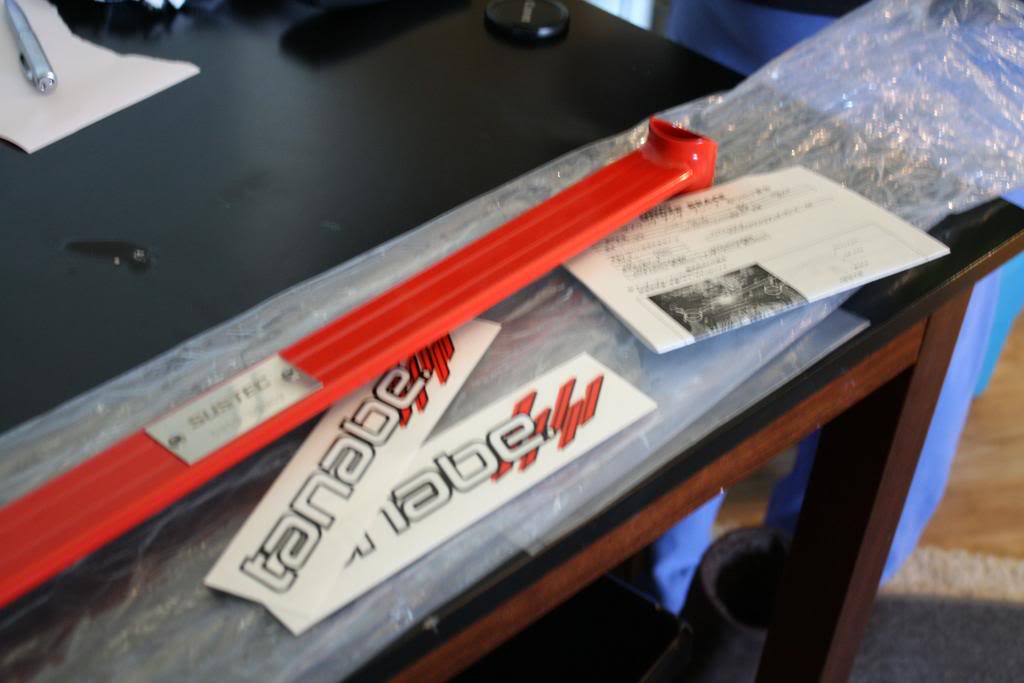
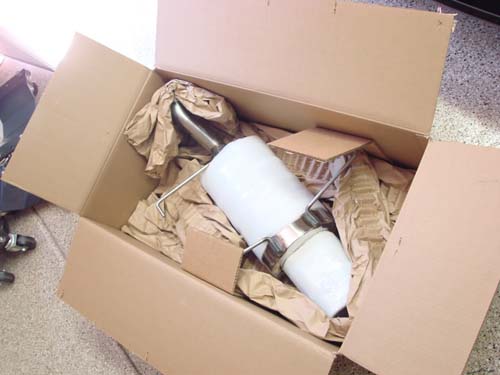
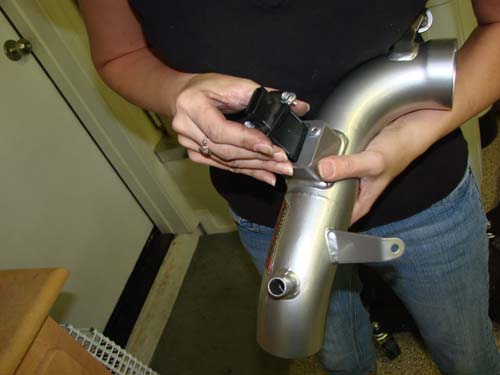
New goodies arrived from Stillen!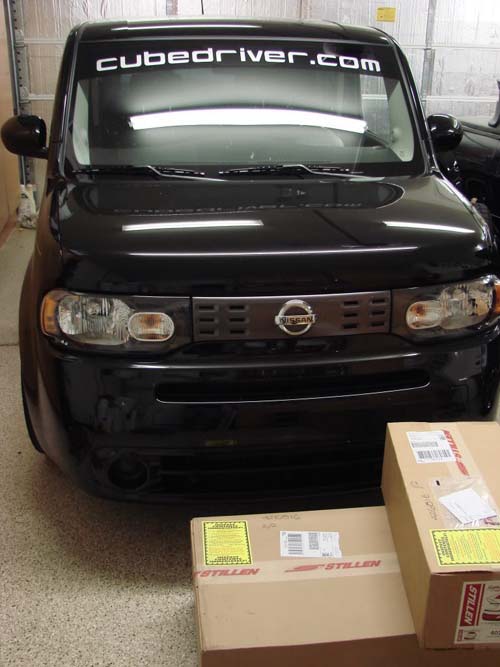
Before deconstruction: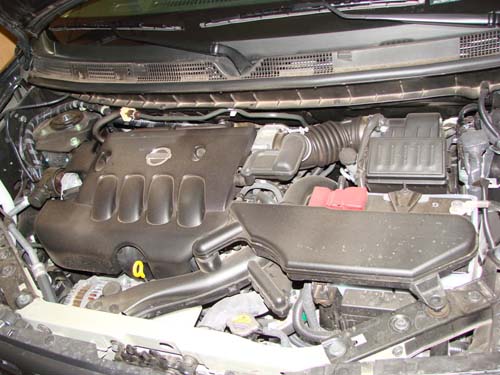
Unpacking the new goodies:

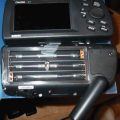
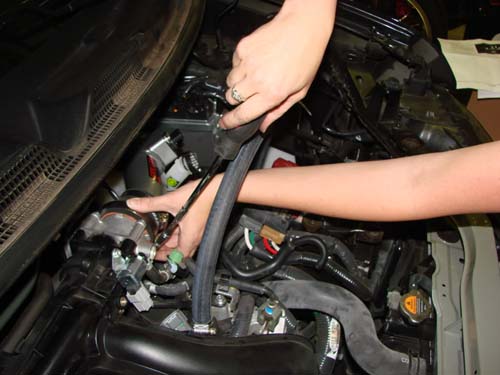
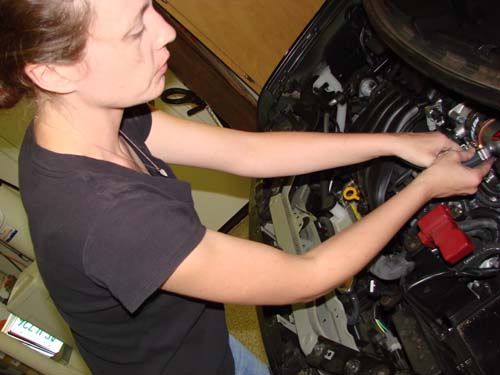
Here, Becky is removing the battery and disassembling the stock intake and airbox. Use caution removing the MAFS plug, which releases by pressing the tab on the underside firmly.
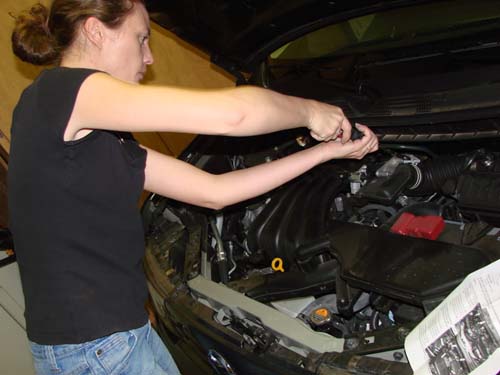
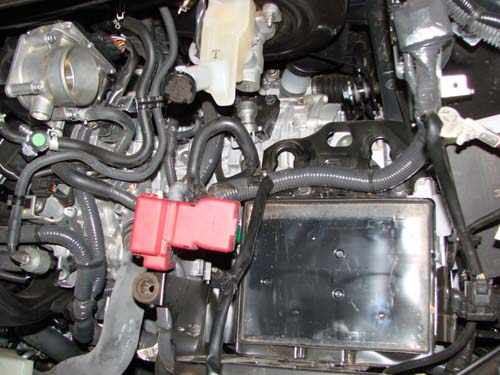
The view under the hood with the stock intake and airbox removed:

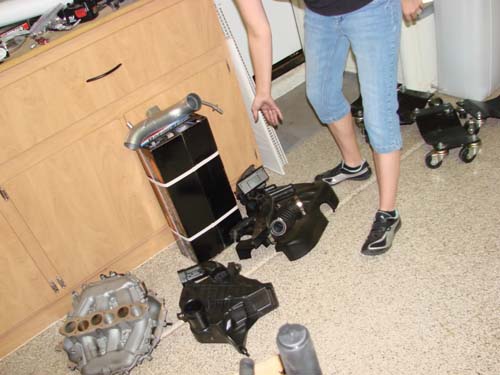
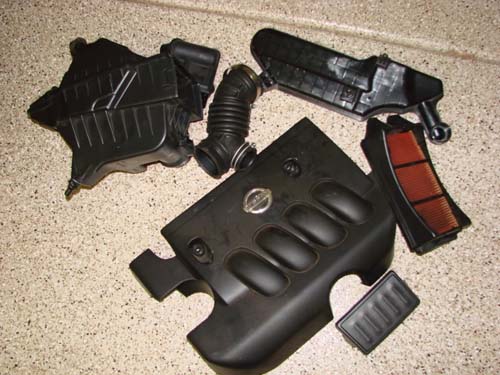
Toss it all in a pile for the assistant to clean up!

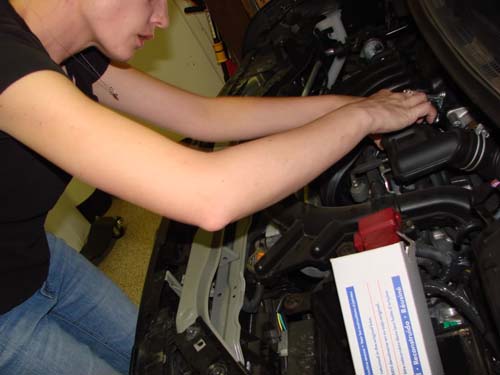
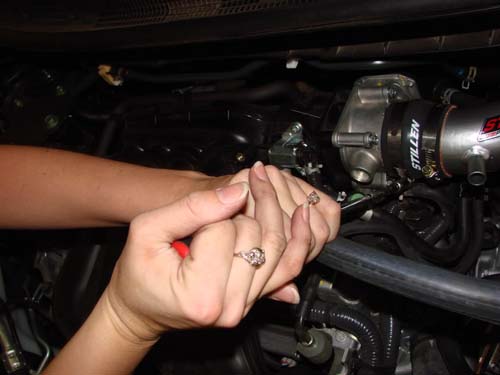
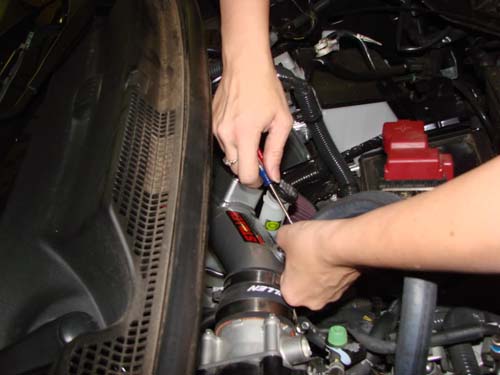
Removing the MAFS from the stock intake – Be very gentle, this is an expensive part!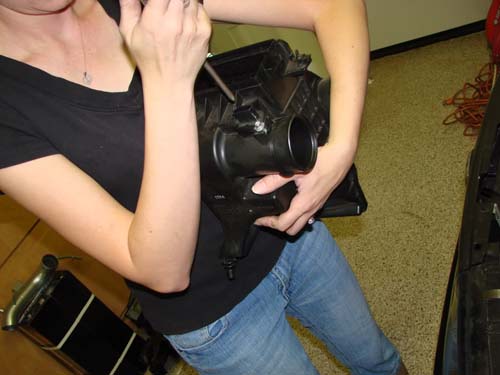
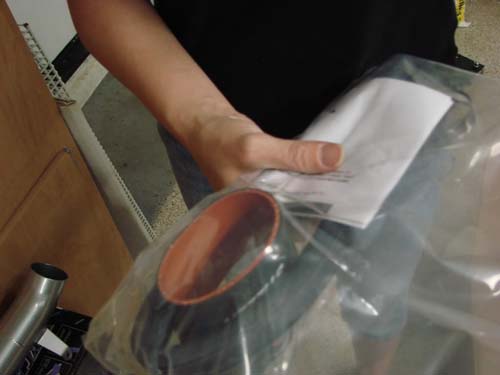
Reinstalling the MAFS into the Stillen intake tube:
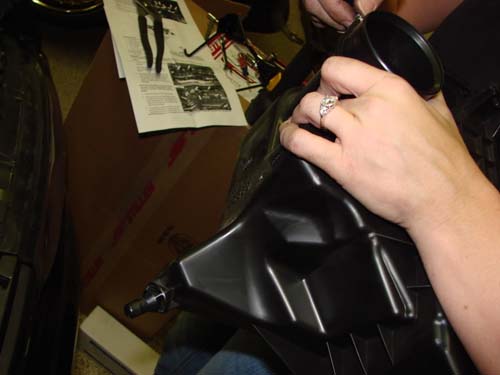

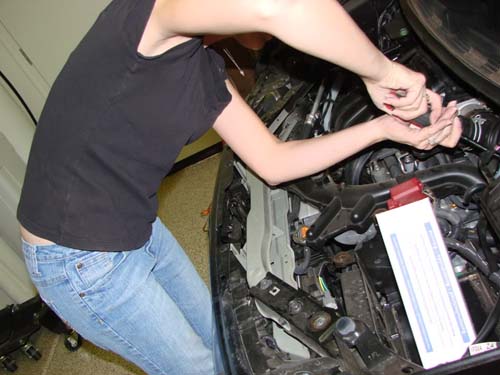
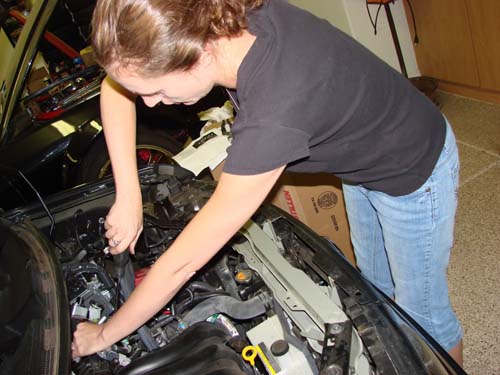
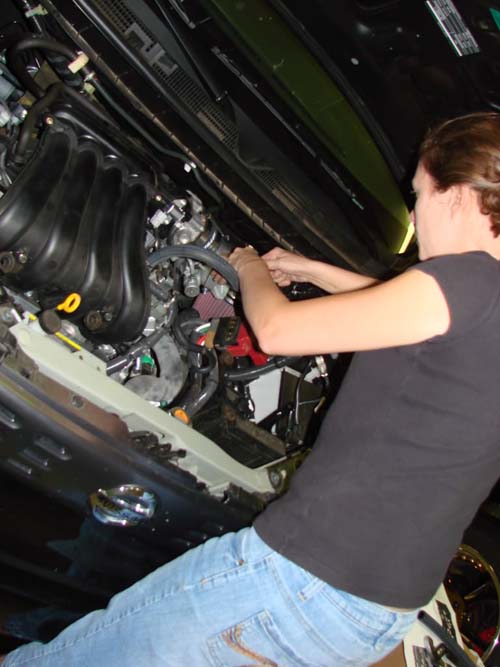
Installation of the Stillen intake is relatively simple. Reinstall the front portion of the OEM air duct to funnel cool outside air to the Stillen air filter.


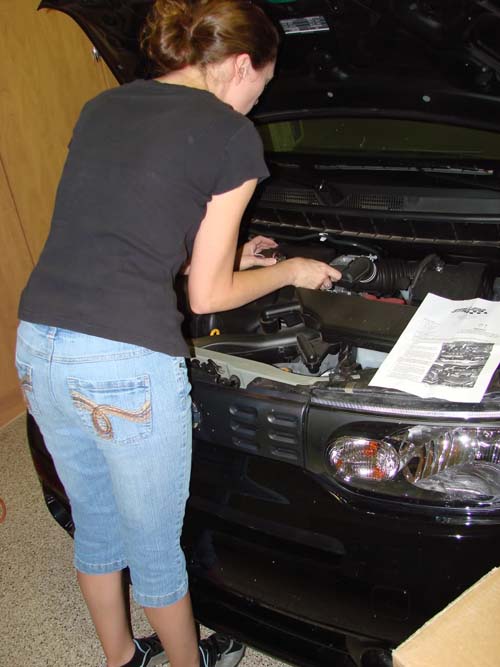
 Intake installed! We had to fire it up and see how it sounds – The intake adds a nice growl to the engine sound when revved.
The OEM parts that were removed:

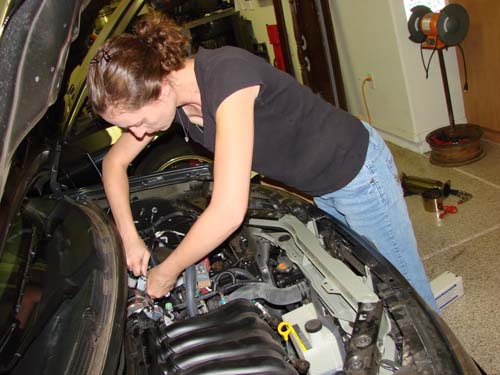
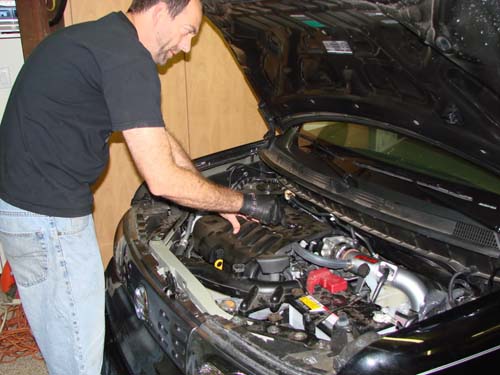
Becky actually let me put the engine cover back on.
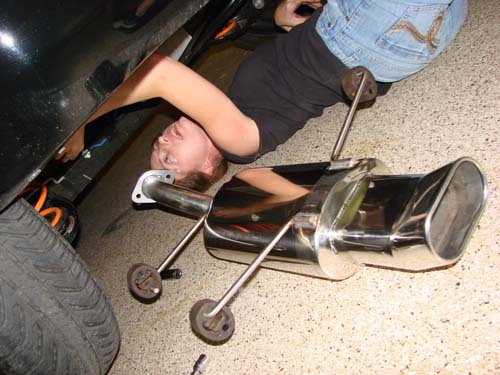
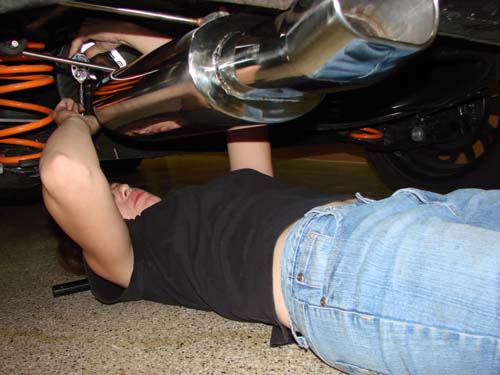
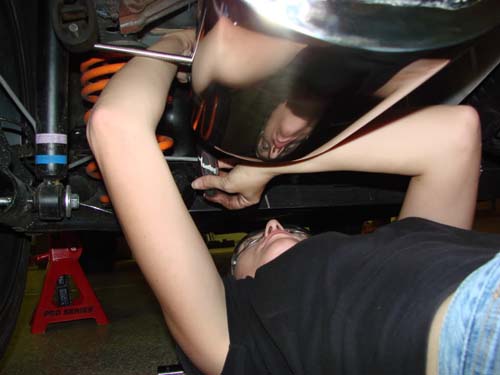
With that completed, it’s time to put the new exhaust on.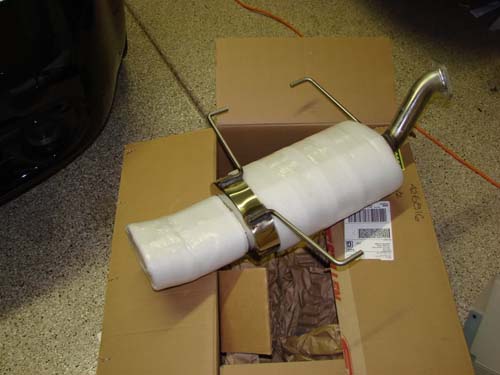
Removal of the stock muffler is pretty simple: Two 14mm nuts and three rubber hangers. Becky found that it’s easier to pull the hangers off the car, and remove them from the muffler after it’s disconnected from the car. Tip: Spray the rubber hangers with oil prior to removal to make things easier.


Shiny stuff!
Installation of the Stillen exhaust component is incredibly simple as well – Slide the hangers on the muffler, position it under the car, hook them to the chassis-mounted hangers, and then bolt up the flange connection. Don’t forget, there’s a gasket in there – Don’t lose it.


All done!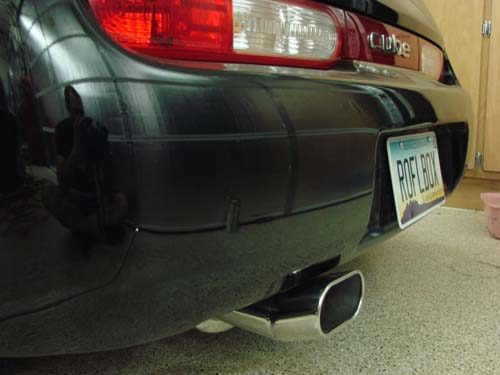
 Let’s take it for a drive.
The exhaust adds a nice beefy tone to the Cube when the accelerator is mashed. During normal cruising, there’s almost no audible difference inside the cabin. Performance seems to be perked up somewhat, although I’m reluctant to guess how much, since my butt-dyno hasn’t been calibrated in years. Acceleration is more peppy, especially above 30mph.
Total time invested: 2 hours. All in all, this was a simple and straightforward installation, thanks to some solid engineering on Stillen’s part and the simple construction of the Nissan Cube.