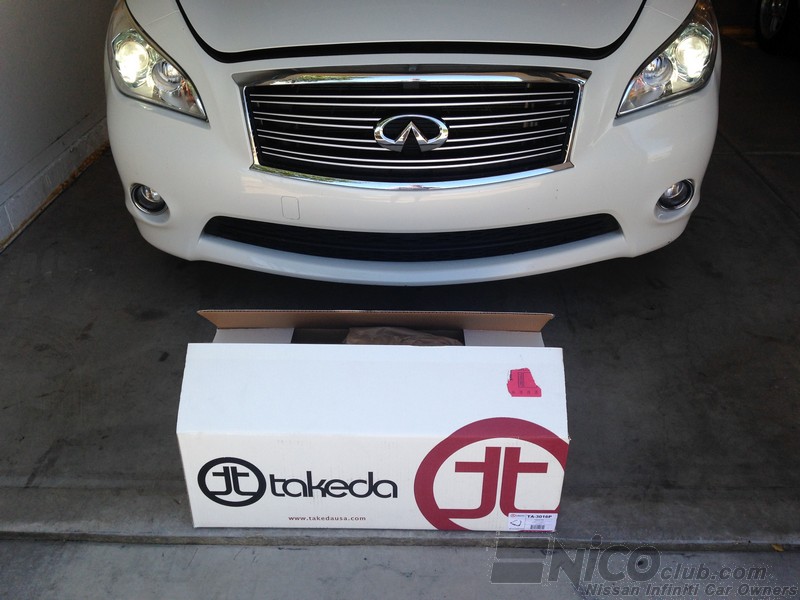
I wanted to buy a reusable air filter kit for my 2013 M37x but could not find a filter made for this car. I saw the write up RED_DET did on the short ram install for the G37, and thought I’d try the stage 2 long ram kit from Takeda, part #3016P.
The first step is removing the radiator upper cowl. It is held in place by 8 plastic clips. Using a flat blade screw driver pull up the center section. Then holding the center section gently pry up on the outer section you may need to pry up on two sides to pop the plastic clip out.
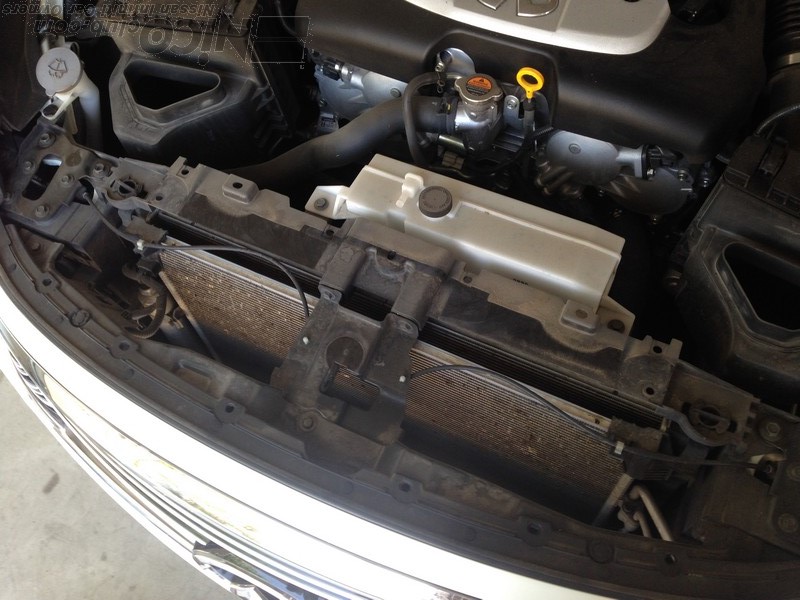
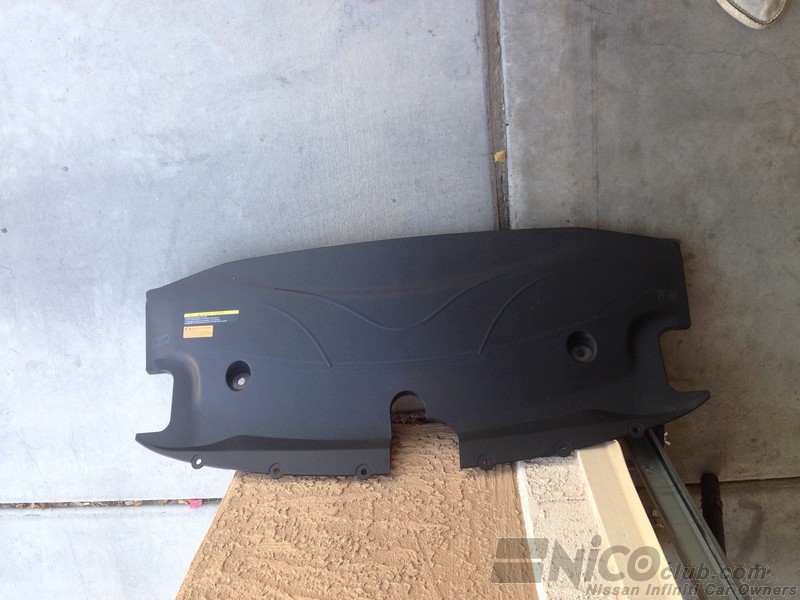
Set the cowl out of the way. I reinstalled it because it appears to focus air into the radiator and condenser.
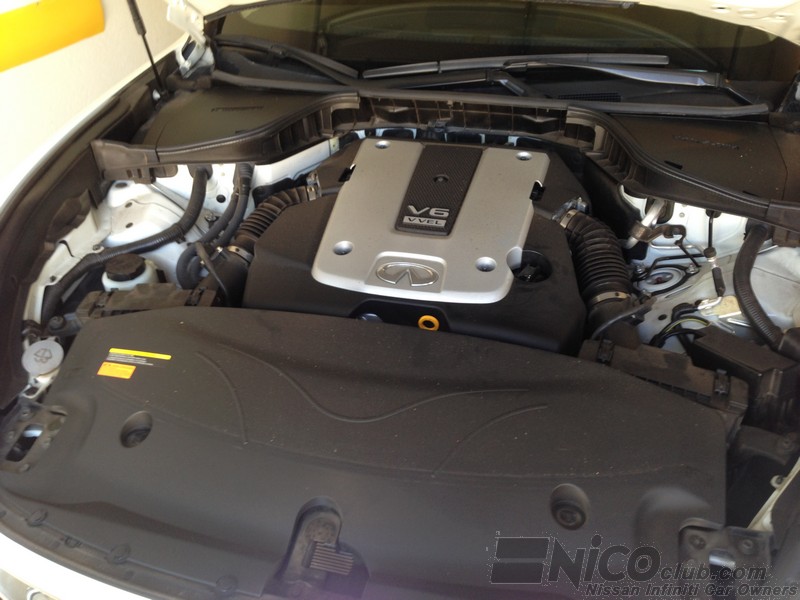
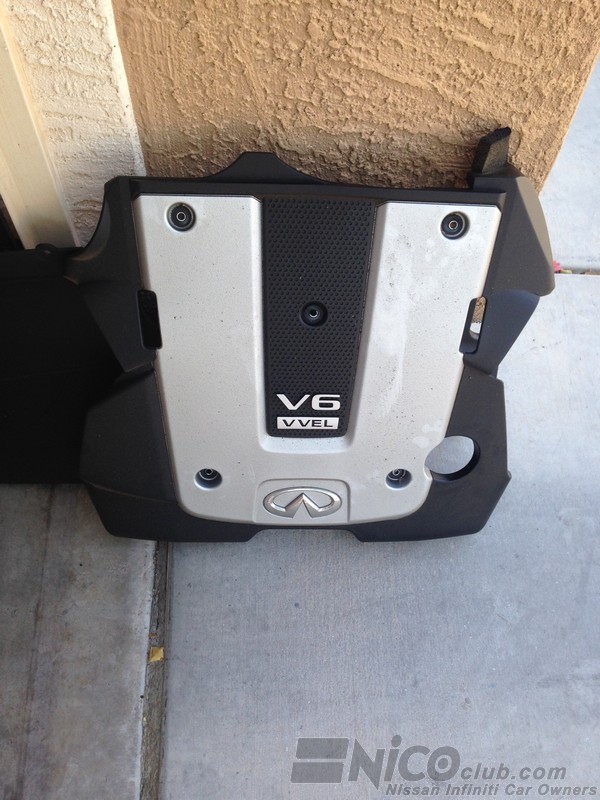
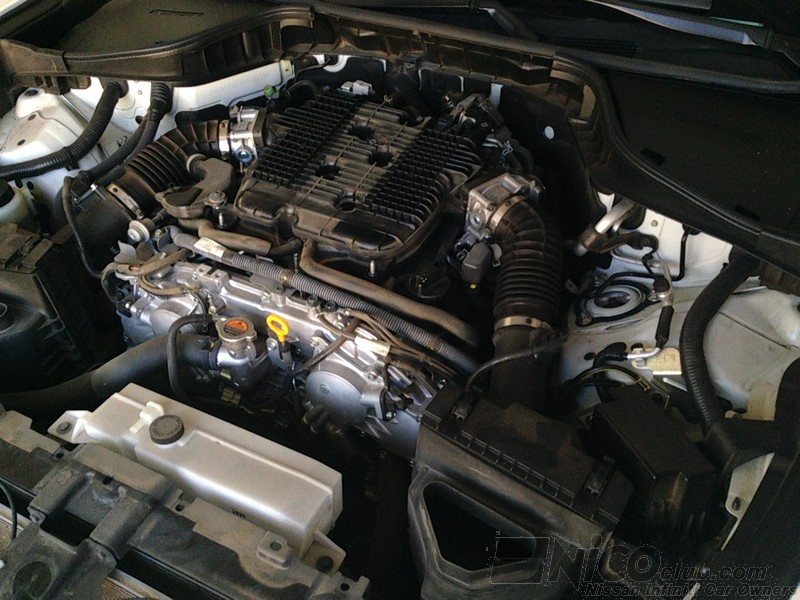
Now it’s time to get the old filters and tubes out of the way. The first step is removing the engine cover – it is held in place by 2 10mm nuts and 3 10mm bolts. I bag the hardware and write on the bag where it goes.
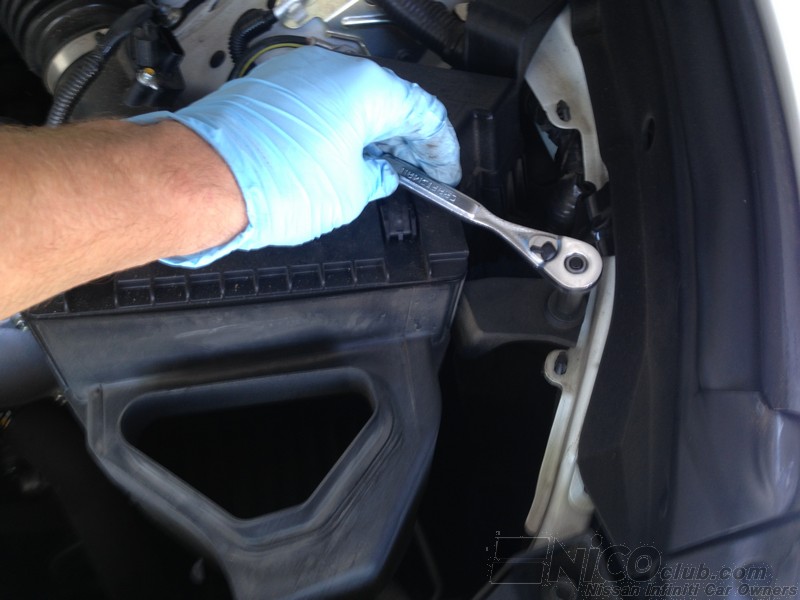
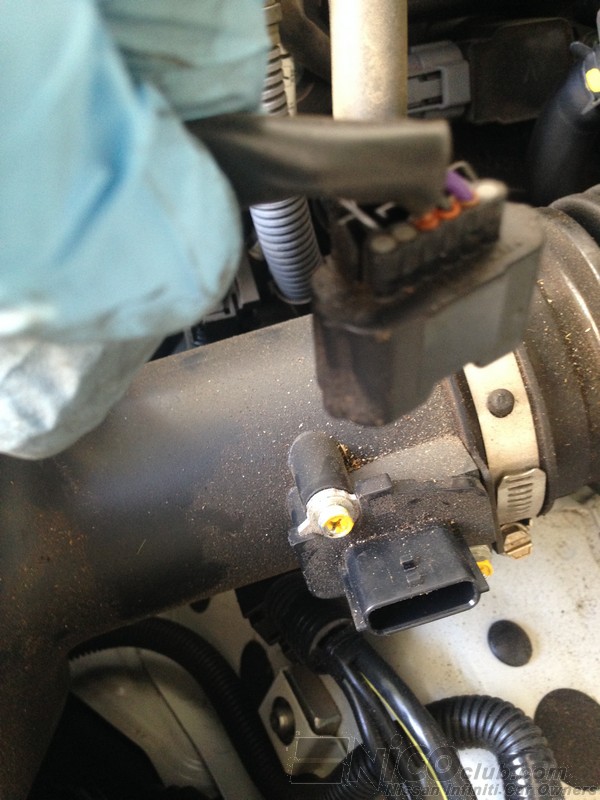
Now you can unscrew the filter from the fender mount. There is a 10mm bolt on each fender holding the air box in. Then loosen the screw that holds the filter piping to the throttle body. Do not touch the inner parts of the throttle body if you manually move the butterfly valve it will be ruined.
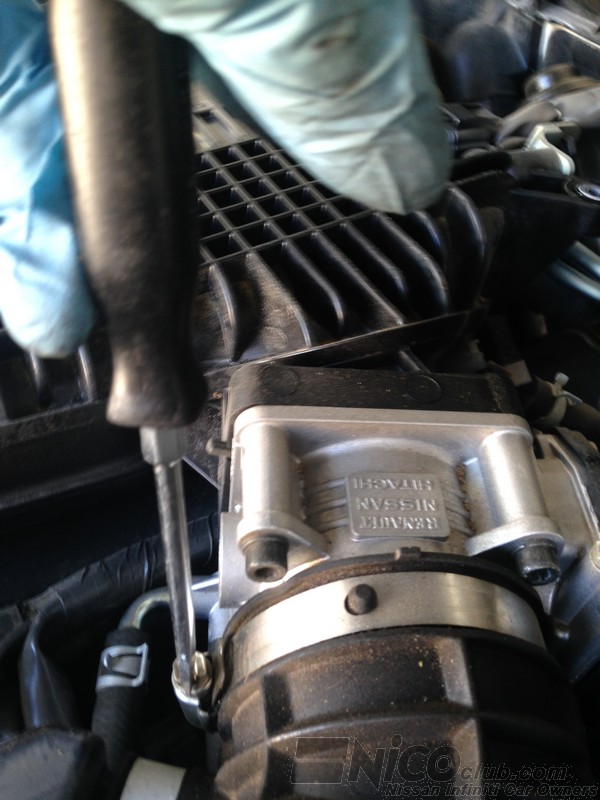
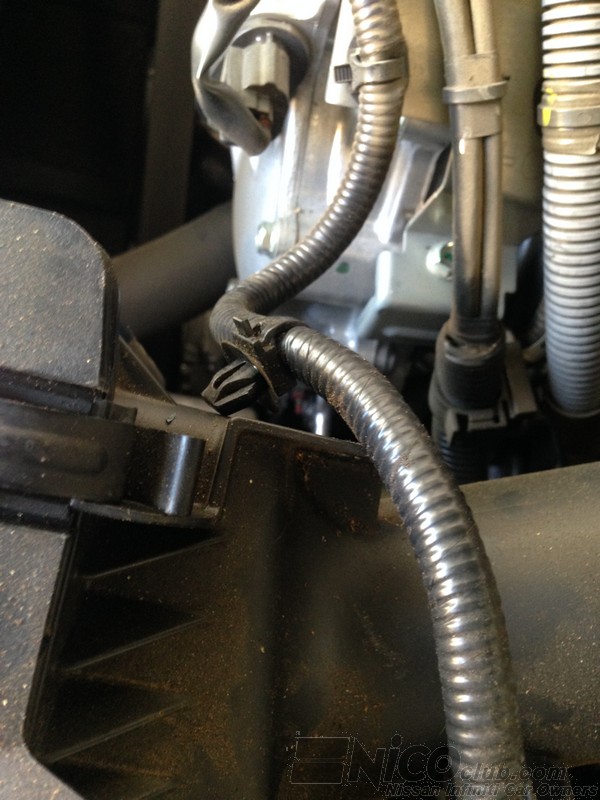
Once the filter piping is disconnected from the throttle body gently unclip the MAP sensor from the tube. There is a clip mounting the wiring from the MAP to the engine you can disconnect without breaking it by pressing the top part with a flat blade screwdriver and pressing it out with your finger. Once the top mount is through repeat on the bottom and it will be reusable.
The instructions for the G37 require you to remove the bumper, which I thought I could get around. Nope – The bumper has to come off, but good news – it held on by four bolts!
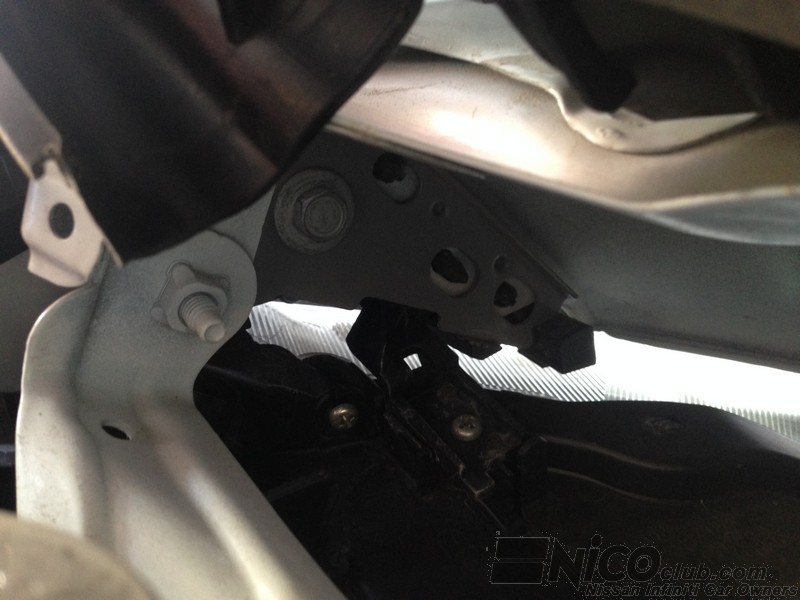
The first two are hidden at the front inside end of each fender and are 10mm.
Once these are removed remove all the 10mm bolts from the trays on the underside of the motor.
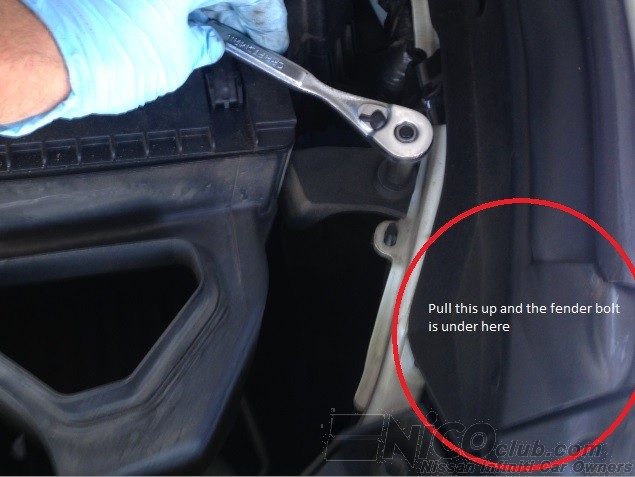
The other two fender bolts are at the bottom side of the fender/bumper joint and are accessed from the wheel well. Also 10mm. No pictures, but basically pull the bumper away and slide the liner out. Once the liner is out you can pry it back and access this bolt.
Once all these bolts are removed rock and pull the fender away from the headlights and lift it out of the way. If you have fog lights either remove the bulbs or unclip the wiring from the bulbs.
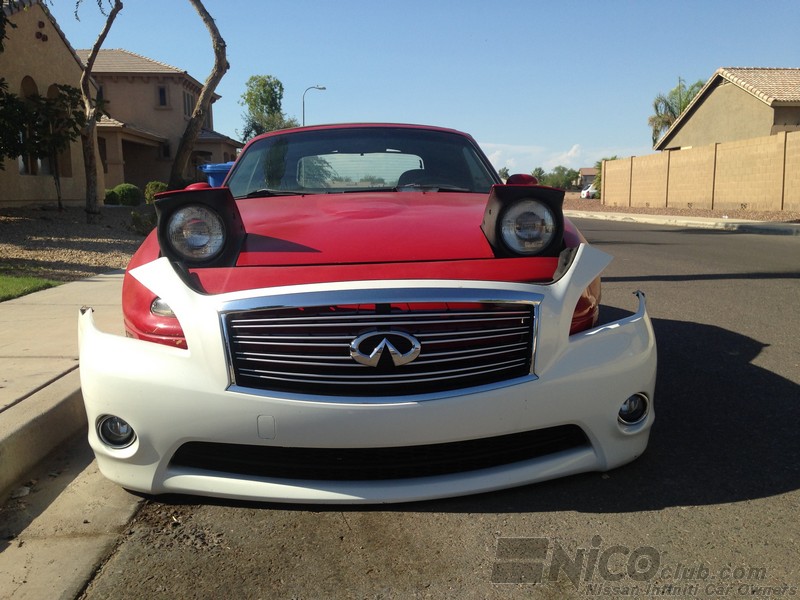
This is a good opportunity to invent future Infiniti models… You can preview the new Q20 vert here!
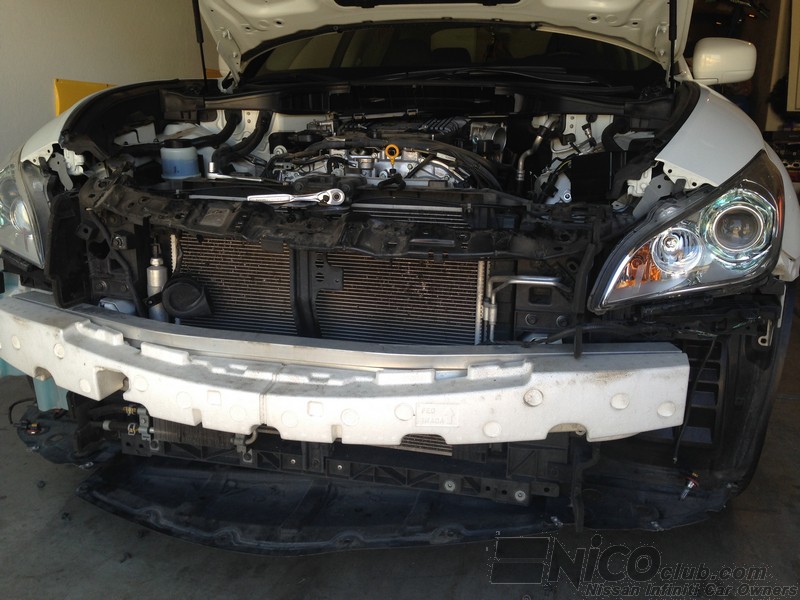
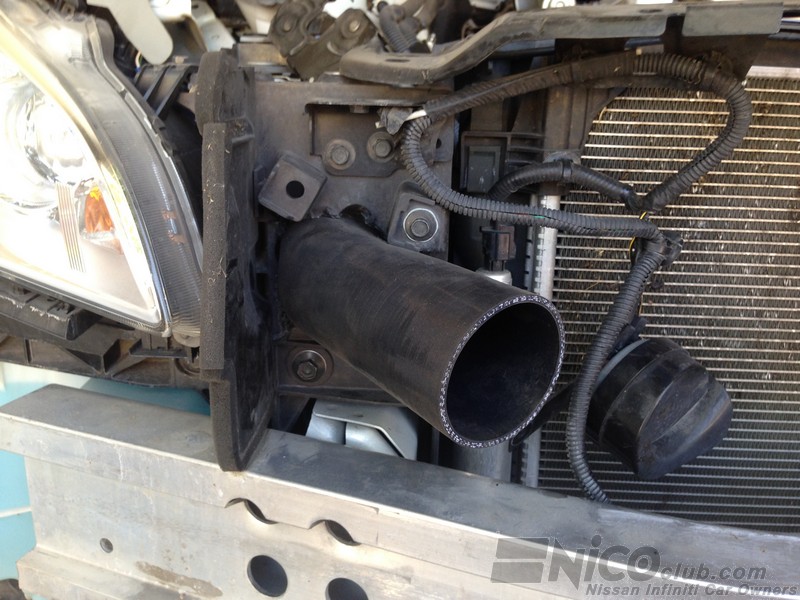
At this point, with the bumper removed, you can see one of the reasons Takeda doesn’t market this filter kit for the M. Where the G series has a opening around the headlights and radiator, the M has fiberglass / plastic panels that are part of the core support for the AC coil and radiator.
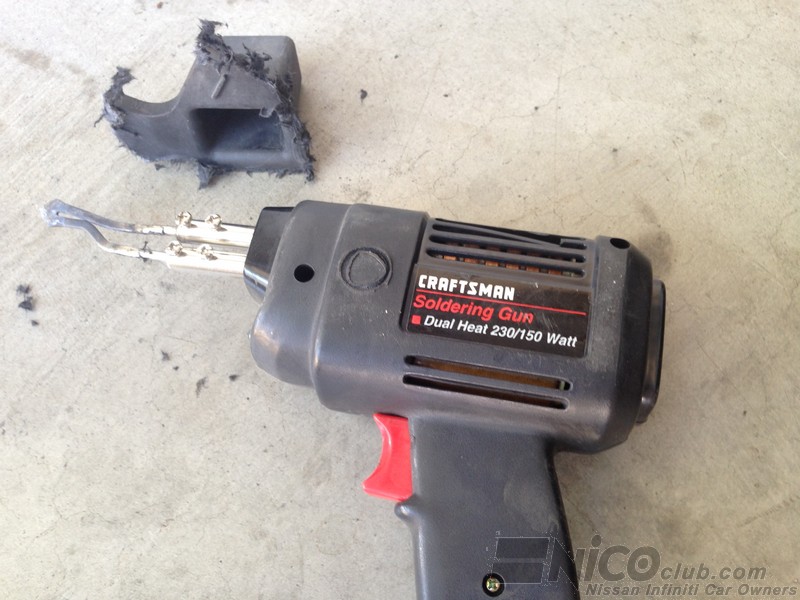
At this point I had to decide if I wanted to cut into my new car, or return the filter. This is NICOclub – We’re not afraid of modifications! I decided to cut. The tool I used was a Craftsman soldering gun with a plastic cutting tip. After a lot of cutting, the silicon hose would fit through the opening I just made. One of the horns attaches to this location and won’t fit when we’re done, so move it out of the way.
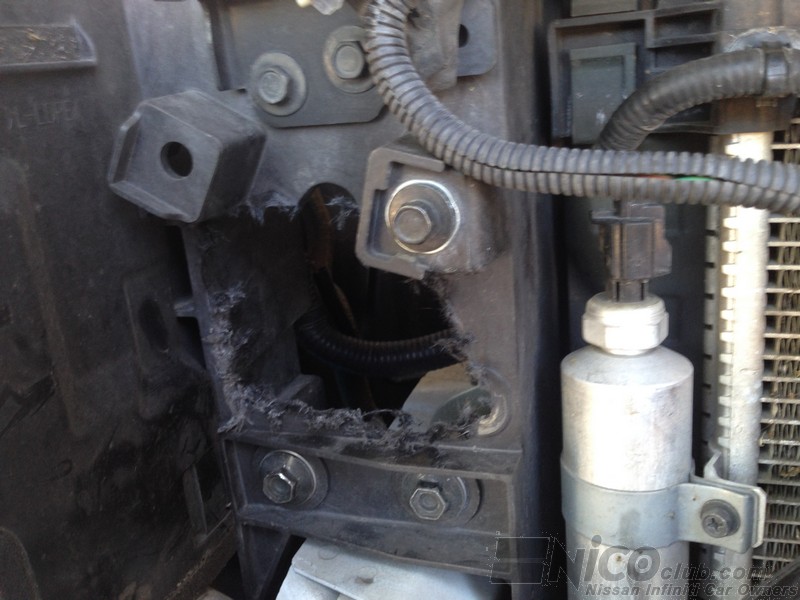
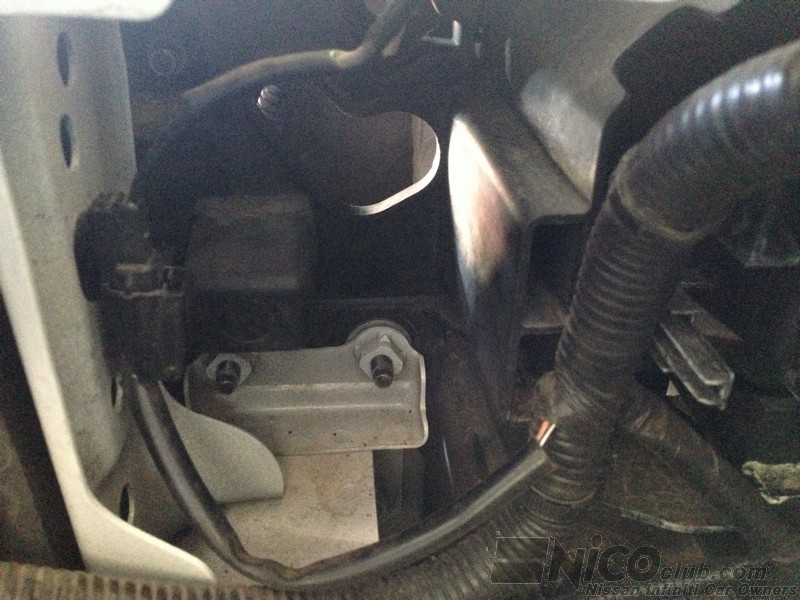
The driver’s side presents more of a challenge. Infiniti thought this would be the perfect location for the AC lines. Once you cut out all the plastic you still need to gently BEND the lines out of the way. Unbolt the fender/frame mount for both lines. It would be nice to reroute them but there really isn’t room to move them very much.
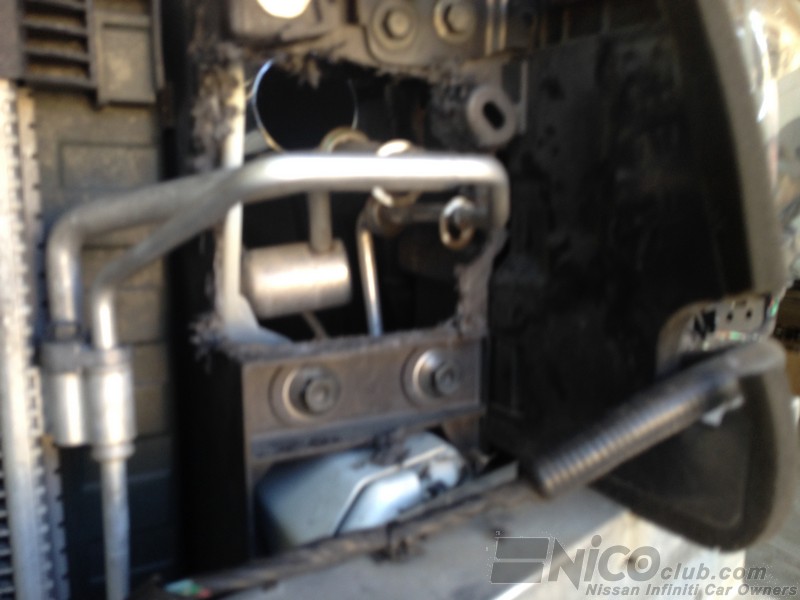
The line rests against the silicon part of the piping and may eventually melt through, since it is the hotside AC line. For that reason, placing a piece of heat shielding around the line (such as the fireproof ‘boot’ used for spark plug wires on a race car) would be a great idea.
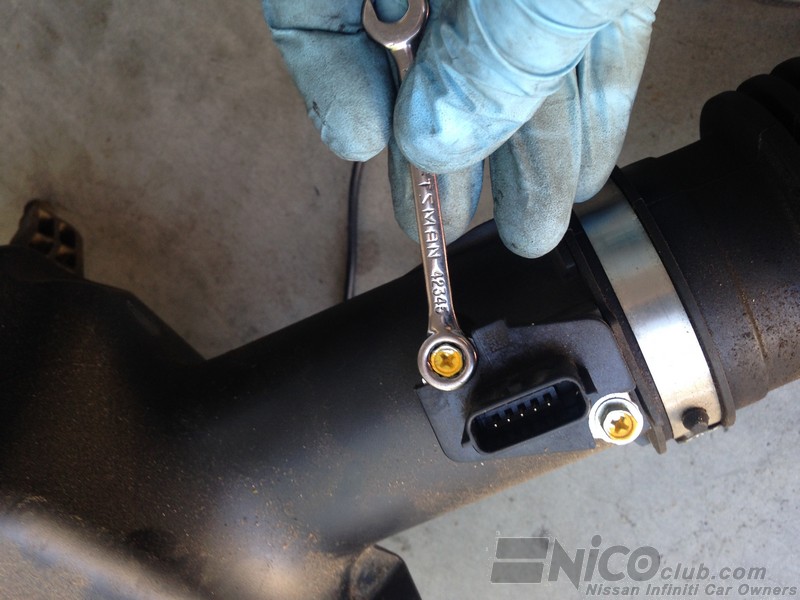
Carefully unbolt your MAP sensors from the old tubes and install them gently on the Takeda tubes. These are 7mm bolts – I would not use a screwdriver on them – rather, use a 7mm socket or closed-end wrench.
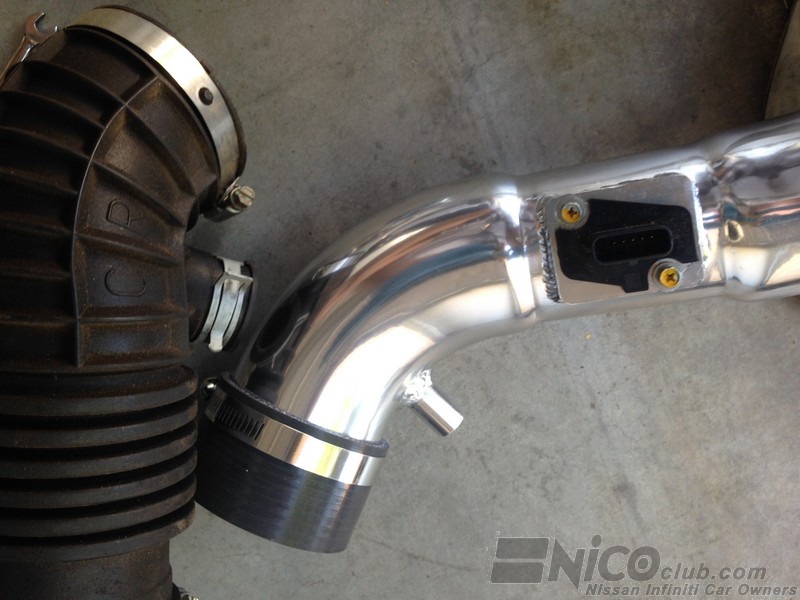
Mount the first section of the piping to the throttle bodies.
At this point you can mock up the system and discover that the piping is about 6” too short on either side. I went to O’Reilly & AutoZone, and they both sell plastic 3” piping with a chrome paint on it for $10.99 per 6” section. I went to Home Depot and bought two 2” PVC couplers.
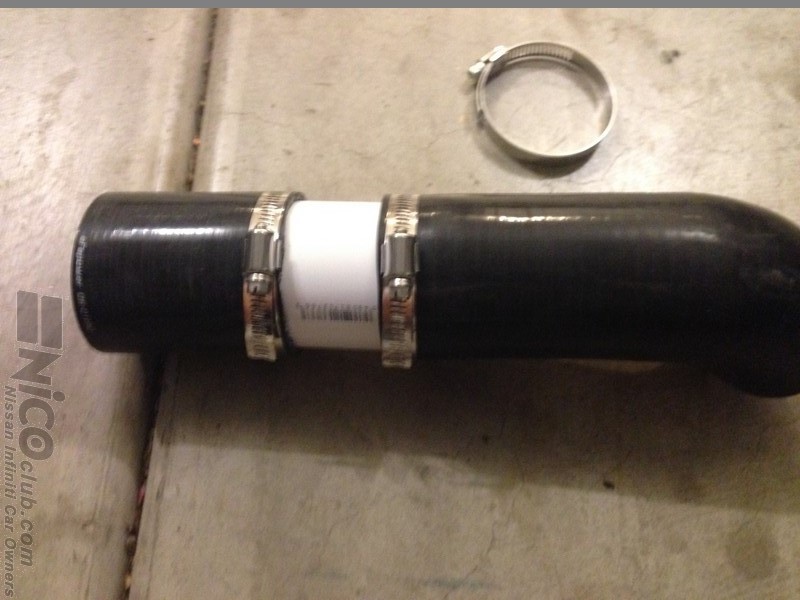
After marking and cutting my silicone elbows, I ran inside and ordered two 1-foot sections of Aluminum 6061 2.75” outer diameter intercooler piping from www.siliconeintakes.com. When it arrives, the PVC will go into the shed with my other plumbing supplies.
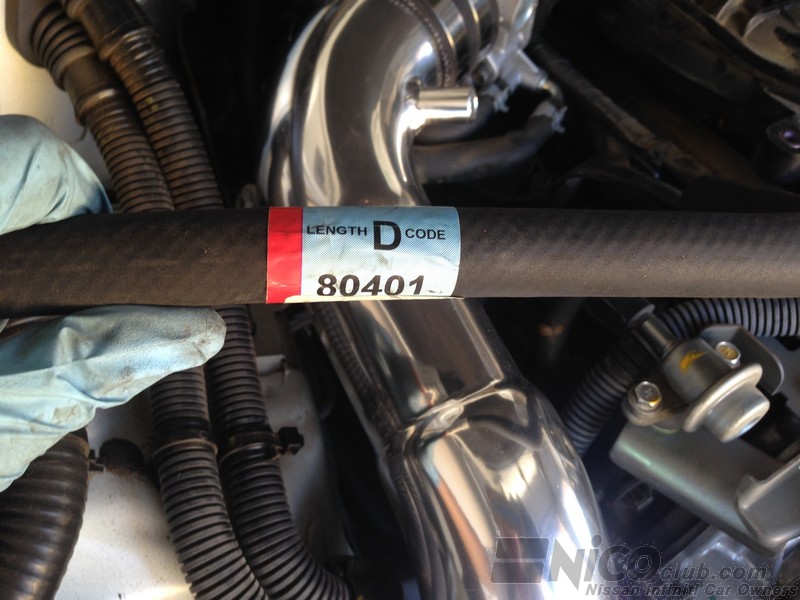
The passenger side PVC pipe will not work with the intake tube. I purchased a Dayco 80401 heater hose that is perfect – you have to cut it to fit but it gives you the molded elbow you need. The pipe Takeda supplies with the kit works fine for the driver’s side.
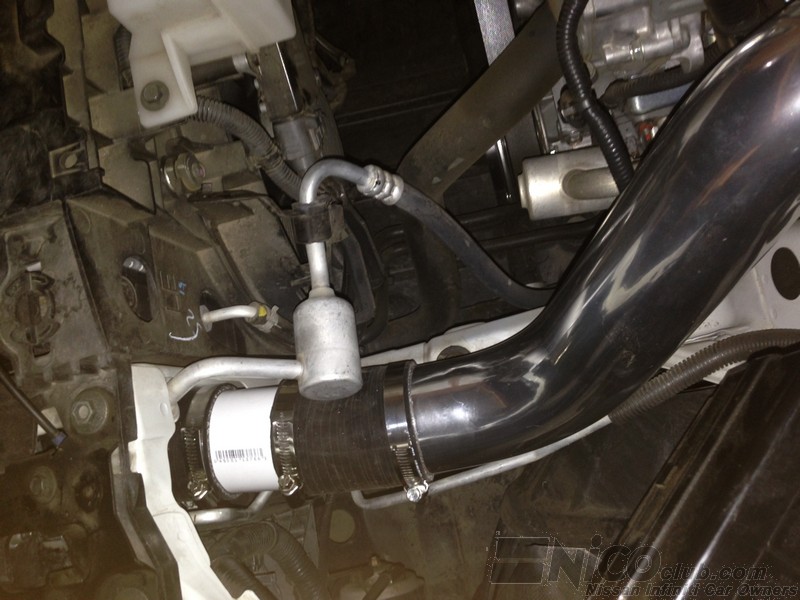
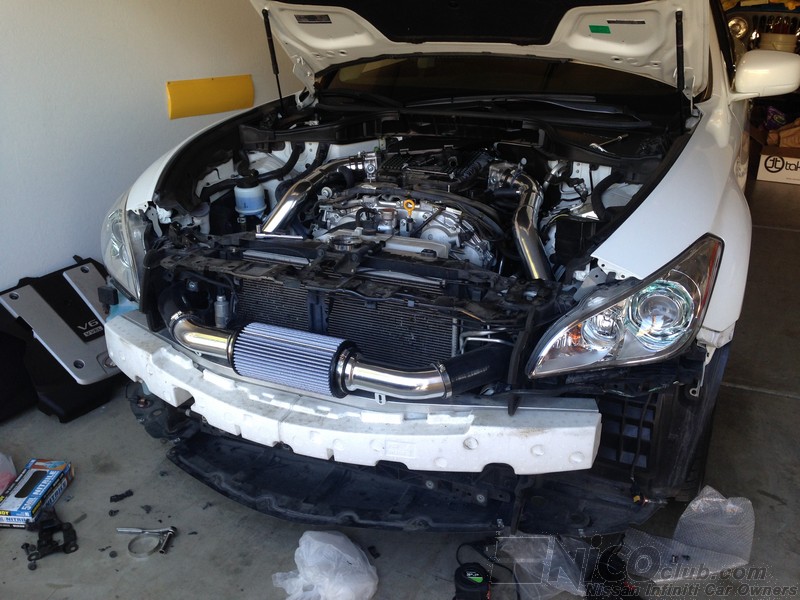
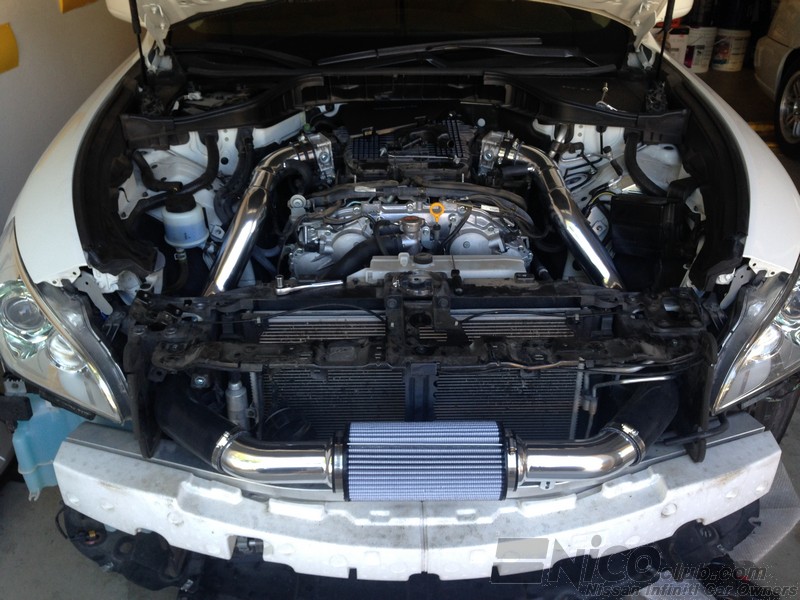
Here’s what it looks like, all assembled:
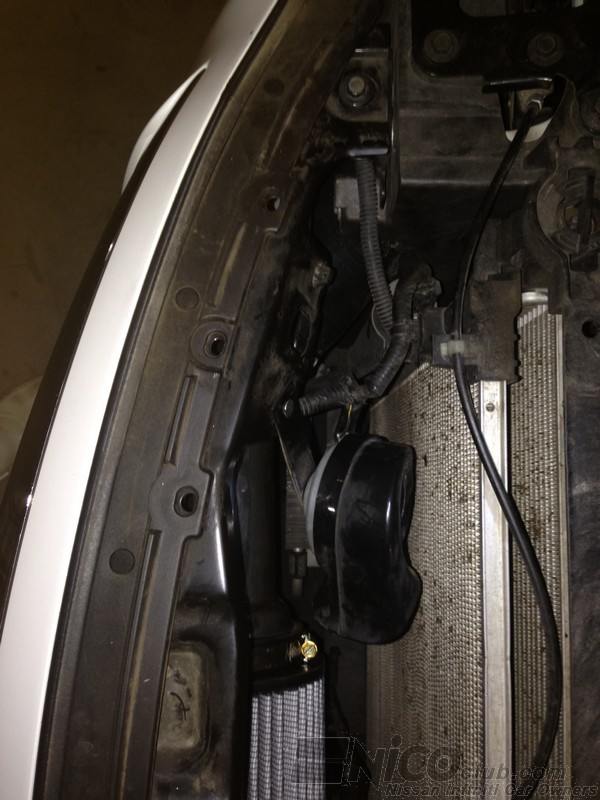
I removed a clip for the horn wire and was able to use the hole that clip used to bolt the horn securing it.
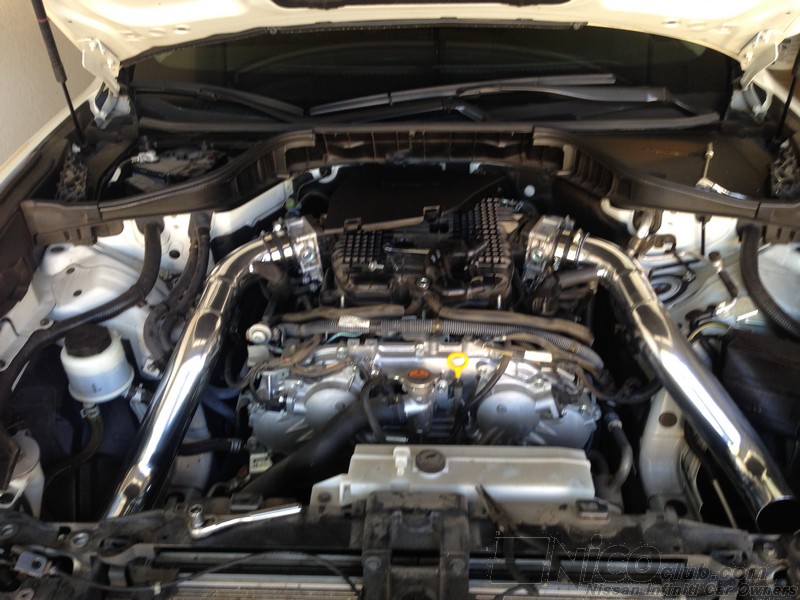
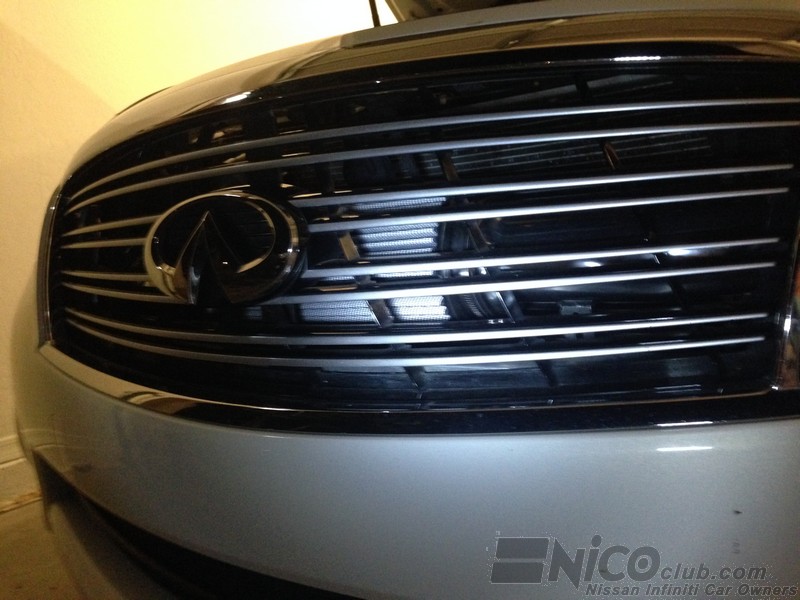
Installation of the bumper is, of course, the reverse of removal. Here’s what it looks like peeking through the grille!
Check to make sure everything is tight, and that the MAP sensors are both plugged in. Start the car. It sounds louder and feels faster… you’ve removed some significant restriction from your intake system!
This modification was well worth the work – The car pulls a lot harder on the highway. The intake noise sounds great. Before this mod, my biggest complaint with the M37 was that I could just barely hear the motor – I can hear it now!
I hope this helps someone else upgrade their M so you can enjoy it as much as I enjoy mine. If you have questions or comments about this modification, join us in the Infiniti M forums!
Contributed by Jeff (gwoods)