Find related tutorials and information on your vehicle in NICOclub’s M-Series Forum / Fuga Forum |

Figured I’d put this out there for anyone who was interested in removing their radio and installing the Grom Audio USB/iPod Interfact Adapter to allow them to plug in an iPod, USB flash drive, or 3.5mm jack and control it from the radio. I have a 2007 M35x so, at the least, this would be the same for the 2006 M35. I haven’t seen the 08/09 car so I can’t say if this process is any different. This should give you the general idea though.
I took the pics with my HTC EVO 4G from Sprint (love this phone). End of shameless plug lol.
Task: Remove the radio and install Grom Audio USB/iPod Interface Adapter
Time: About an hour and a half at a pretty slow pace
Product: Grom Audio USB/iPod Interface Adapter – Link
Tools/Supplies Needed:
- LONG Phillips head screw driver
- LONG Flat head screw driver
- A long extendable magnet to grab any screws that may fall in some crevices
- A towel to rest the radio on once you remove it as to not scratch up your interior
Process:
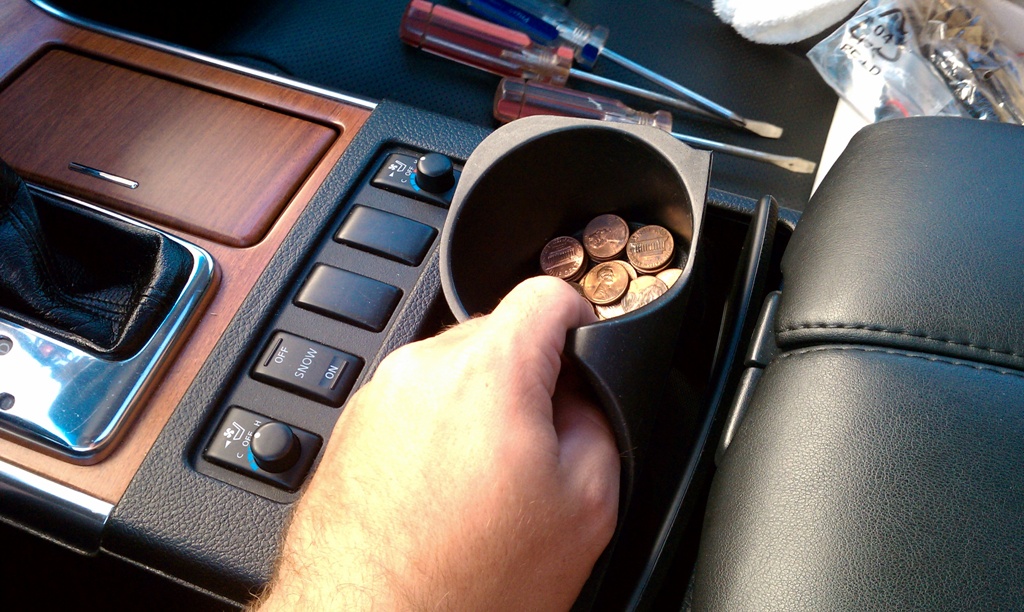
1) Remove the cup holder
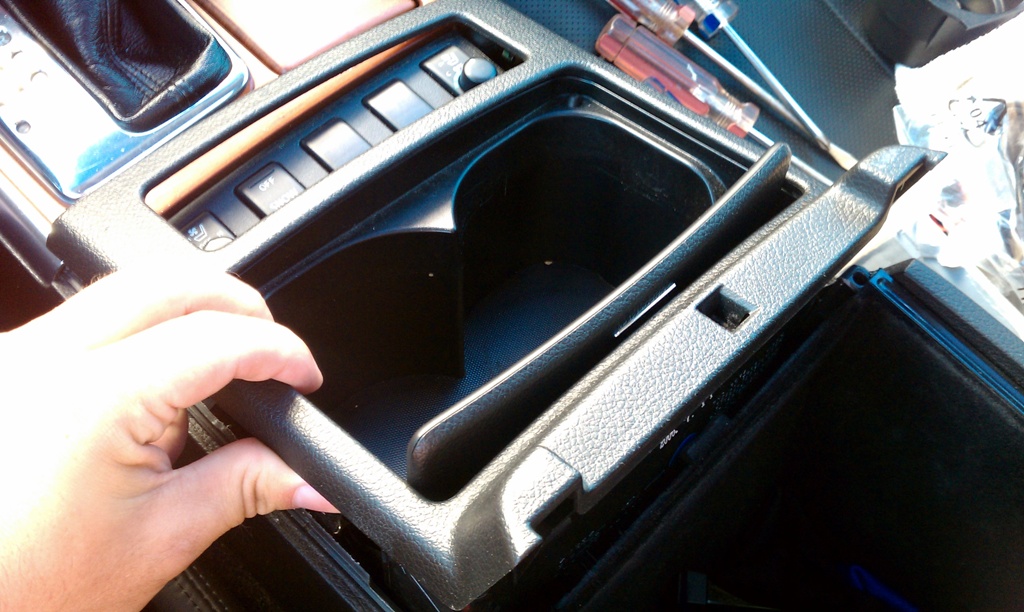
2) Remove the cup holder trim
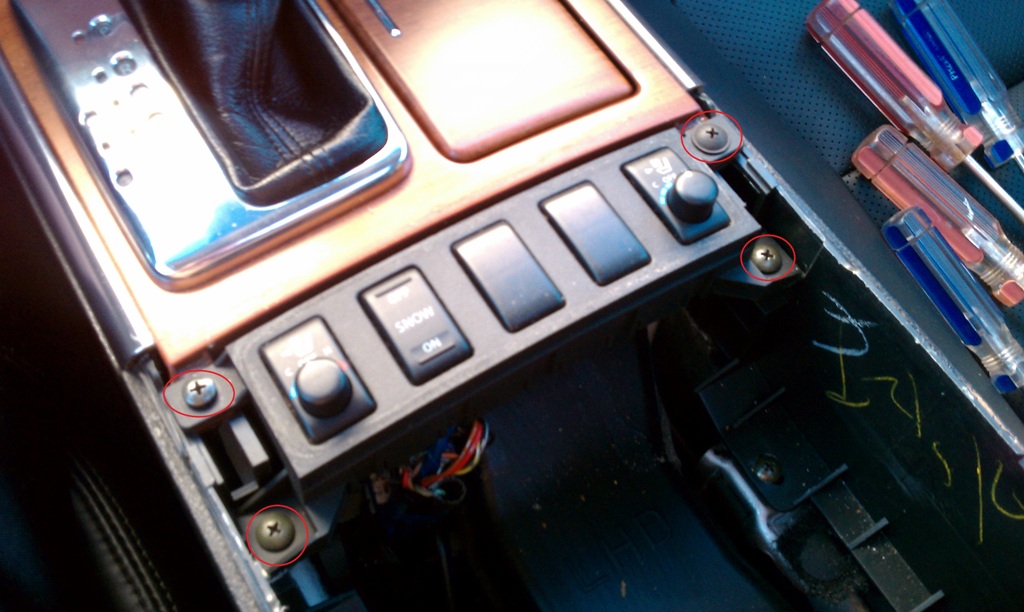
3) This will reveal 4 phillips screws that hold the seat climate controls in place. We need to remove these:
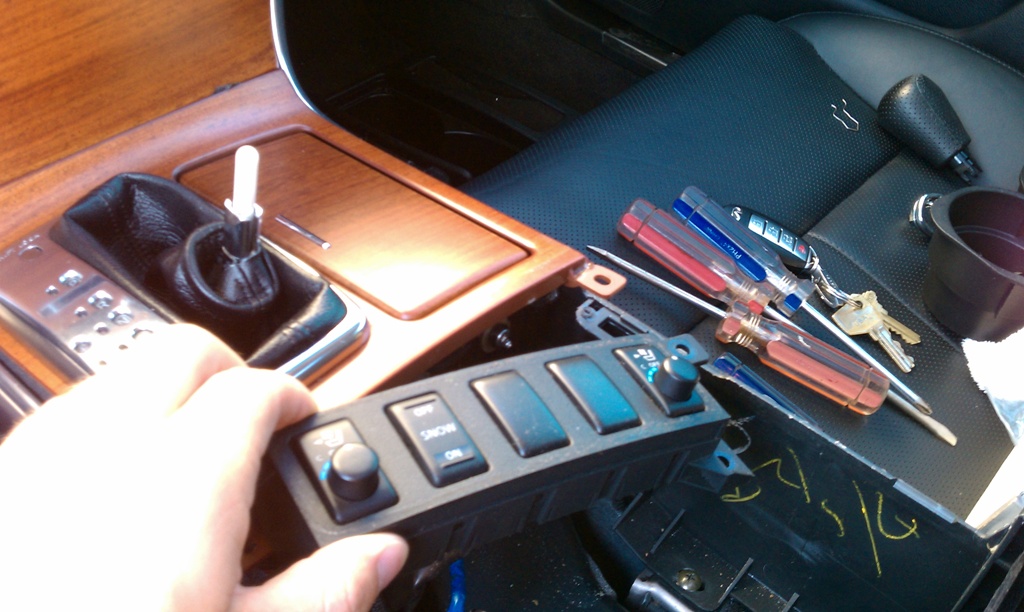
Then move the unit away from the work area (or unplug it – I just moved it)
4) Now, you want to push the leather down from the shifter handle and reveal the chrome bezel that has clips on the front and back (near the dash and near the arm rest). Pop those out a little bit so that the chrome bezel goes DOWN. I broke one of my clips trying to figure this out since the other how to didn’t explain this part. Then, pull out the small paperclip type U-pin and pull the shifter up. Should end up with this:
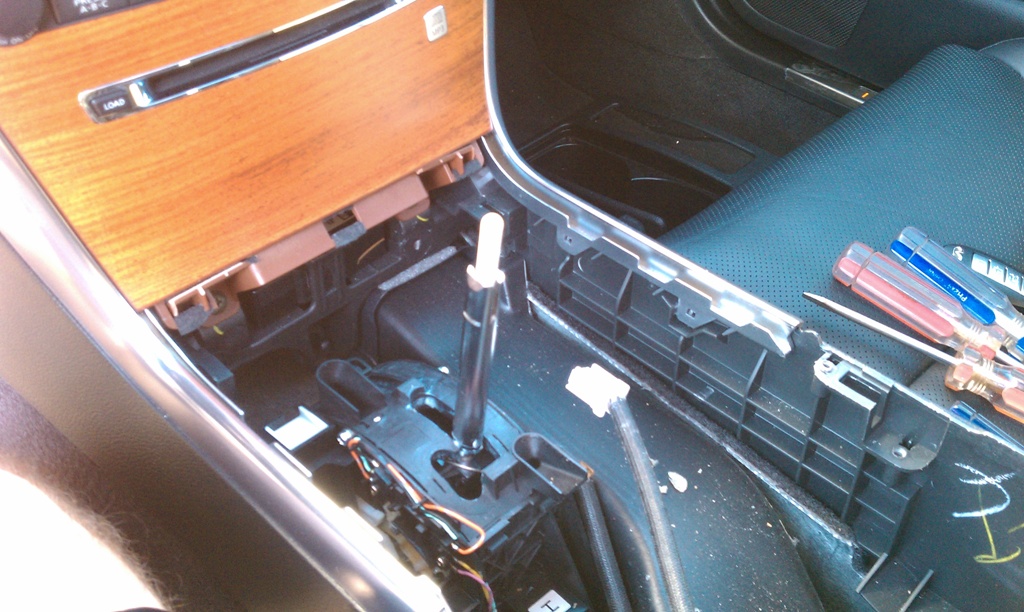
5) Now, unplug the shifter trim and put it somewhere (I put it on the rear seat). Should look like this:
6) Now we need to loosen the radio face. Yes, I know that the other piece is broken. Someone must have been in here before I bought the car because I found them like that. I was quite annoyed lol. Anyway, moving on. To do this, we take out these two phillips screws:
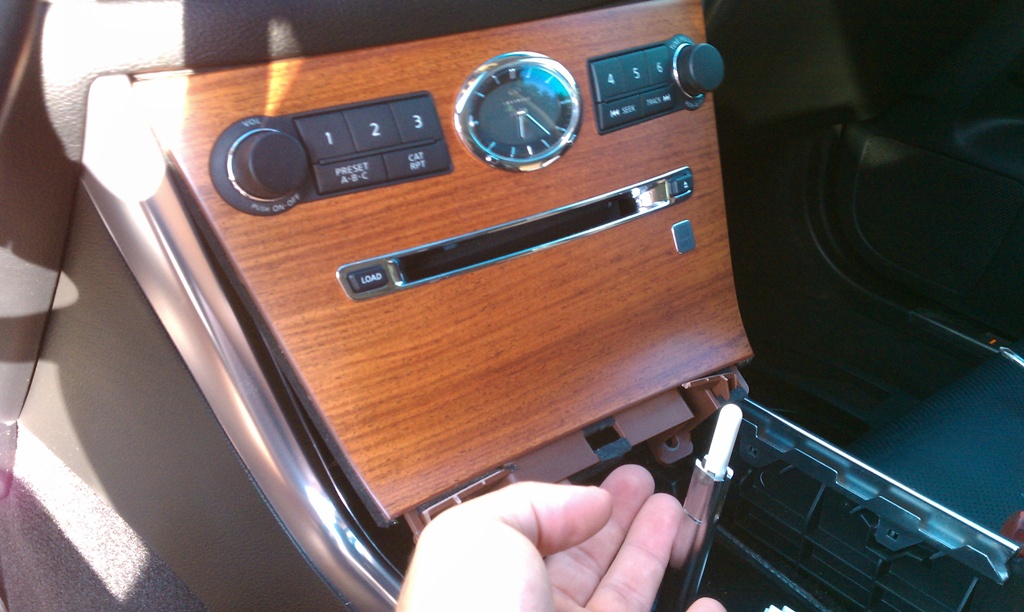
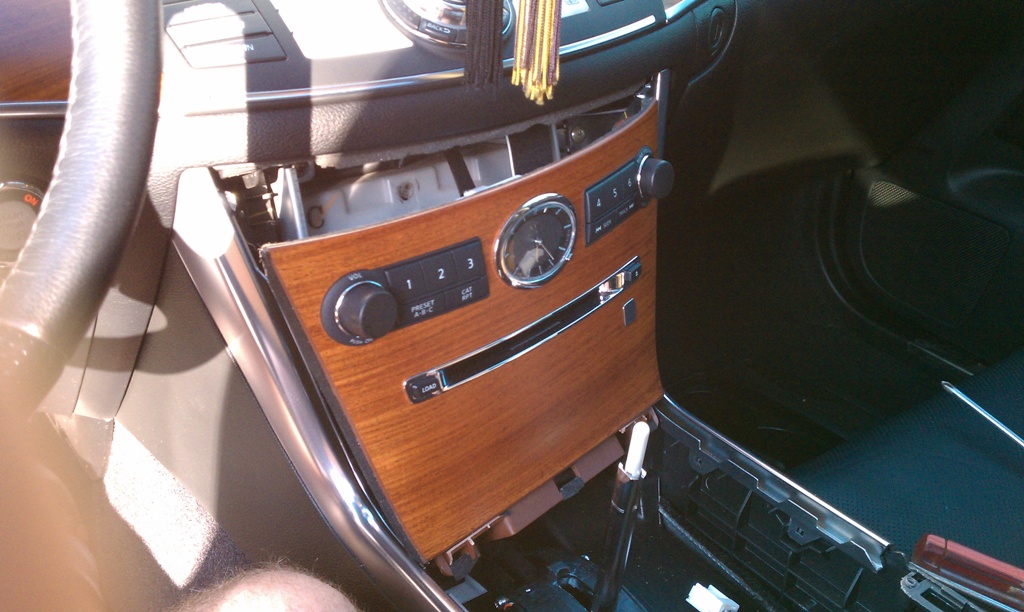
7) Now we need to unhook the stereo face and put it somewhere. To do this, unclip these two connectors:
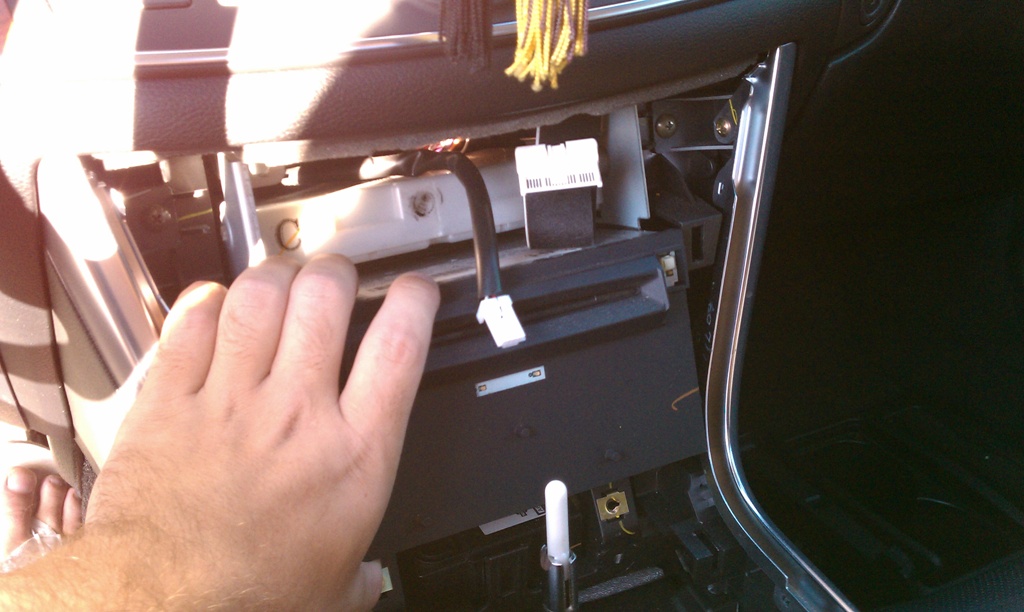
You should be left with this:
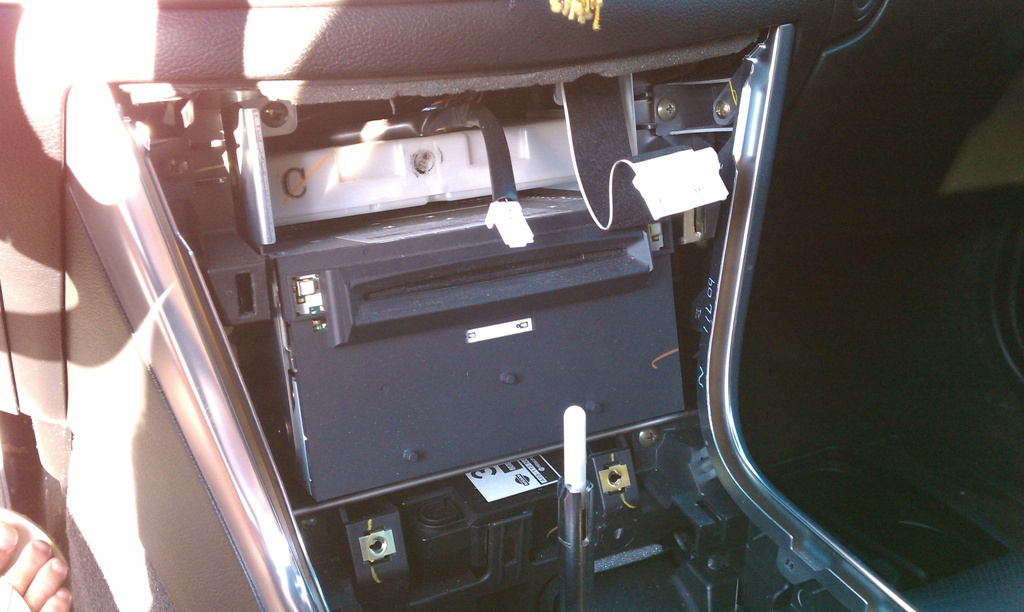
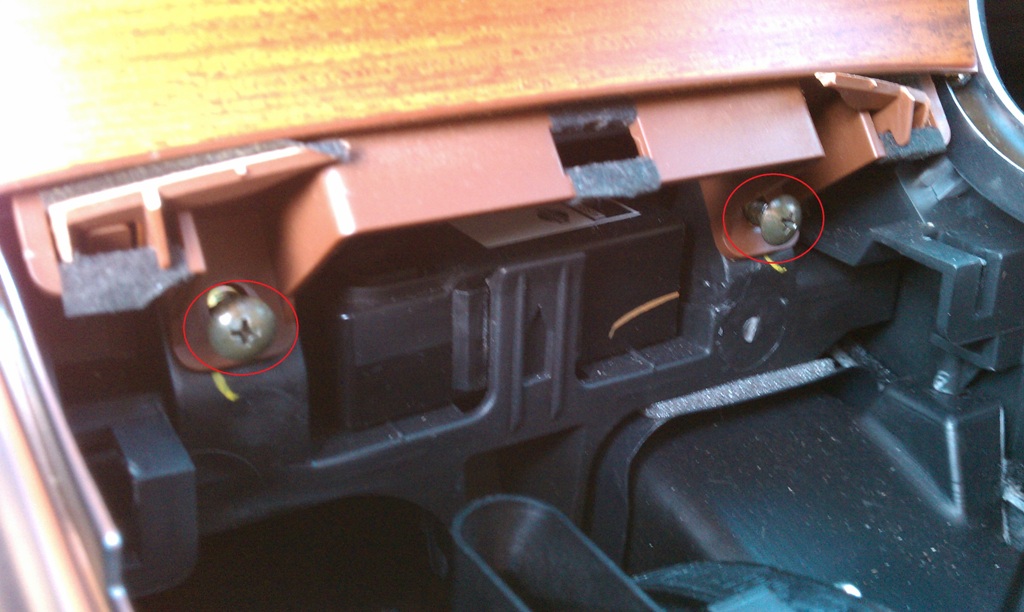
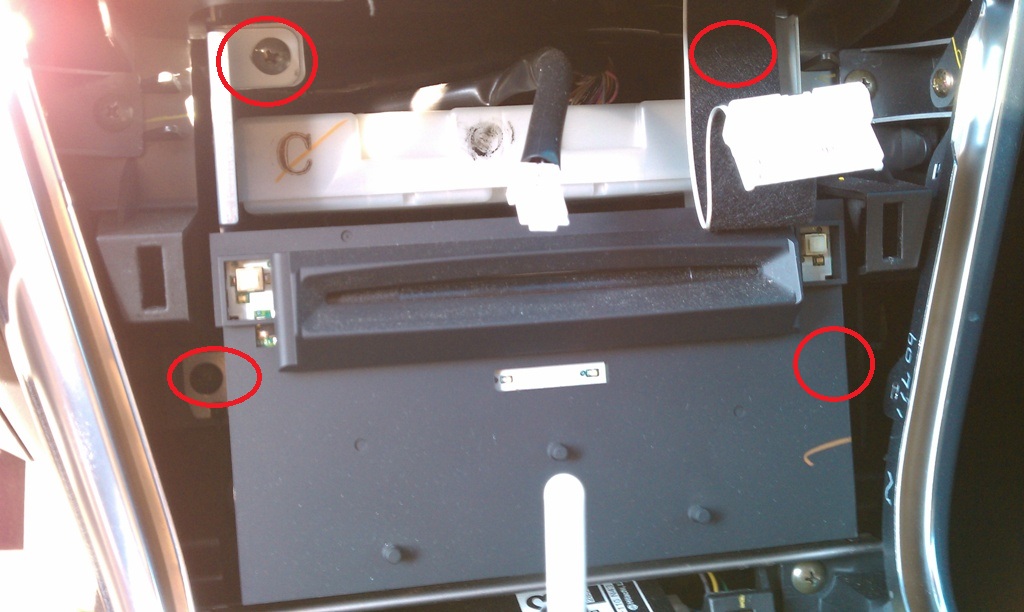
8. Now we need to actually take out the audio unit itself. To do this, we need to take out the screws circled below (only one side visible, but other side is a mirror image of the first side):
Pull the unit out and set it on the towel you have (I draped it over the shifter rod and console):
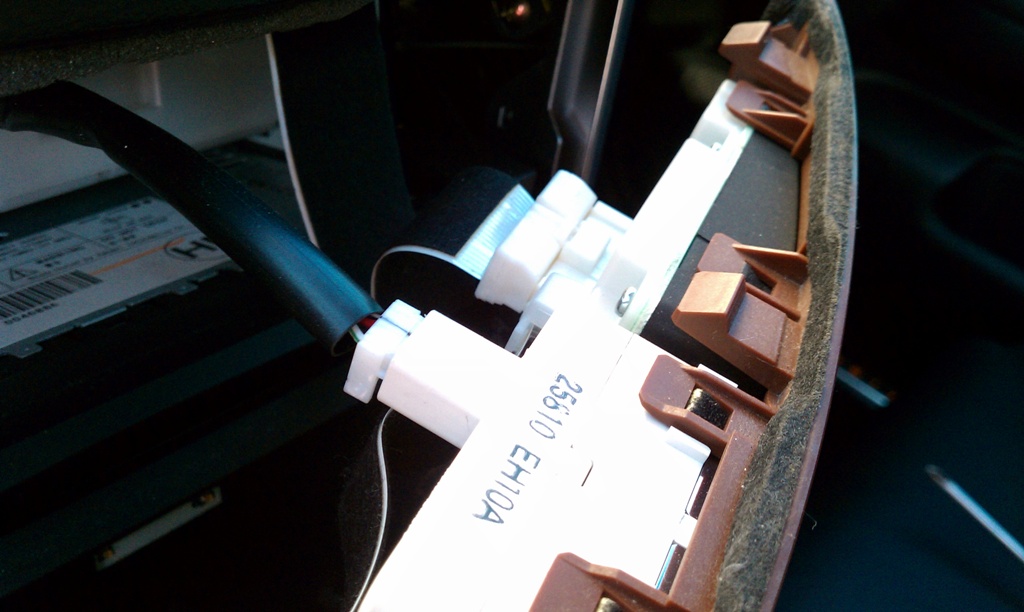
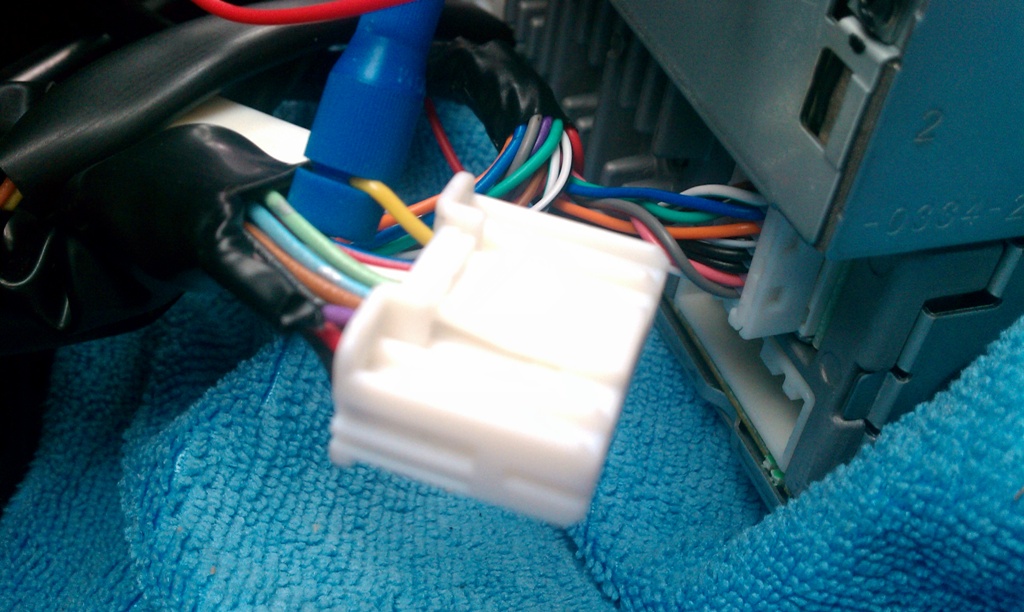
9) Now for the Grom Audio unit, follow their directions. But you can use these pictures for reference. The wire that I spliced into was the yellow wire with the silver tracer. It is the 12v BAT wire for the system (constant voltage). This was after doing it wrong the first time and using the 12v ACC wire (violet with silver tracer). Thanks to Alberto at Grom Audio for catching this. What this resulted in was the system ‘wiping’ the memory positions. Meaning, if you shut your car off while listening to music in folder 5, your car would turn back on and go to folder 1 on your USB stick. Now, using the correct wire, it stays in folder 5 and your last song:

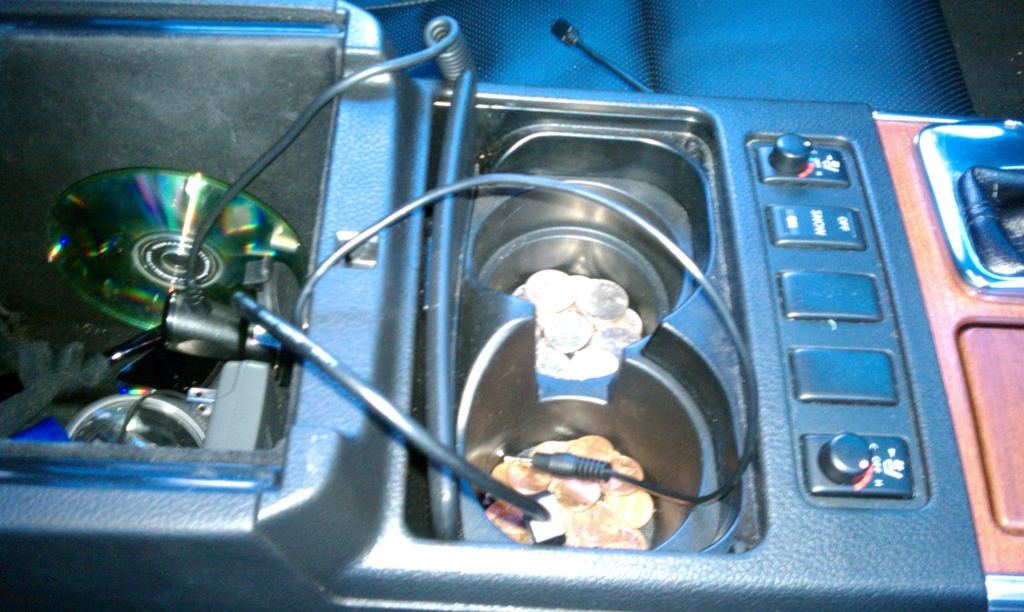
10) Run the iPod, USB, and 3.5mm wires to their desired locations. Since I am going to be using the USB and 3.5mm the most (don’t like Apple products but bought the cable so if I have passengers in the car who have an iPod), I ran mine to these locations:
iPod – Glove Box:
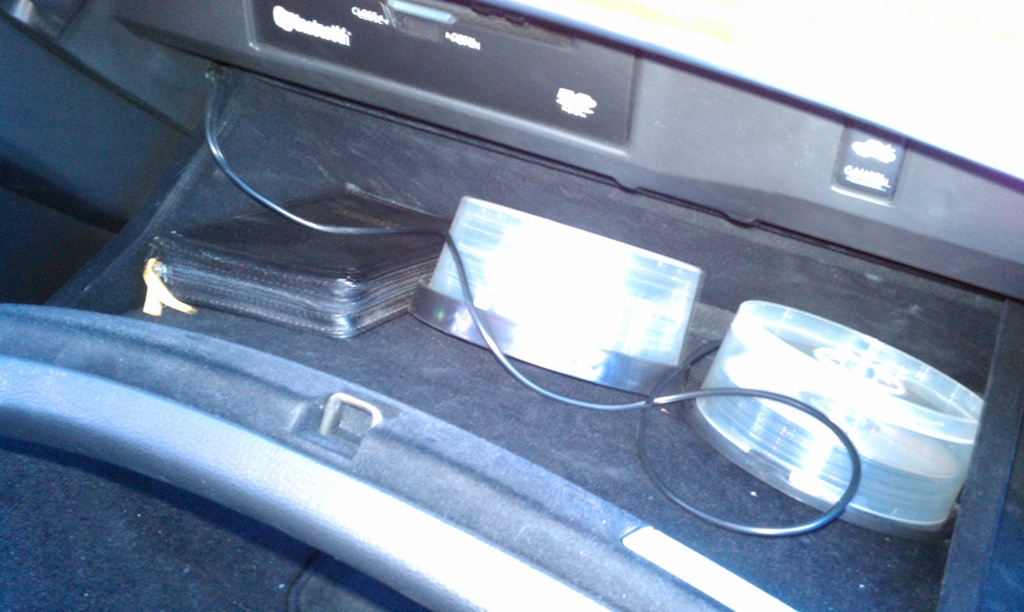
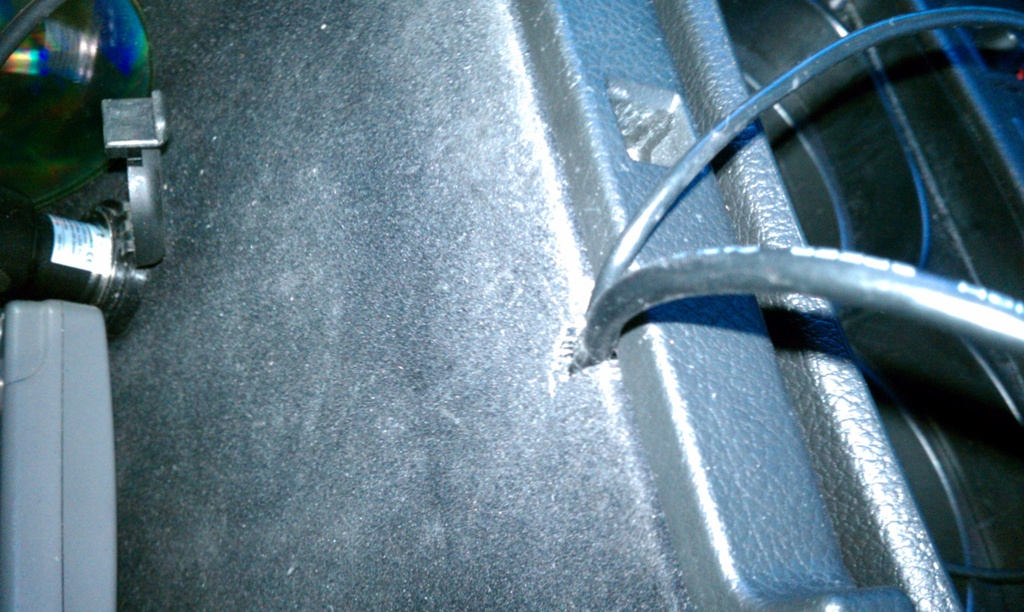
USB/3.5mm – Center Console (had to cut a little bit of the console to fit otherwise the wires got crushed by the trim):