Article Series
- Restoring a 1968 Datsun 510 Sedan - Meet "Betty"
- Restoring a 1968 Datsun 510 Sedan - Front Suspension
- Restoring a 1968 Datsun 510 Sedan - Rear Suspension
- Restoring a 1968 Datsun 510 Sedan - Differential and Rear Brakes
- Restoring a 1968 Datsun 510 Sedan - Wiring with a universal harness
- Restoring a 1968 Datsun 510 Sedan - Engine install, door hinges and bumpers!
- Restoring a 1968 Datsun 510 Sedan - Weatherstrip and window squeegies
- Restoring a 1968 Datsun 510 Sedan - Part 8 - Seats and Wiring
- Restoring a 1968 Datsun 510 Sedan - Part 9 - Lighting
- Restoring a 1968 Datsun 510 Sedan - Part 10 - Radiator and cooling system
- Restoring a 1968 Datsun 510 Sedan - Part 17 - NICOclub
It’s time to get the cooling system installed! Last week, UPS delivered a sweet custom 3-row aluminum Ron Davis Racing radiator, specifically made for a 510. Now, before anyone thinks I’ve forgotten the entire basis of this project (to get it done with *just* the money I earned selling spare parts), I didn’t pay full price – Someone had purchased it for a project and the project fell through. So, half-price works for me! Anyway, the plan here is to utilize the stock fan and fan clutch (albeit freshened up), the larger radiator, and a 180* thermostat to ensure this L20b always runs cool and smooth.
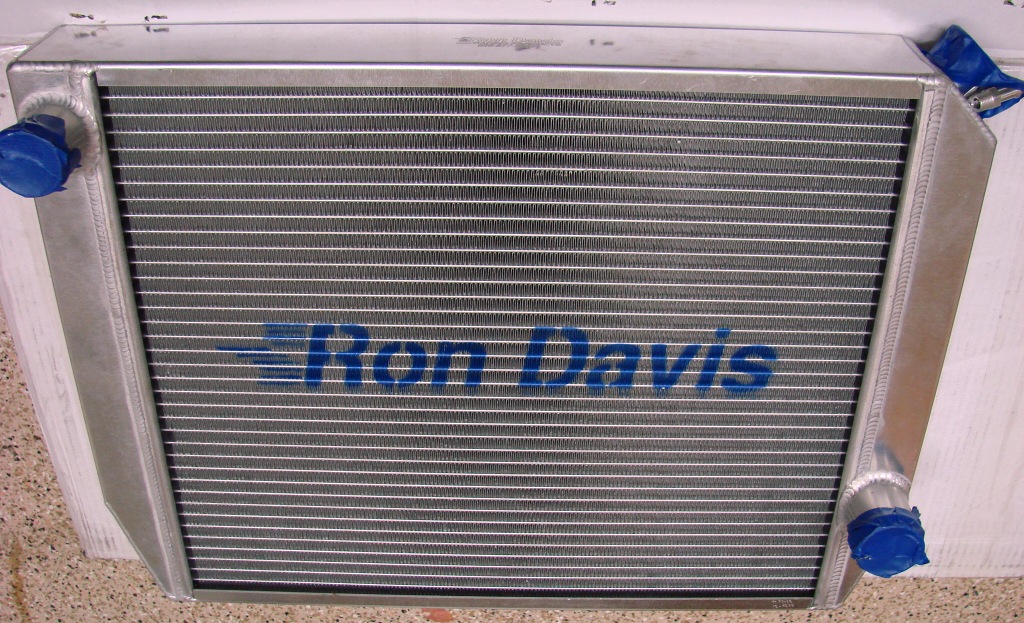
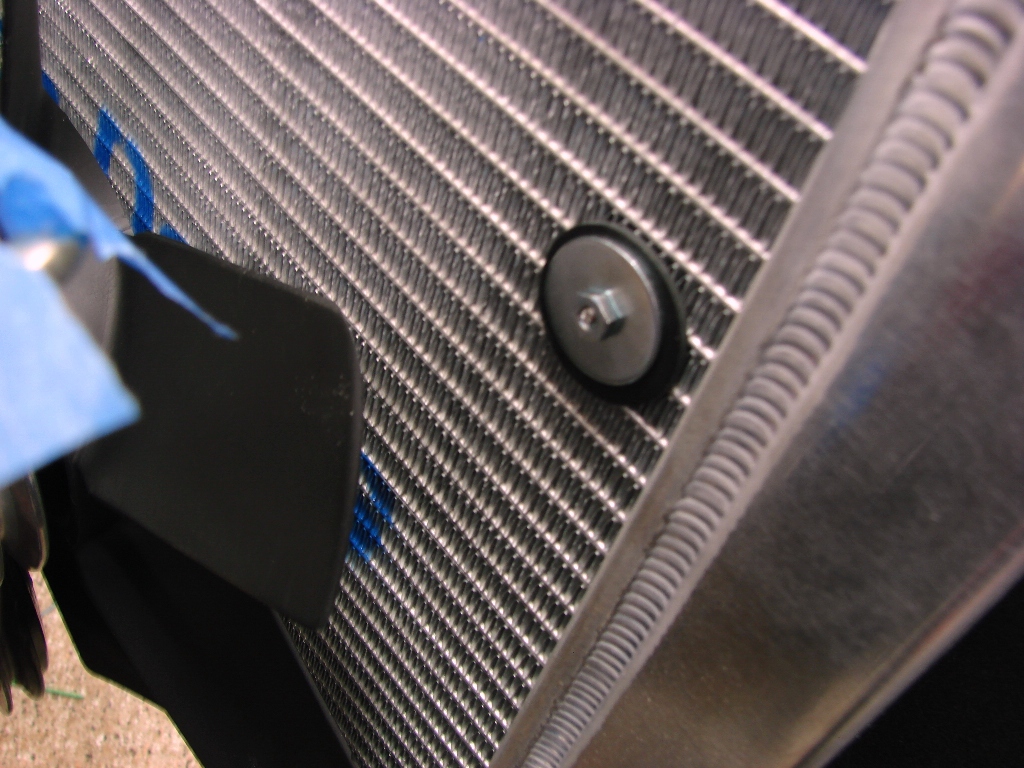
Well, big surprise – Plans come together as intended about 20% of the time, and this is an occasion where the plan fell apart right away. Installing the new radiator became a major project right away. The mounting holes were WAY too high, which would place the radiator cap about an inch higher than the hood level. Ok, no big deal – a couple custom brackets and some through-radiator mounts should fix that. So, I fabricated some trick 3/16″ all-thread shafts with rubber insulators and large stainless washers to mount it up in the position I liked.
Awesome, right? Not so fast. The thicker radiator was about 1″ off the stock fan, which means no room for a fan clutch. Normally I dislike electric fans, but it looks like necessity was going to dictate the use of one on this project. Fortunately, I’ve had great luck with the compact, high-cfm cooling fans from Perma-Cool, so back to the computer to order one. While awaiting the fan, I decided to mock up the coolant hoses, just to make sure everything’s going to fit nicely… No dice. The upper coolant hose was interfering with the distributor, and no amount of “re-routing” was going to fix that issue. The more I looked at the radiator, the more it started looking like… Yep. It’s a custom unit, all right. Custom for an SR20 swap into a 510. A quick look at some pics of SR-swapped 510’s online confirmed this.
Dammit.
Well, as luck would have it, a great friend nearby just happens to be building an SR-powered 510 2-door. He got the deal of a lifetime on a sweet Ron Davis radiator, perfect for his car, and I got a $50 lesson in paying attention.
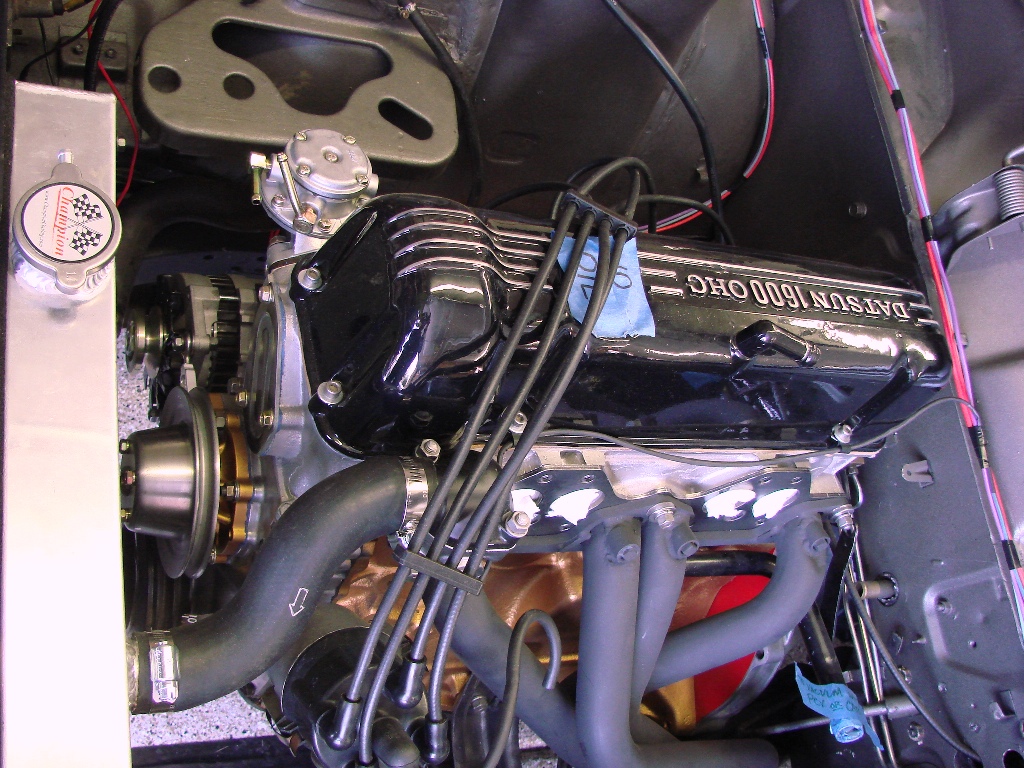
Fortunately, Champion makes some really nice, basic, and good-fitting racing radiators for most cars, and their prices are more than reasonable. While waiting for the replacement radiator, we powdercoated the valve cover and thermostat housing, and I installed the header, fuel pump, distributor, plug wires, and a few other necessities. By the time the radiator arrived, I was chomping at the bit to get this part of the project behind me (I hate losing an entire day in the garage to something that doesn’t work – especially when it’s my fault!) With the radiator fastened to the core support, and the freshly-refurbished stock fan and fan clutch cast aside, the electric fan STILL didn’t fit between the radiator and the water pump pulley… Grrr. No problem, the fan is reversible, it’ll look cleaner as a “pusher-style” fan, and leave me some room under the hood, right?
Not so fast, The core support brace on a 510 hogs up a LOT of space between the grille and the radiator, preventing a fan installation there as well.
Times like these call for more fabrication. Off with the grille, headlight rings, radiator, and that damn support brace. Now, you’re not going to just remove the brace and go without. That brace runs from the lower radiator support (which ties the front “frame” together) all the way up to support the center of the core support (which supports the hood latch). Without this piece, the integrity of the whole front end is compromised (which makes sense, considering how beefy and well-built that center brace was). Luckily, I had some 8-gauge mild steel from a previous project, as well as access to a metal brake, a drill press, and a welder (if needed). I measured the original dimensions of the bracket and traced the contours, with the intention of fabricating an exact match, but without the C-shape of the original. The extra thickness of the steel plate I’m using will allow it to remain rigid, without intruding into the space I need for the fan. I added a third attachment point with an extra bracing plate beneath the grille, and utilized heavier hardware for added strength. It turned out perfect, and there’s actually LESS flexion in the core support than there was with the stock piece.
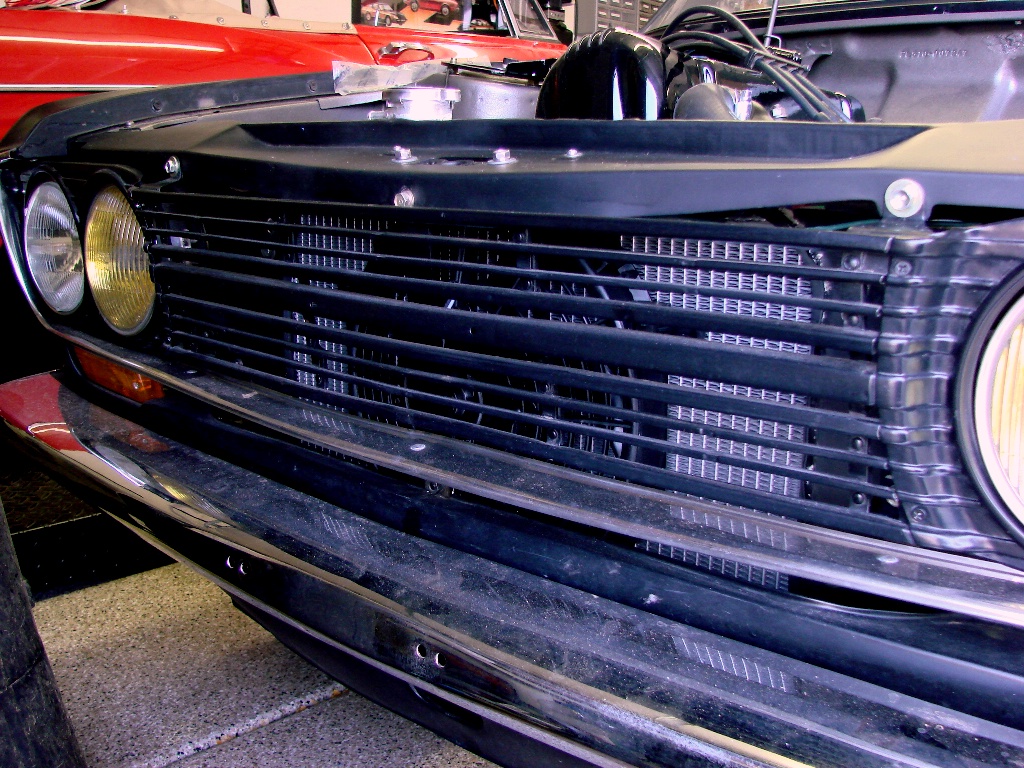
NOW, time to reinstall the radiator, mount up the fan, and put the “face” of our project back together! The rest of this section went together without a hitch (maybe because I removed and reinstalled it all so many times).
Here you can see the completed cooliing system setup, as well as the rest of the work I got done in the interim… Note the “cheater” valve cover!

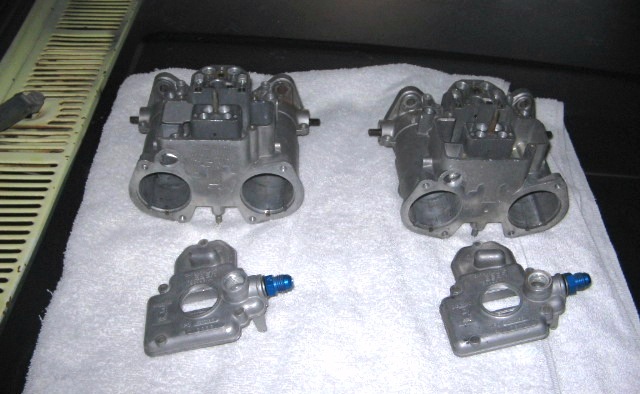
That night, my good friend Dick Lowell (Doctor 510) sent me a “teaser” pic of the carbs he’s building for me… he’s been building awesome 510’s since I was in grade school, so who better to whip up the most important part of the build?
Next up, we’ll install an upgraded single-wire alternator, tackle the driveshaft, start putting together the fuel system, and maybe refinish the underside of the hood… Check it out here! Datsun 510 Build – Part 11