Article Series
- Restoring a 1968 Datsun 510 Sedan - Meet "Betty"13424
- Restoring a 1968 Datsun 510 Sedan - Front Suspension13440
- Restoring a 1968 Datsun 510 Sedan - Rear Suspension13546
- Restoring a 1968 Datsun 510 Sedan - Differential and Rear Brakes13681
- Restoring a 1968 Datsun 510 Sedan - Wiring with a universal harness13877
- Restoring a 1968 Datsun 510 Sedan - Engine install, door hinges and bumpers!13909
- Restoring a 1968 Datsun 510 Sedan - Weatherstrip and window squeegies13943
- Restoring a 1968 Datsun 510 Sedan - Part 8 - Seats and Wiring14317
- Restoring a 1968 Datsun 510 Sedan - Part 9 - Lighting14339
- Restoring a 1968 Datsun 510 Sedan - Part 10 - Radiator and cooling system14371
- Restoring a 1968 Datsun 510 Sedan - Part 17 - NICOclub19126
Welcome back!

In the last installment, we spent a LOT of time on the floor. Well, my back and knees are tired, so it’s time to get “upright” and do some work up top.
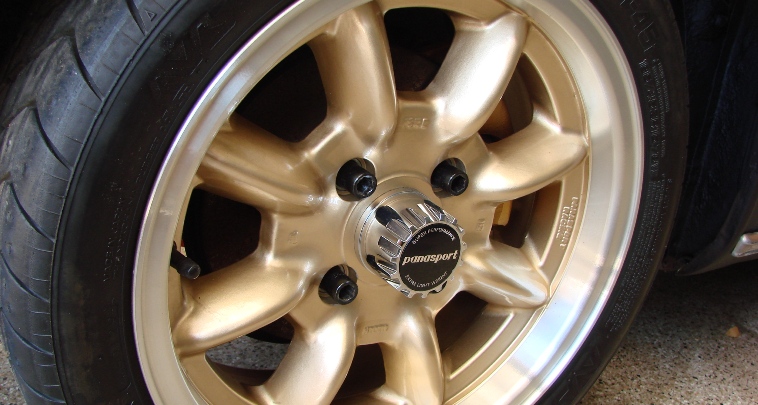
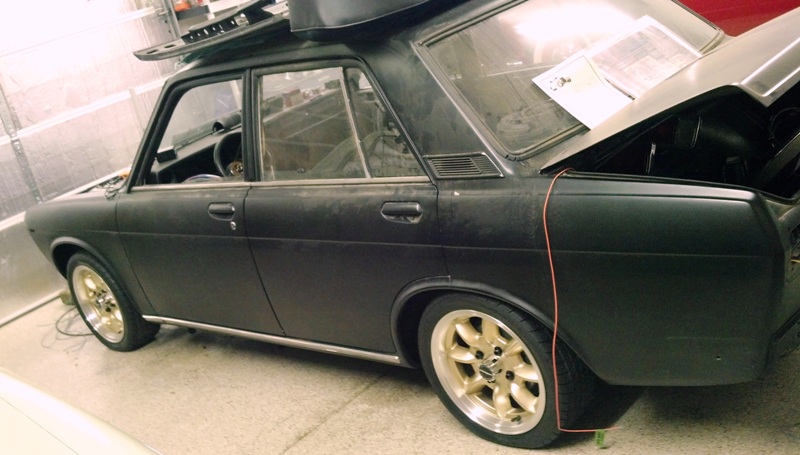
After working long and hard on the suspension and undercarriage, it’s always rewarding to bolt on the wheels and tires to see how the car will sit. With a “best guess” setting on the front coilovers, I didn’t anticipate any issues – but fortunately, they were pretty close to spot-on. With the engine in, the front should sit down perfectly. If not, there’s still a lot of adjustability left on the front coils.

In keeping with the whole “low-budget build”, don’t go thinking for a minute that I splurged on the rolling stock. In fact, I was holding out for a set of ratty Enkei 92 meshies to refinish. But when I ran across a smoking deal on these Panasports with fresh tires, that had been test-fitted and then removed, I jumped on it. After shipping, these wheel and tire combo cost me less than the tires would have cost new. So, we’re still almost a thousand dollars in the black on this project!
Now that I can visualize what it’ll look like when completed, there’s more motivation to get some of the other tasks completed. From here on out, the project will jump around quite a bit as I work around waiting on parts.
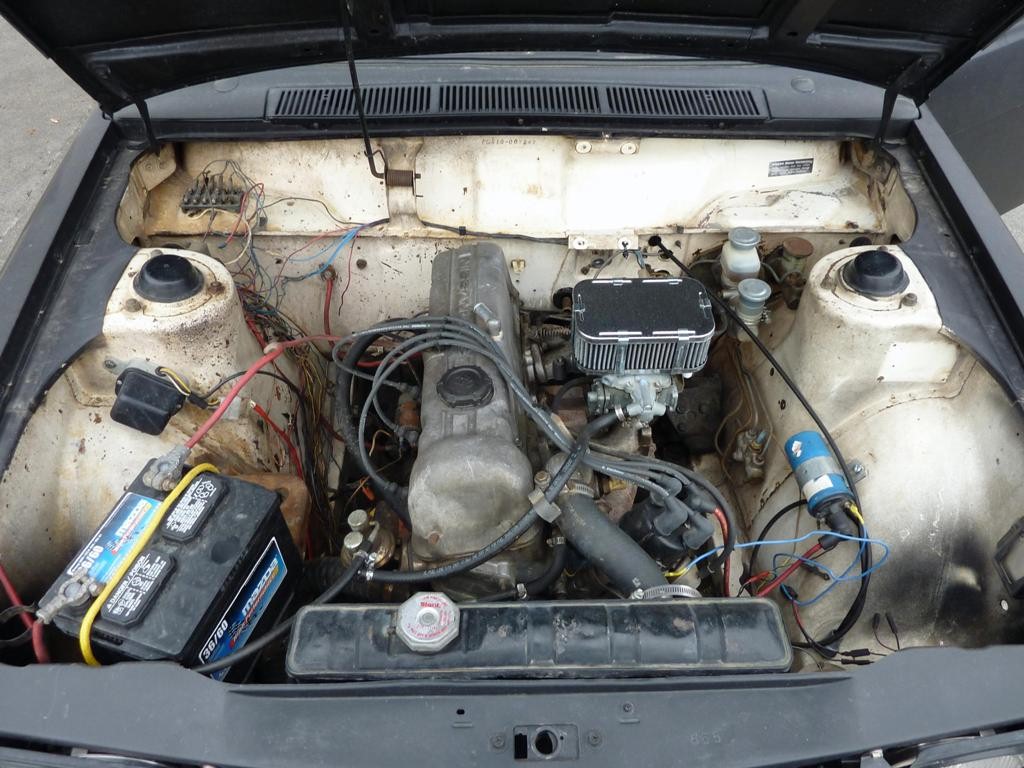
As I mentioned in a previous episode, the wiring on the 510 when I got it was a ridiculous mess. Burnt wires, splices made with duct tape, connections made with wire nuts, extensions made with speaker wire… it looked like someone had taken a weedwacker to a bowl of multicolored spaghetti. I’m thankful to the previous owner for doing the stuff I *hate* (bodywork and paint), but I’m pretty sure this was the most backwards restoration ever. Check out this picture, taken when I picked up the car – you can see a little of the tangled mess:

I had access to a really clean OEM 510 engine and body harness. However, as I learned from working on our 240Z and our Roadster, 45-year old Datsun wiring is not great for carrying current. Even on a perfectly intact harness, if you cut a wire near one of the sockets, strip it, and look at the copper strands, they’ll be oxidized. Further, the insulation can crack, which can lead to some pretty annoying gremlins, blown fuses, burnt bulbs, or even fire. So, why chance it?
I took the good advice of local 510 expert Ryan Newman and bought an aftermarket universal harness. For $125, I got a 12-circuit harness with a REAL fuse box (with modern mini fuses). The kit includes not only a sweet fuse block, but it also includes some other wiring goodies (like wire ties and clips). Each wire is not only color-coded, but it’s also labeled every foot! This way, you don’t even need to worry about wire colors – it’s pretty much impossible to screw this up. This also allows you to do away with a lot of the extra wiring that’s not needed, as well as things like voltage regulators and such… this will make a cleaner install. Plus, you can run relays for things like the headlights – something Datsun should have done from the beginning. A big thanks to Ryan and Wayne for their expertise with the wiring – I’d have never gotten far without their knowledge.
Here’s some pics – The first pic shows the initial layout (before grouping the wires into three segments – one to the engine bay, one to the dash, one to the rear of the car). It’s not as scary as it looks. The second pic is after everything was bundled and routed, awaiting connectors. The third pic shows the gauge cluster getting fresh new bulbs – spend the $5 and replace ALL the bulbs, and save a LOT of hassle later!
And, here a photo of the fuse box in its new home. You could put it in the glove box, but I liked the idea of having it close to the driver, and it kept me from having to punch holes in my pristine glove box liner.

Here’s the wiring for the engine bay, laid out roughly. Using the 12-circuit universal harness means there’s extra wires for things like a third brake light, an electric fuel pump, electric fan, and stereo. Later, once all the wires are routed to their final destination and all the connectors have been installed, the whole thing will be “unclipped” and wrapped.

I’m sure you’re wondering by now – if the original harness was so bad, then what about the original connectors? Wouldn’t those be shot as well? The quick answer is YES. However, there’s very few “Datsun-specific” connectors or plugs that can’t be sourced new. For example, most of the dash switches use spade lugs – those are cheap and easy to find in the universal assortments you can buy anywhere. The turn signal and side markers use bullet connectors, which are usually included in those assortments as well. The headlight plugs are also spade lug, so you could simply use individual ones – but if you want to have the plastic plug, they’re available through Nissan still, and I even saw them in the “HELP” section of my local AutoZone. In fact, the ONLY socket I wasn’t able to replace with new stuff was the taillight bulb sockets. However, mine were still in great shape, so I simply added them to the end of my universal harness wires. They’re really common, though, so I wouldn’t be surprised if someone’s still manufacturing them in Taiwan or Singapore.
Bottom line? I’ll be replacing the wiring on ALL of our Datsuns with a universal harness from here on out.
When we return, we’ll break out the engine hoist – I just got a phone call, and our hotted-up L20b is ready to drop in!
Click here for Part 6 of Project 510 Build!


