Article Series
- 1967 Datsun WRL411 Rescue and Restoration - Part 15999
- 1967 Datsun WRL411 Rescue and Restoration (Part 2)6038
- 1967 Datsun WRL411 Rescue and Restoration (Part 3)6057
- 1967 Datsun WRL411 Rescue and Restoration (Part 4)6085
- 1967 Datsun WRL411 Rescue and Restoration (Part 5)6103
- 1967 Datsun WRL411 Rescue and Restoration (Part 6)6126
- 1967 Datsun WRL411 Rescue and Restoration (Part 7)6147
- 1967 Datsun WRL411 Rescue and Restoration (Part 8)6157
- 1967 Datsun WRL411 Rescue and Restoration (Part 9)6168
- 1967 Datsun WRL411 Rescue and Restoration (Part 10)6183

Holy crap – We’re almost to the end! We’re glad you’ve taken the time to read about our restoration, that makes it all worthwhile!
With the actual running and driving thing out of the way, it was time to make it presentable. Installing the exterior trim and lights was fun. Cleaning and polishing each individual component before reattaching it to the car ensures that you’re not going to be disappointed in the final outcome. The grille was polished by hand several times, front to back. All light bulbs were replaced with new ones, each socket got cleaned with a brass brush attachment on the Dremel, and the sockets got a coating of dielectric grease. Every emblem got refinished at the kitchen table (thanks, honey!) Small jars of Testor’s model paint and some model car brushes came in handy here.
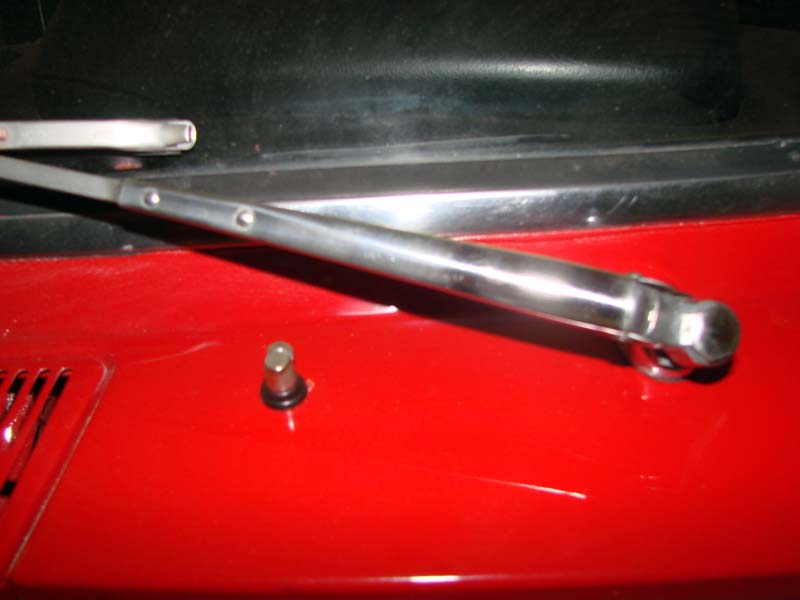
When restoring something as rare as this, you get used to running across the problem of finding rare parts. A good example is the windshield washer nozzle gaskets. Sure, they’re tiny pieces, and no one would really notice if I just threw away the crumbly ones and went without replacements. But overcoming little obstacles is what makes a restoration fun, and when you can come up with a solution out of a box of junk in the garage, it just feels good. So, I disassembled the washer nozzles, polished them on the buffer, and set about finding a solution… Some hard plastic beveled “feet” from the bottom of an old printer were JUST the right size. A quick hit with a drill bit in a Dremel and they look like they belong there:
A few finishing details were added after everything was put together. Any self-respecting cool wagon will have some “custom” touches, and we really wanted to accent her appearance without being obnoxious. A set of chrome vent window wings and some chrome headlight “eyelids” really punch up the appearance. A single chrome round side mirror, mounted high on the side pillar, emphasizes the retro theme.
The Finished Product:
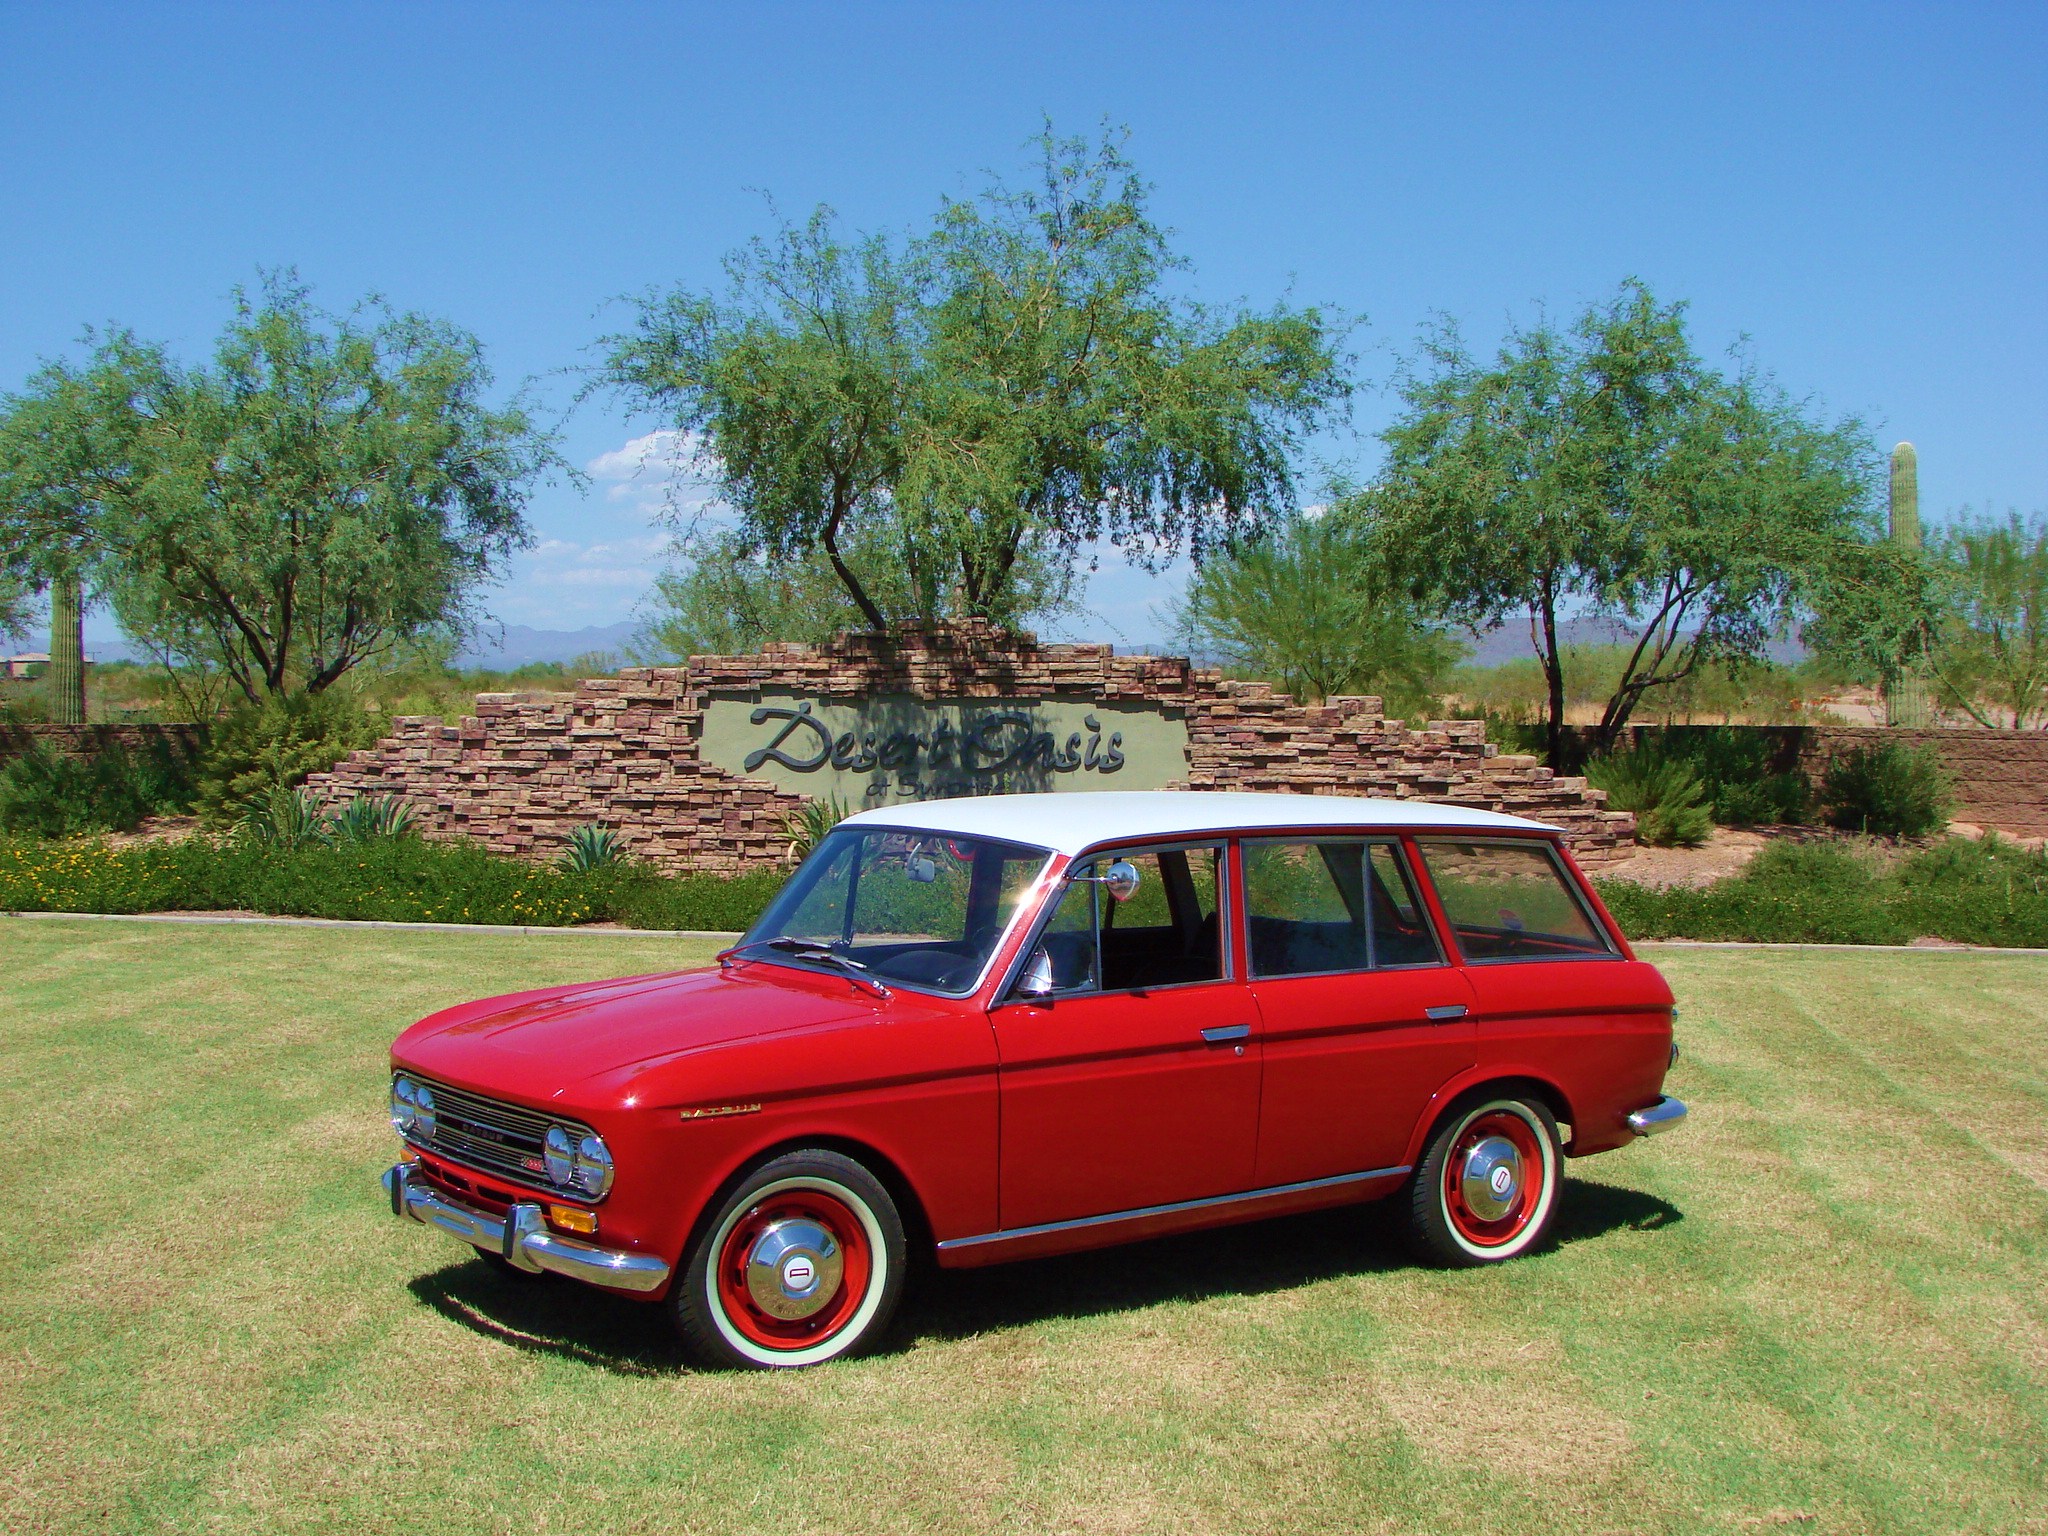 I’ve sourced an original roof rack that was a dealer-installed option on these, but it needs re-chroming before I install it. A few days before finishing this article, I located an old Thermador swamp cooler that looks great hanging on her window, and it should come in handy on those days when it’s a little too warm. I’m working on designing a one-of-a-kind solid windshield visor, and maybe I’ll even find a set of fuzzy dice to finish off the look.
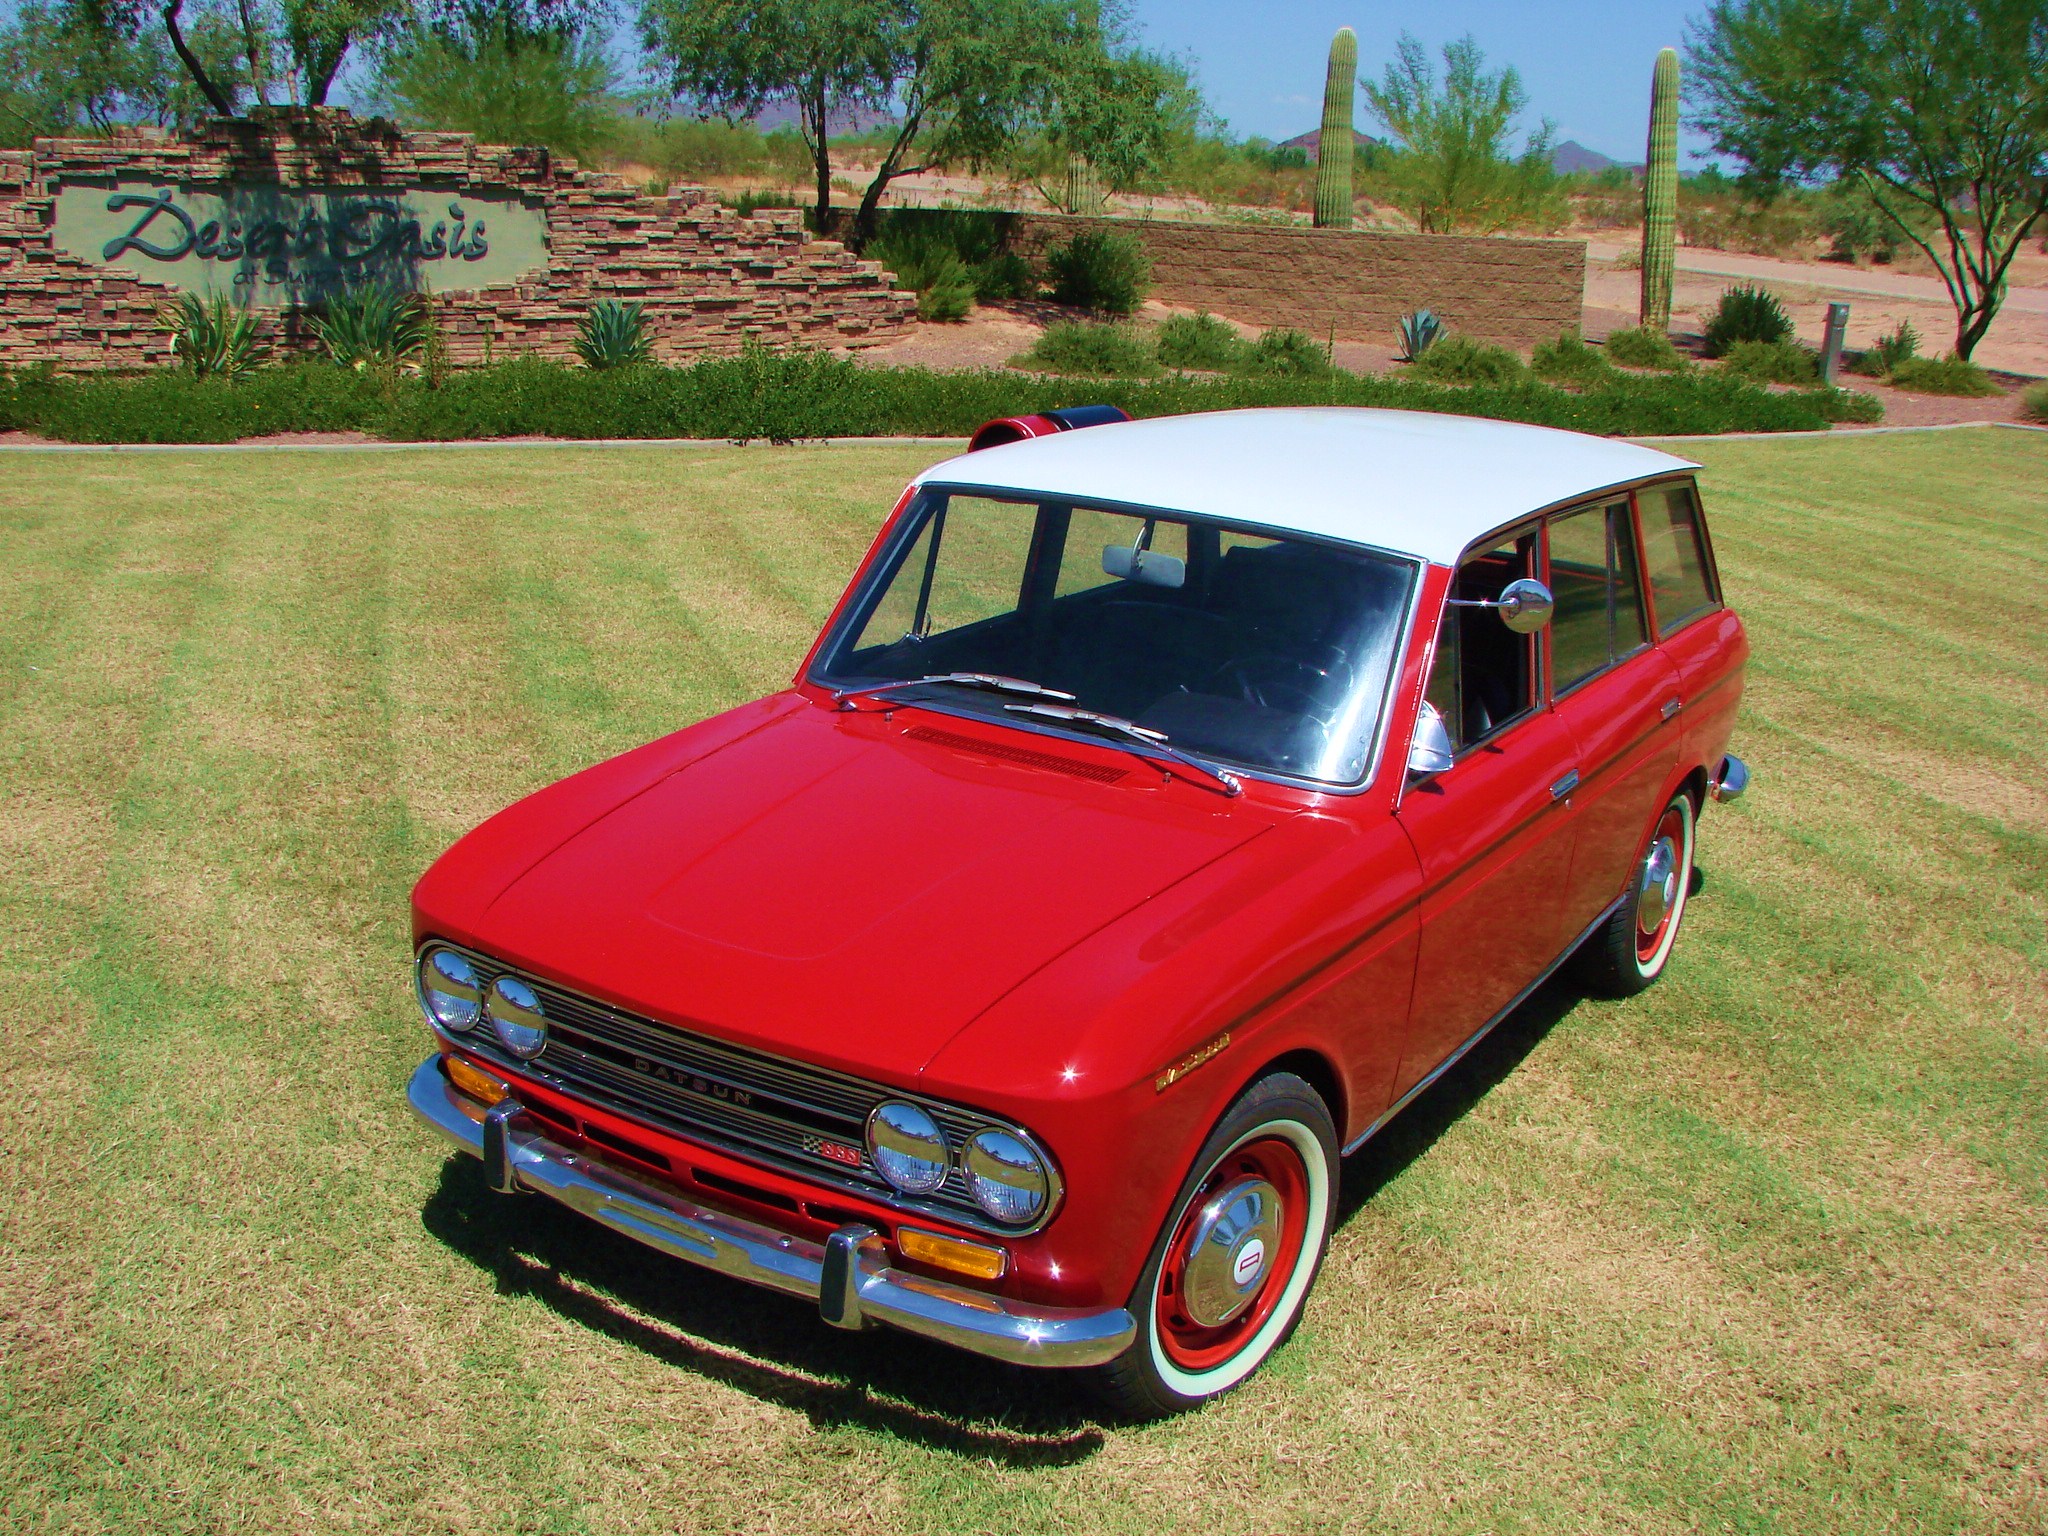
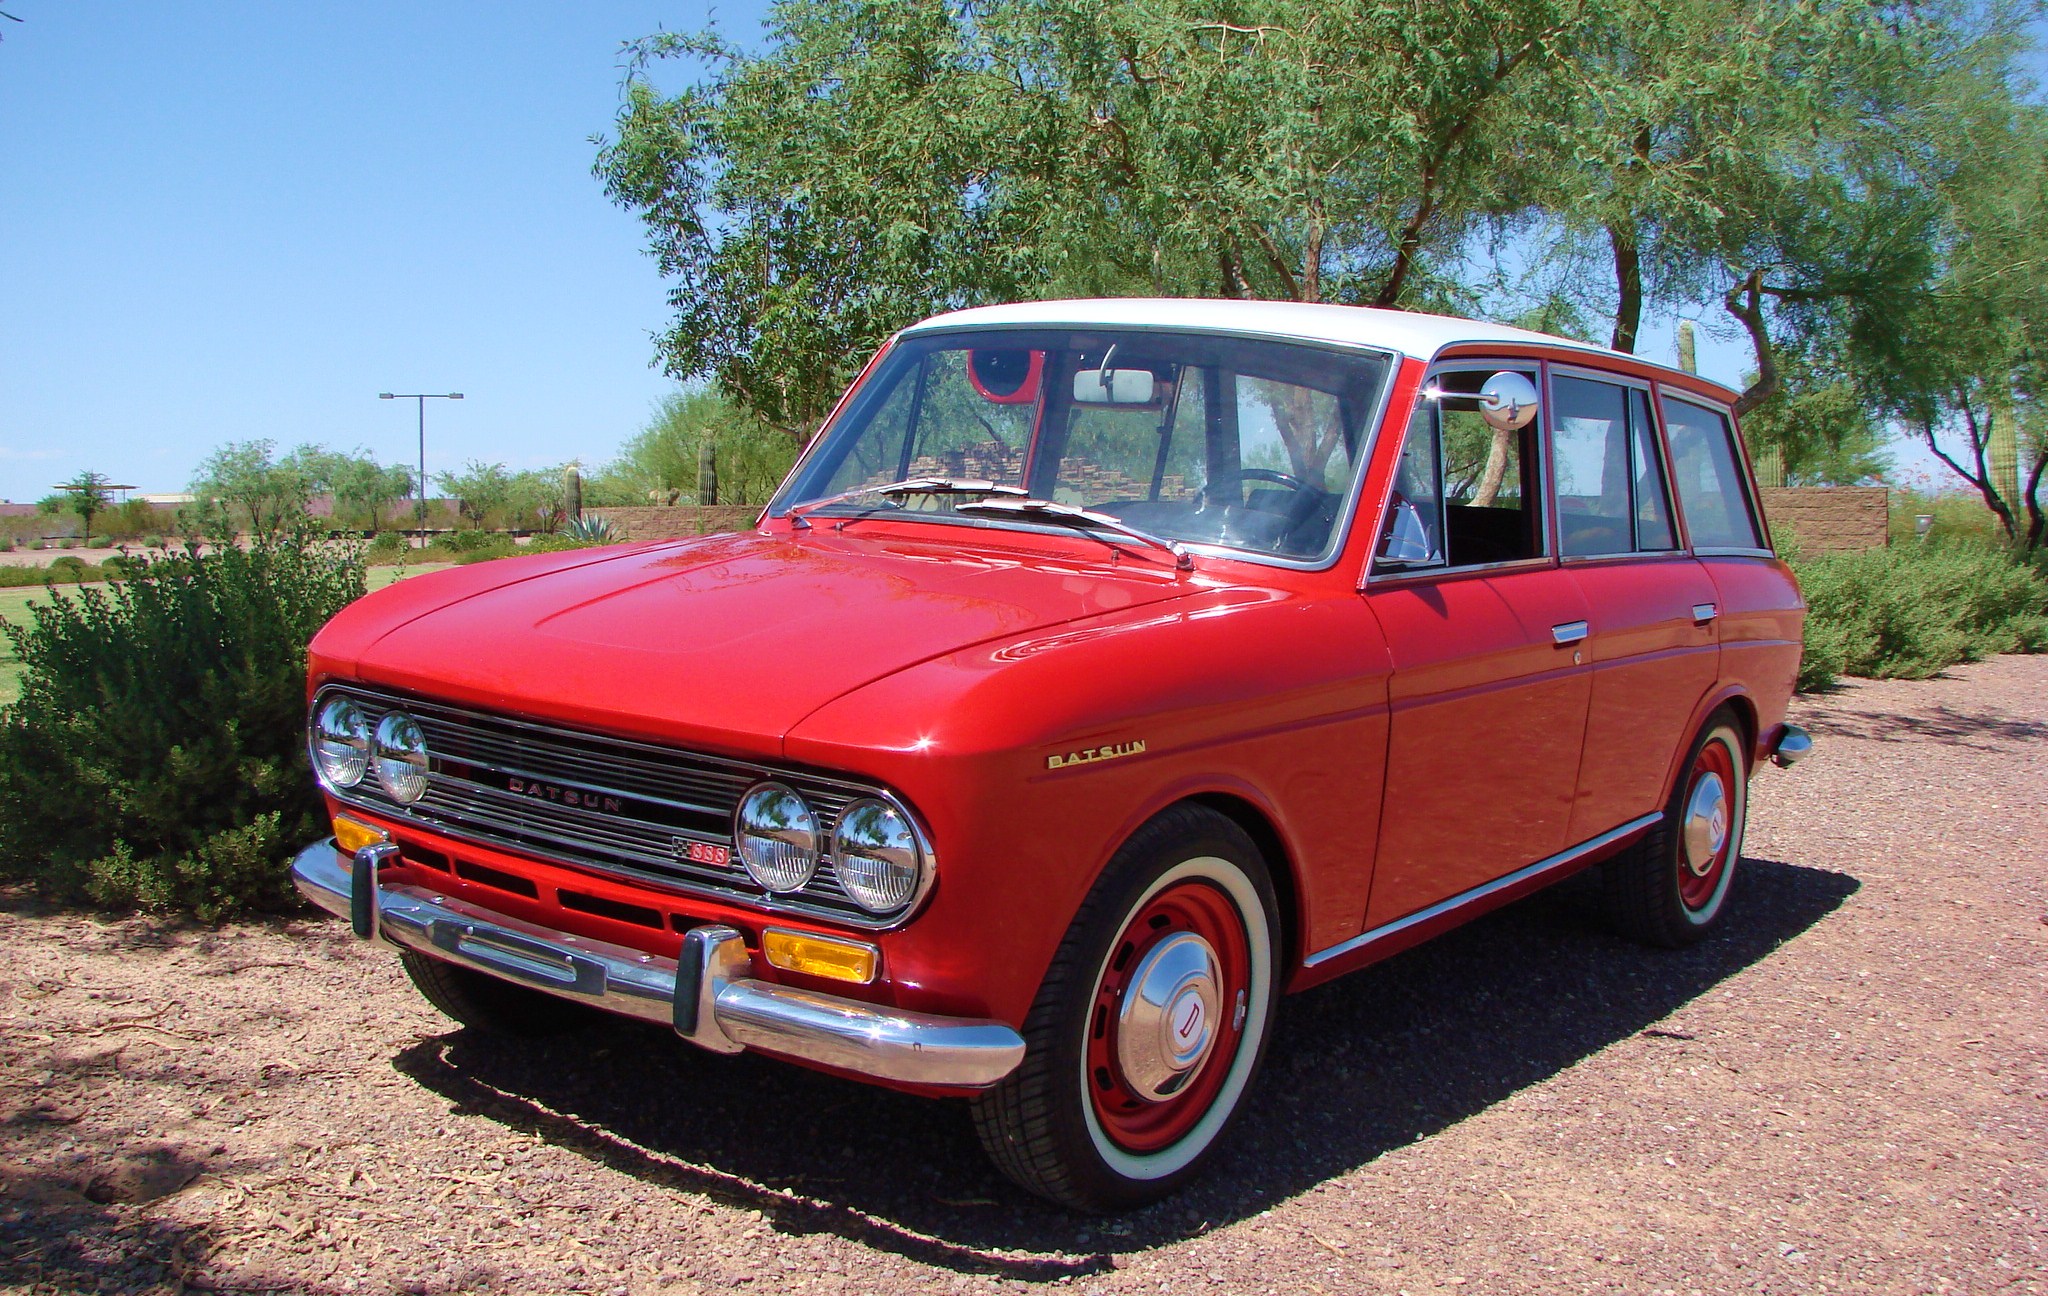
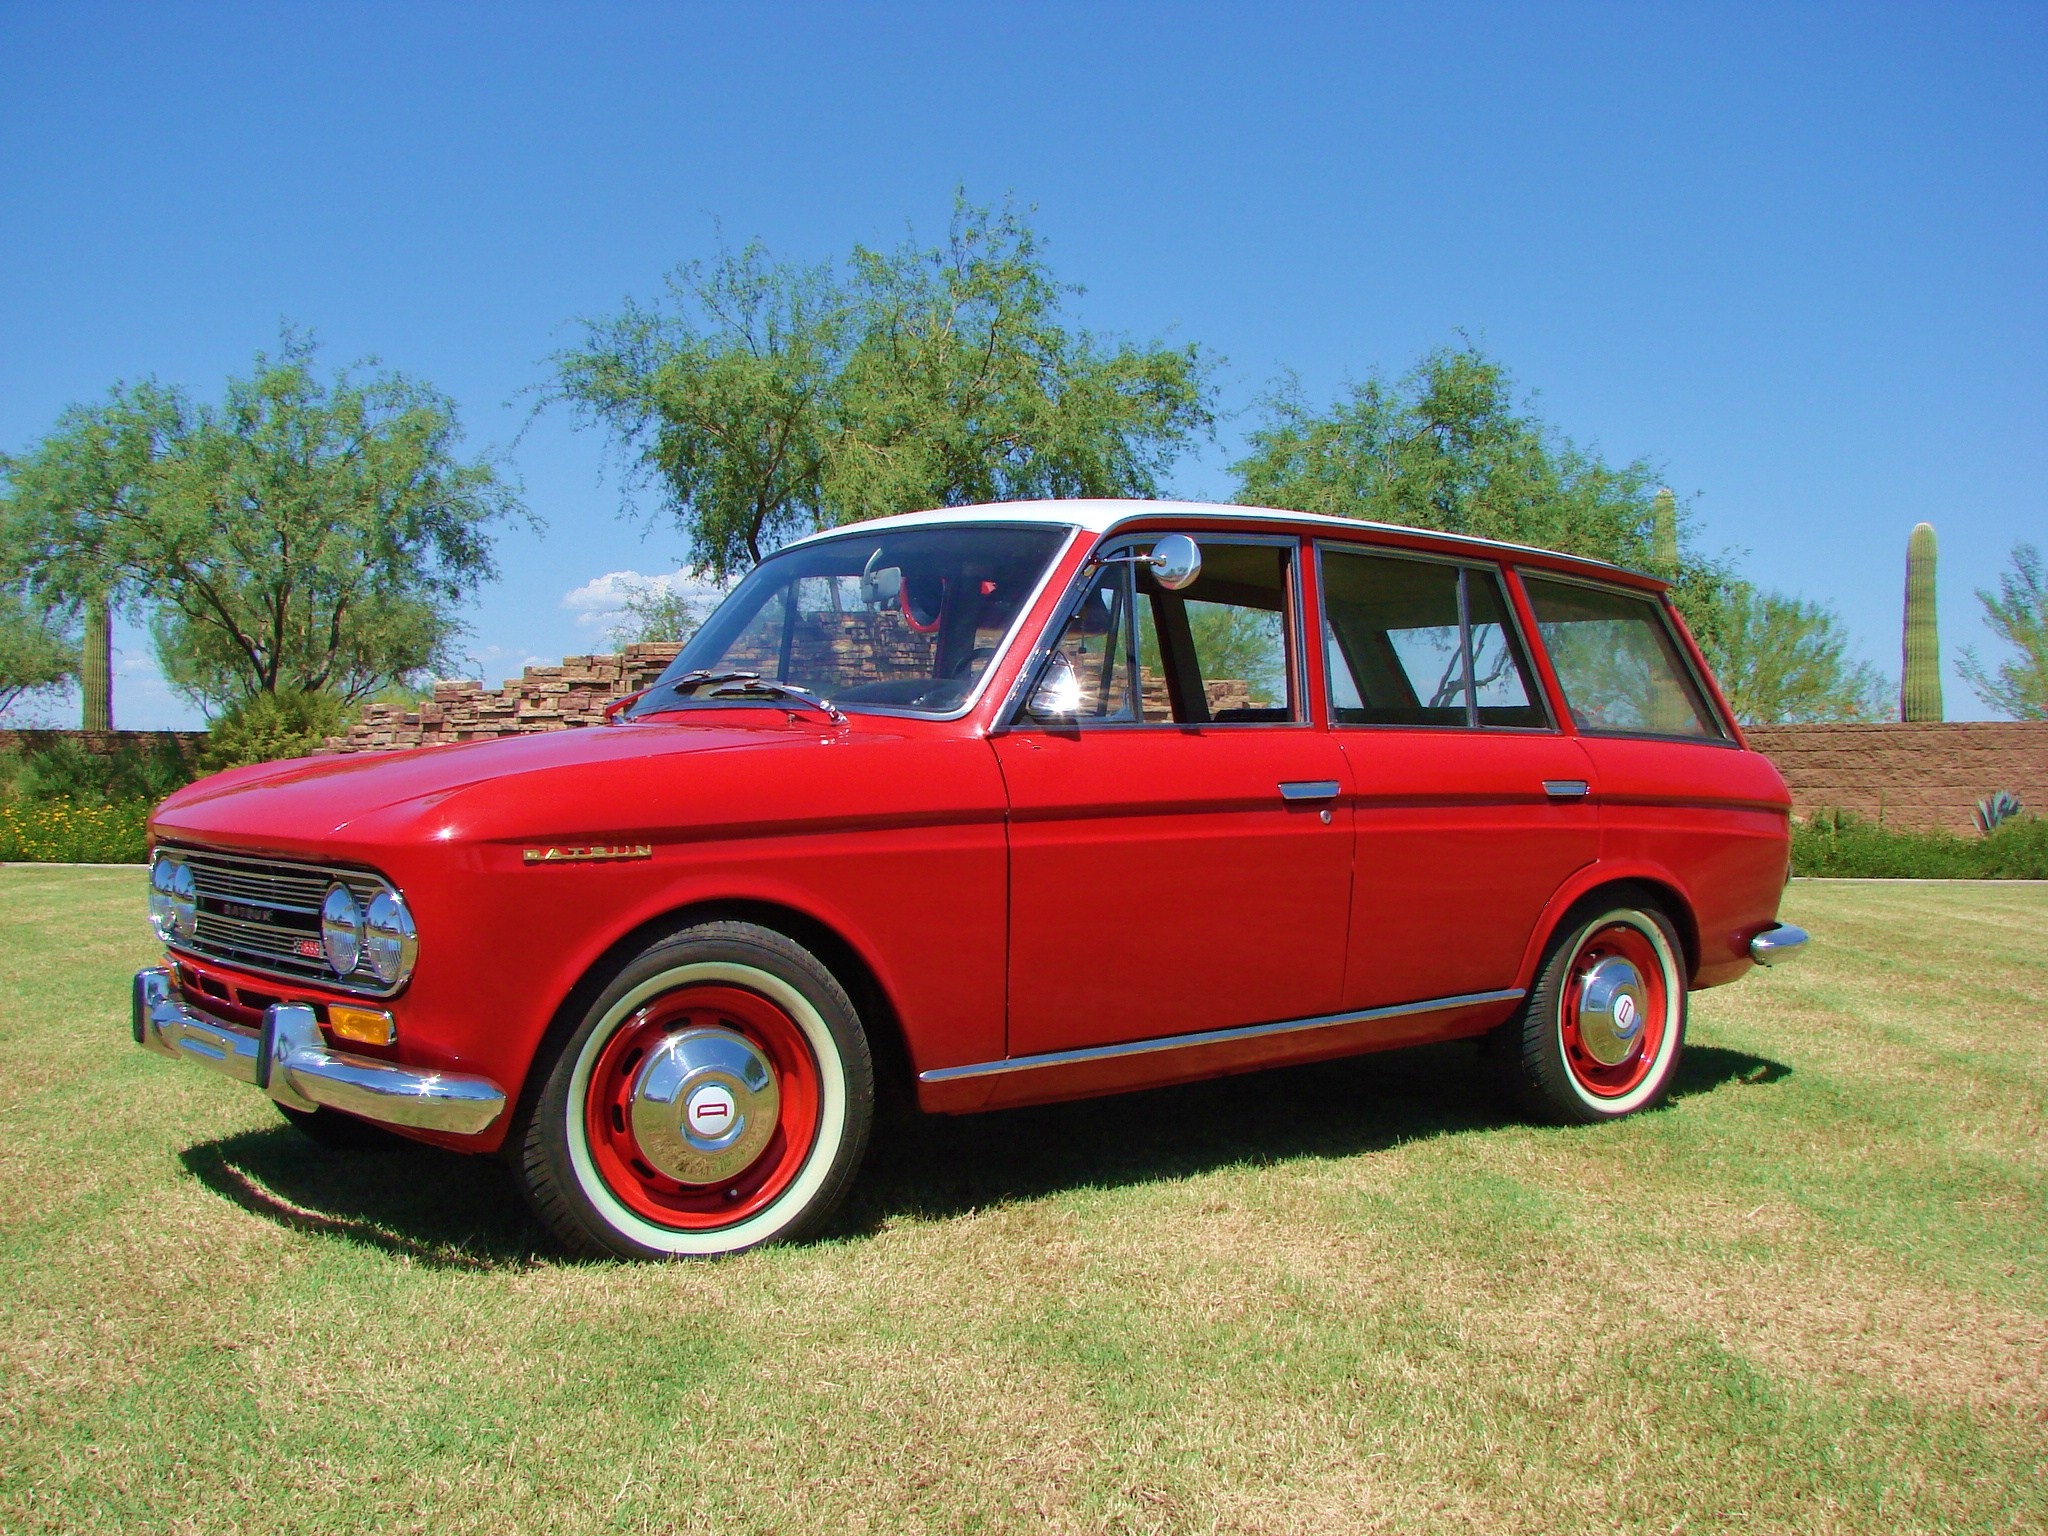
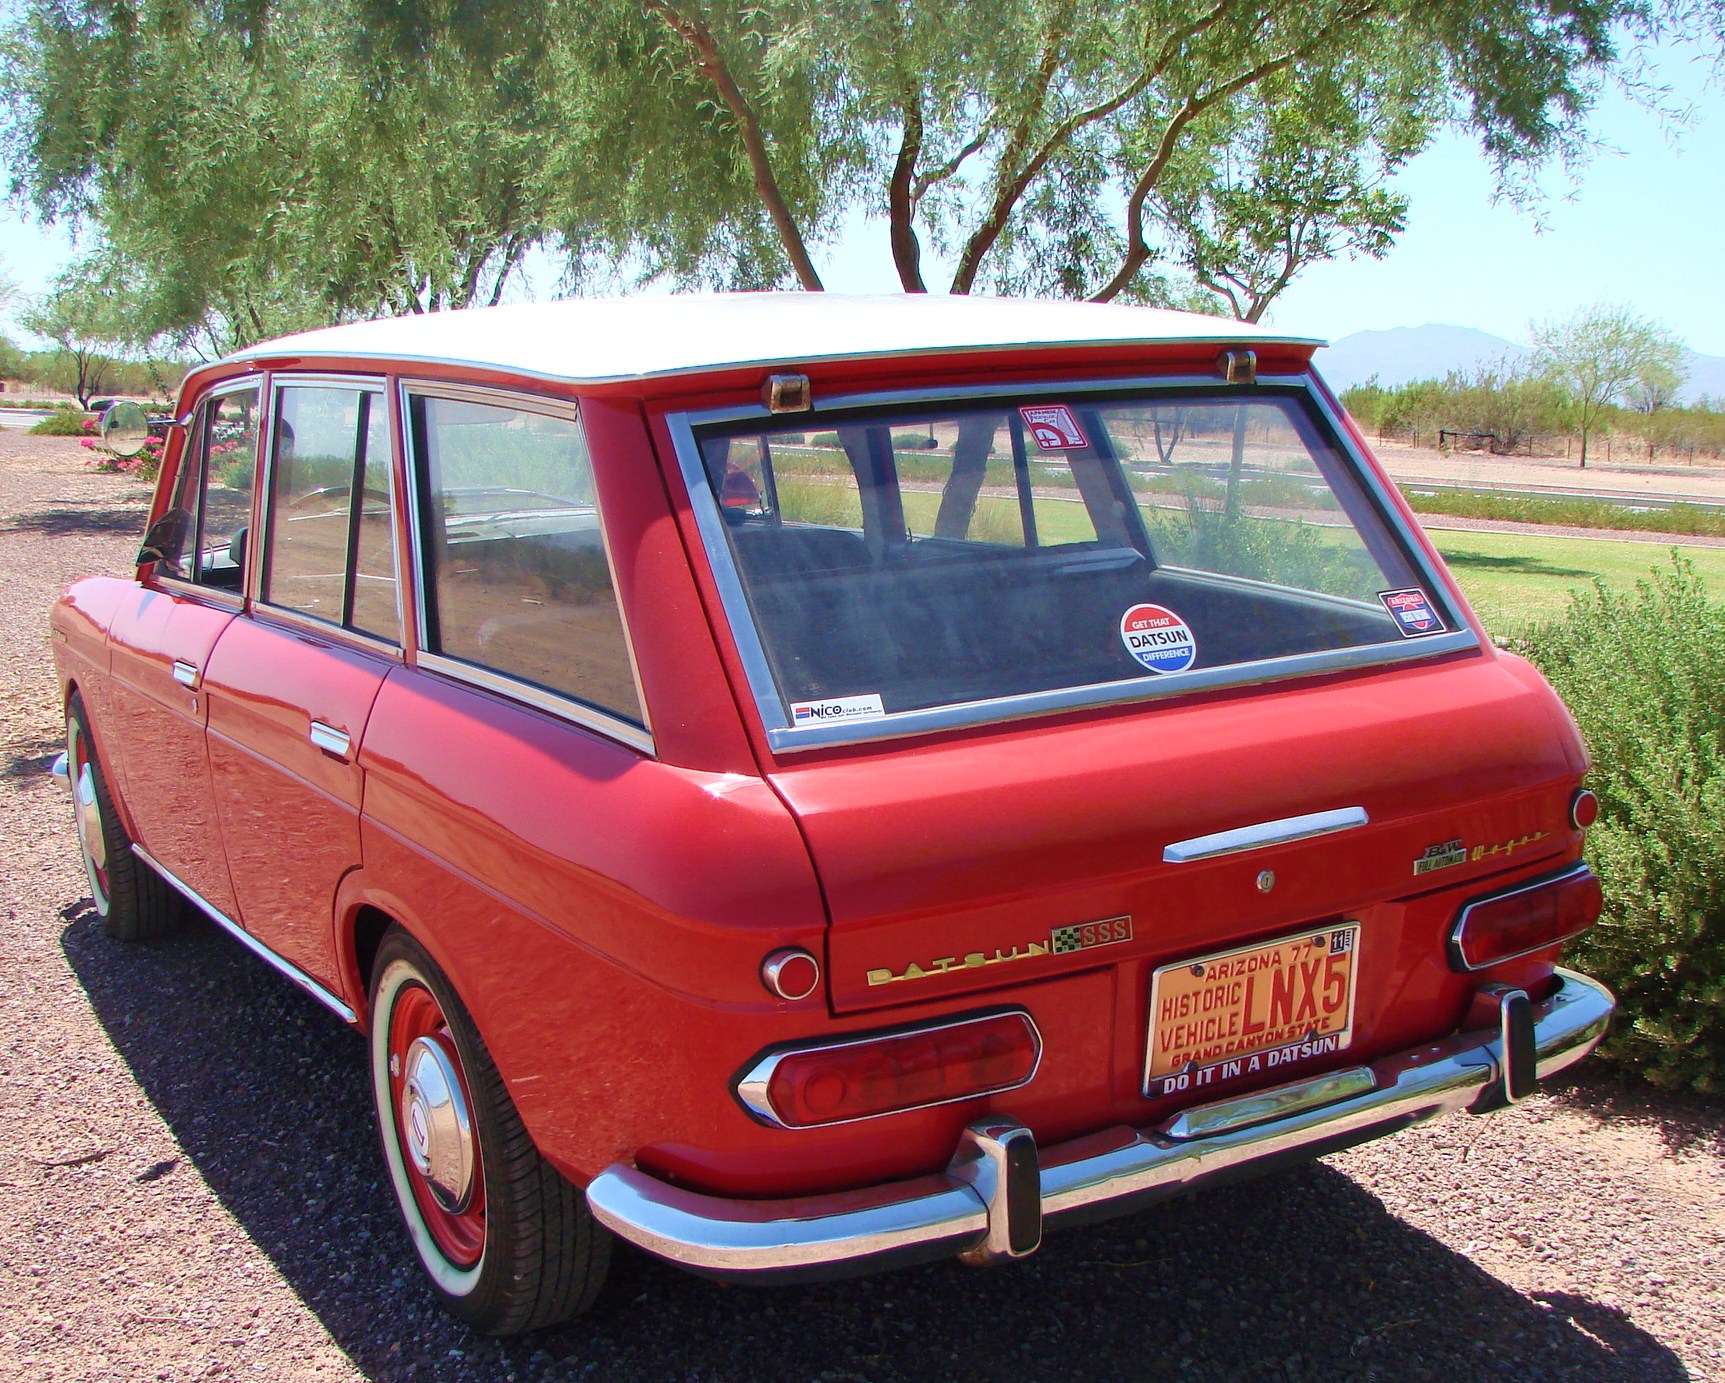
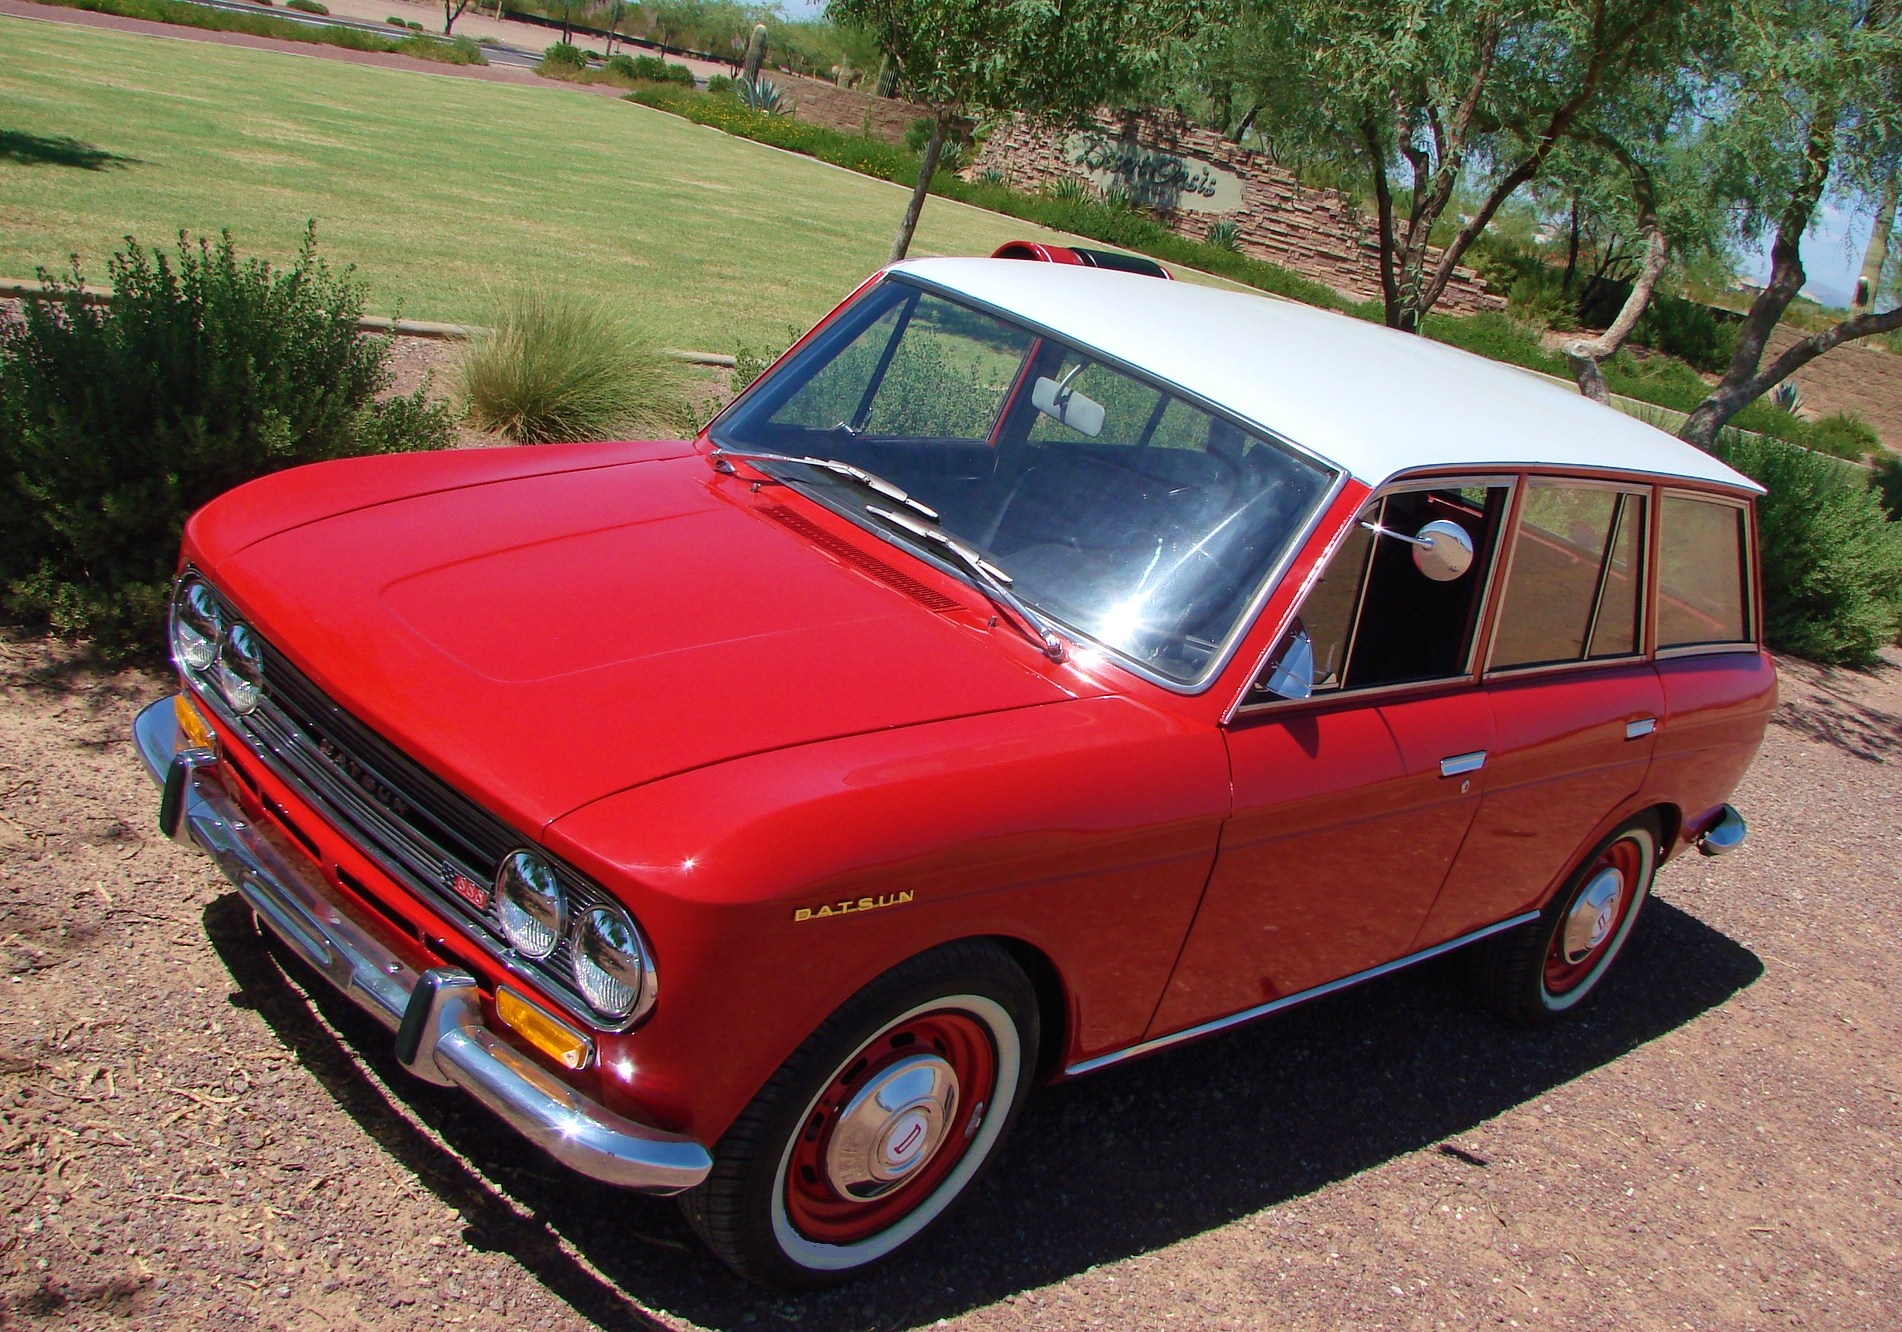
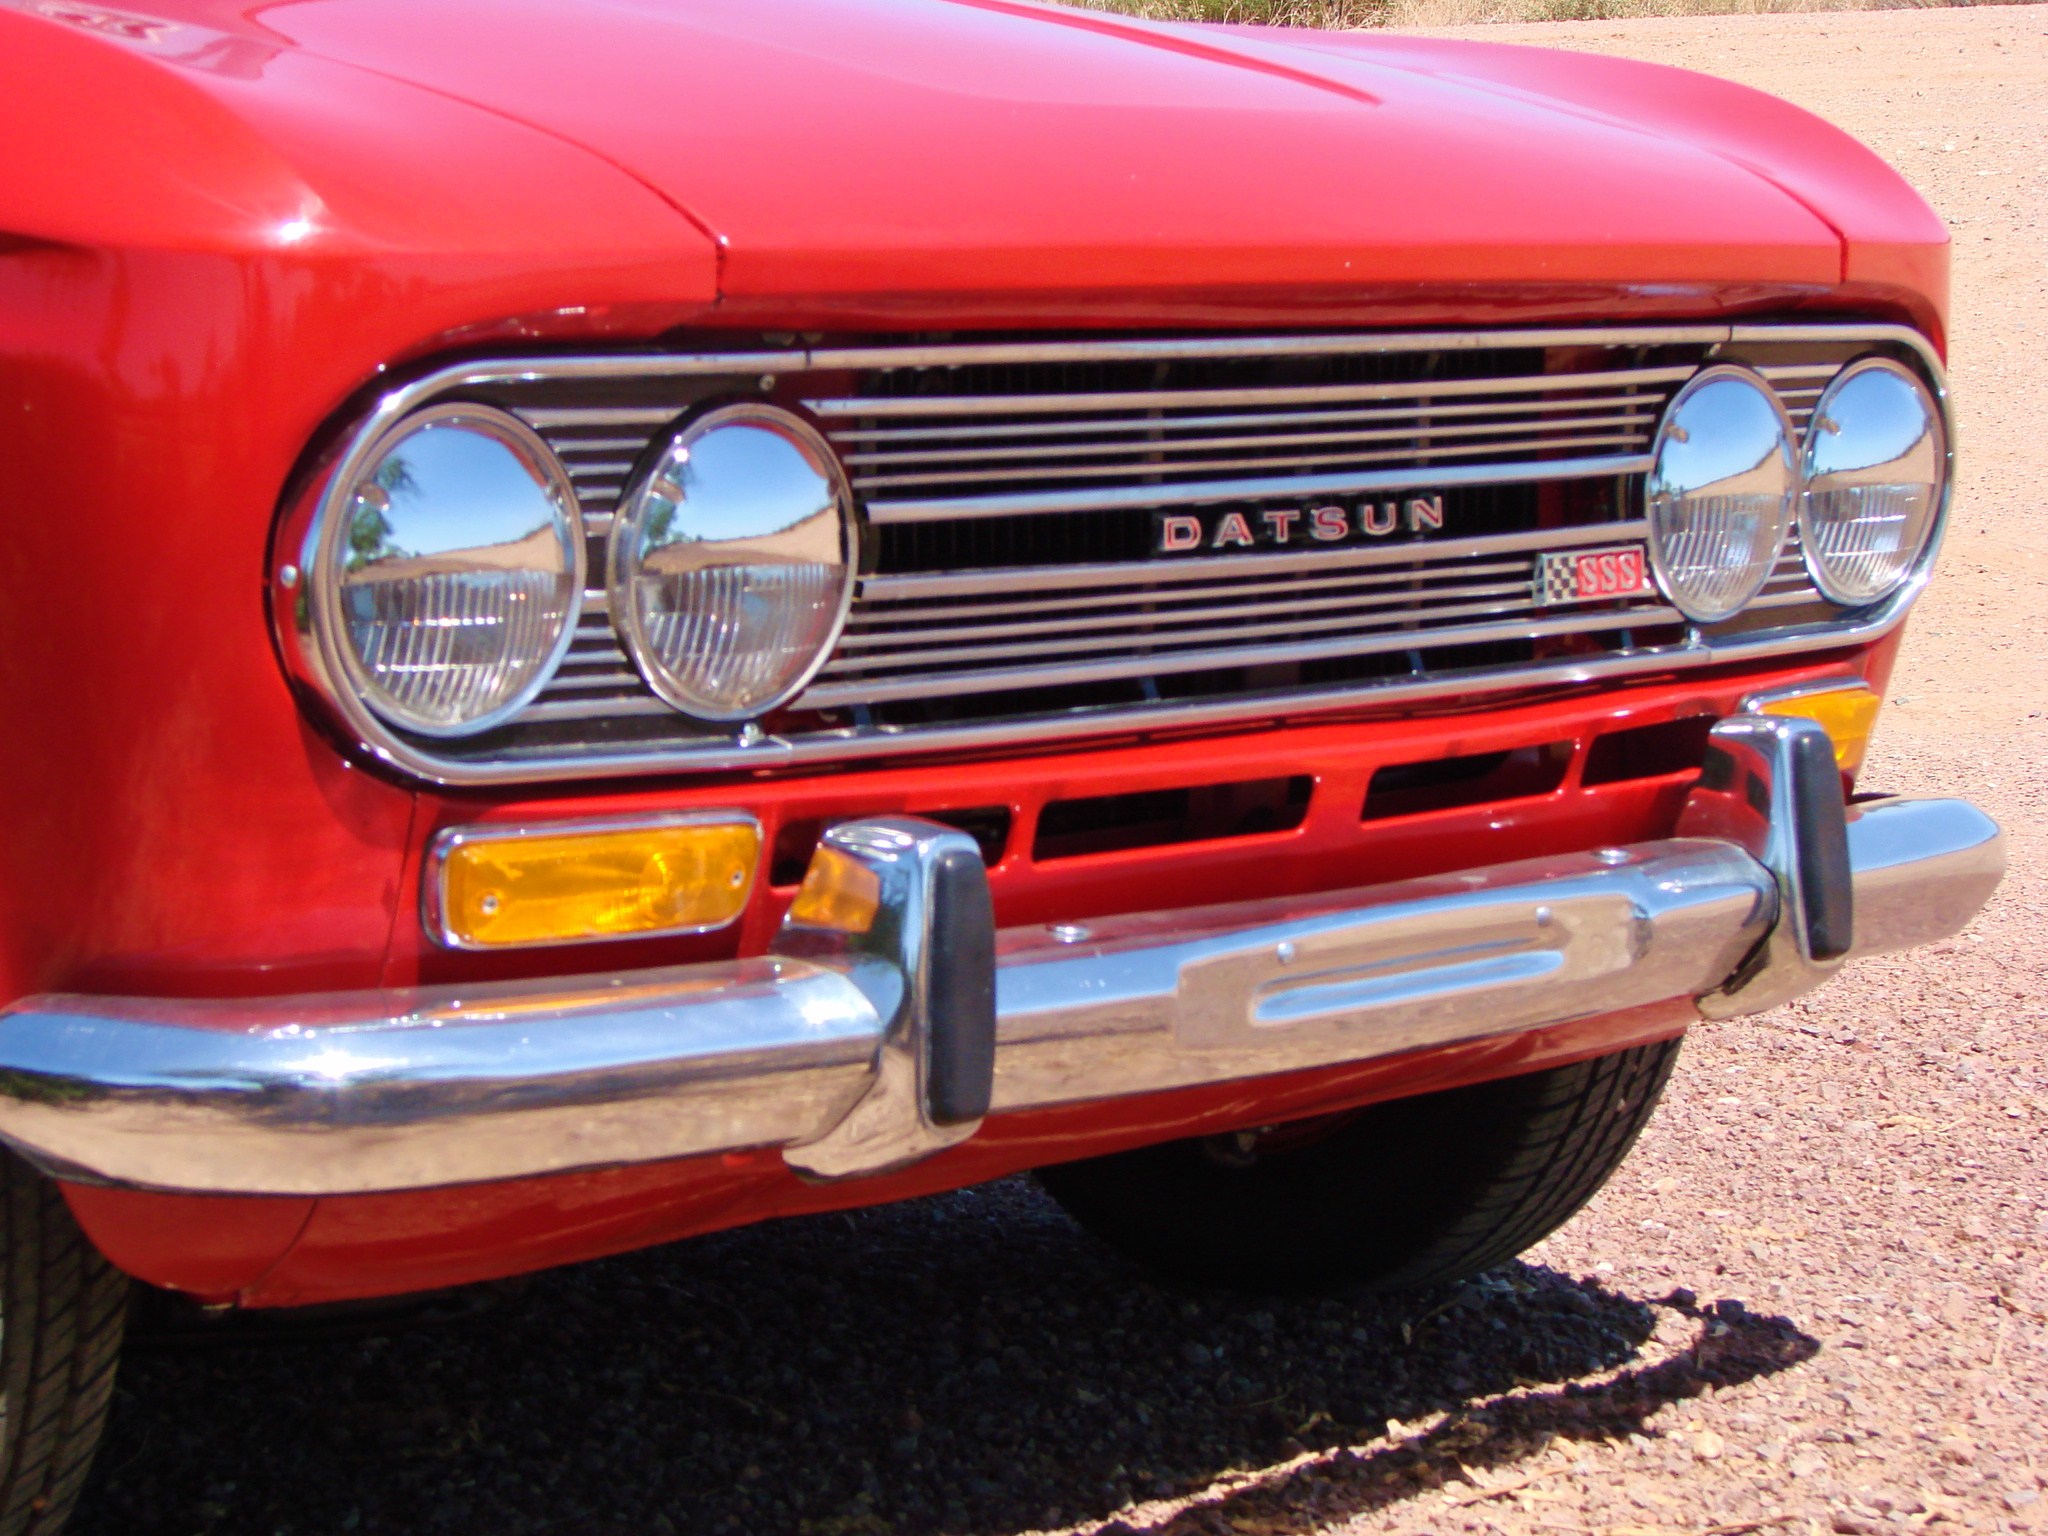
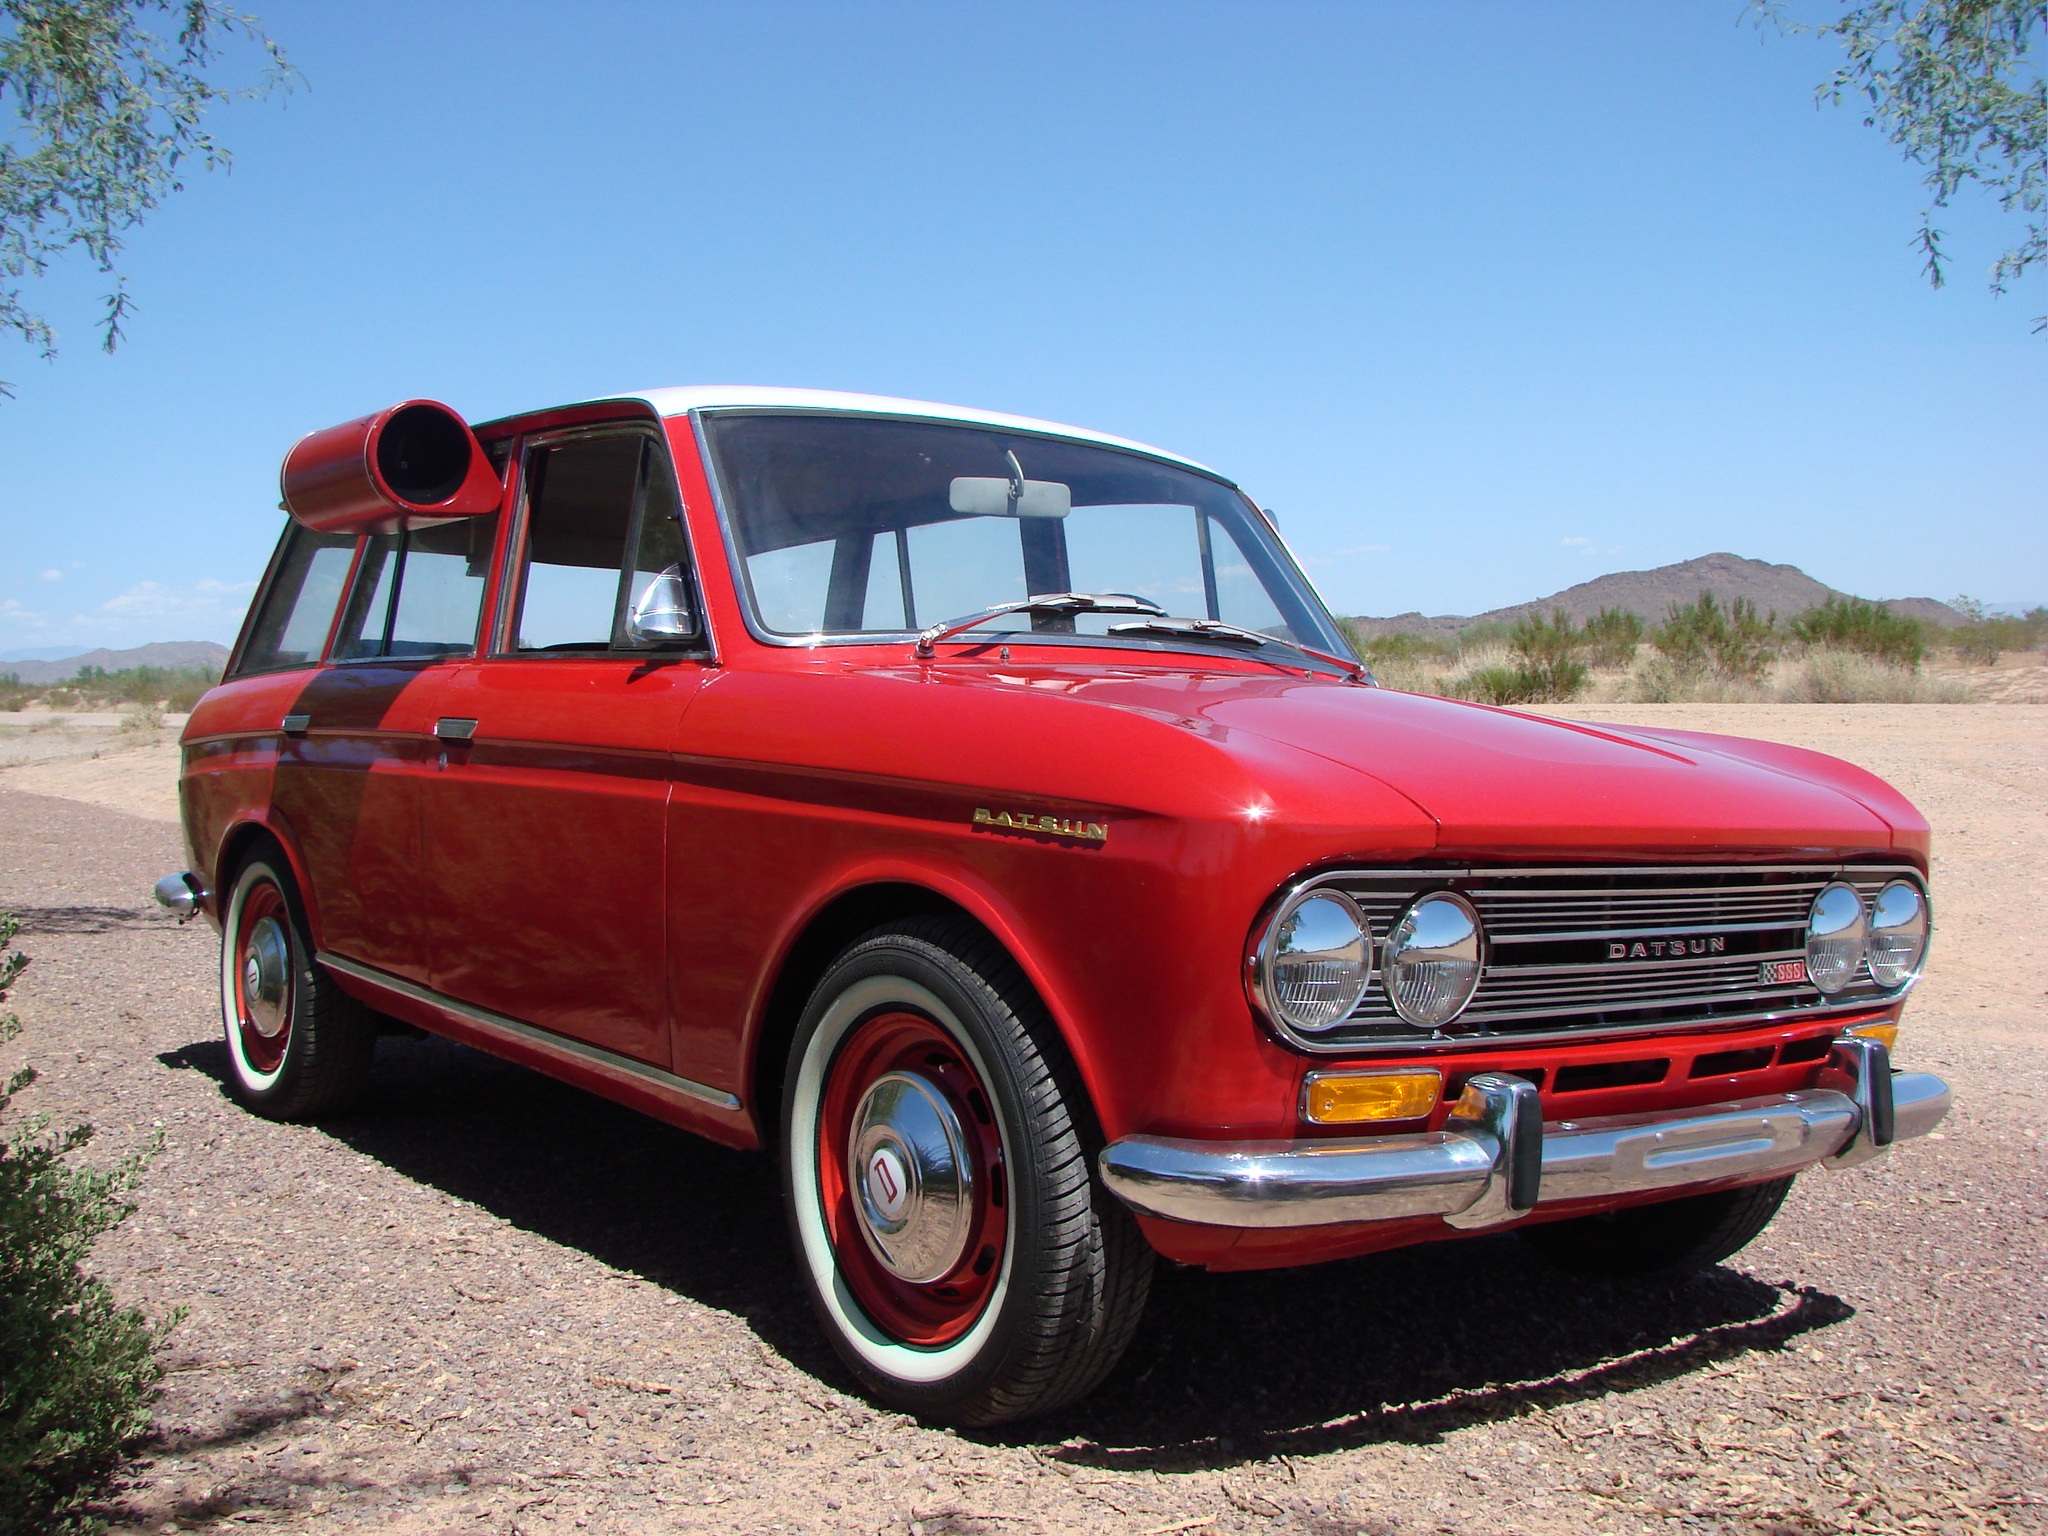
As of the completion of this article series, the 411 is about as far along as we’re going to go with it. Building a car to be a “DRIVER”, rather than a showpiece, take some restraint and planning, but it’s very rewarding. I won’t freak out if she gets a nick in her paint or bugs in her grille – Becky and I plan to put some miles on Alice over the next several years.
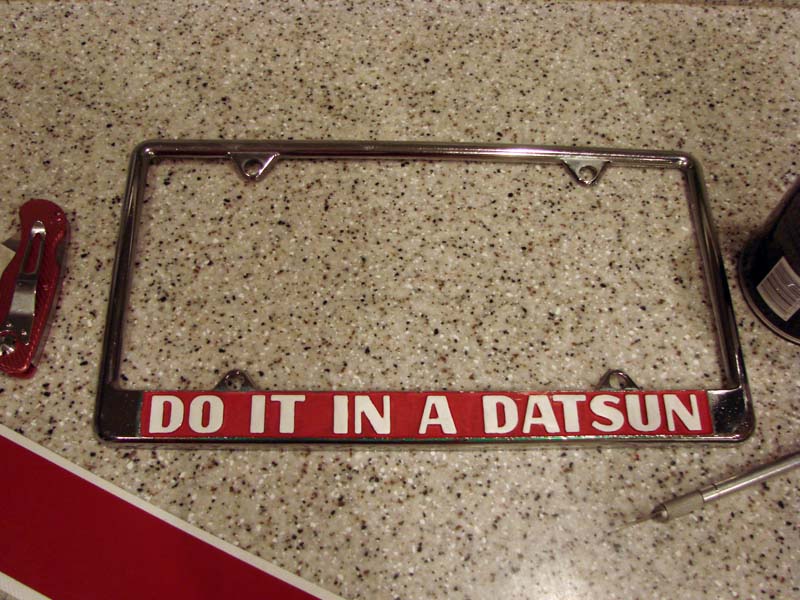
She runs beautifully, draws a ton of attention, and is one of those cars that just makes people smile. Only 50 miles into her restoration, and people are taking pictures of her in traffic, giving it the thumbs-up, and asking what it is and who makes it… Just seeing people’s reaction makes all the work worthwhile. We’ll be introducing “Alice” to the rest of the world this coming weekend when she makes her debut at JCCS 2010. Look for more coverage of that event here on NICO.
Until the next article – Be safe and enjoy your Datsuns, Nissans and Infinitis!
All the best,
Becky and Greg
Greg (AZhitman) and Becky (nissangirl74) are the owners of NICOclub.com and die-hard Datsun / Nissan enthusiasts.
