Article Series
- 1967 Datsun WRL411 Rescue and Restoration - Part 1
- 1967 Datsun WRL411 Rescue and Restoration (Part 2)
- 1967 Datsun WRL411 Rescue and Restoration (Part 3)
- 1967 Datsun WRL411 Rescue and Restoration (Part 4)
- 1967 Datsun WRL411 Rescue and Restoration (Part 5)
- 1967 Datsun WRL411 Rescue and Restoration (Part 6)
- 1967 Datsun WRL411 Rescue and Restoration (Part 7)
- 1967 Datsun WRL411 Rescue and Restoration (Part 8)
- 1967 Datsun WRL411 Rescue and Restoration (Part 9)
- 1967 Datsun WRL411 Rescue and Restoration (Part 10)
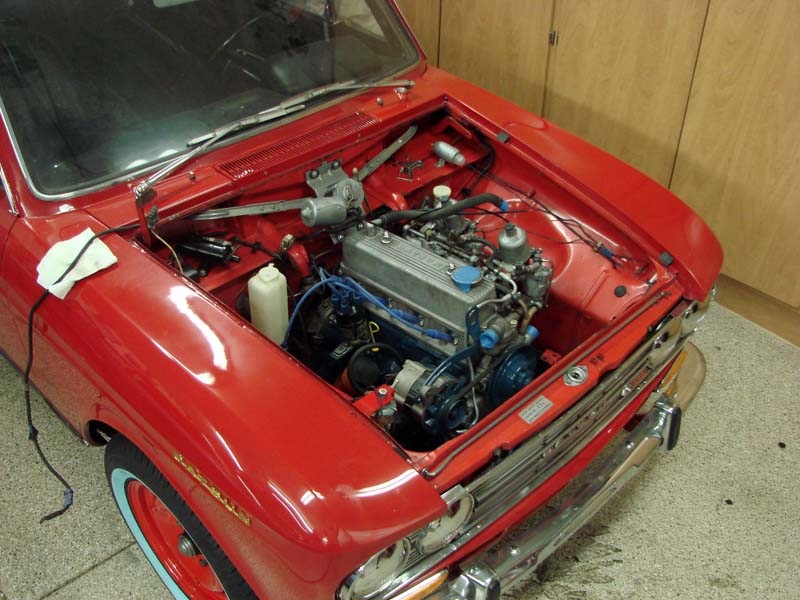
 Becky and I got started early on a Saturday morning, and we had the engine in within an hour. We ran into a couple minor snags – the motor mounts on a 411 are ridiculously hard to line up properly, and I inadvertently left the speedometer drive cable off the transmission until after it was all bolted up. The transmission crossmember has to be off the car to install the cable housing. Ah, well – doing it twice makes sure you commit it to memory, right?
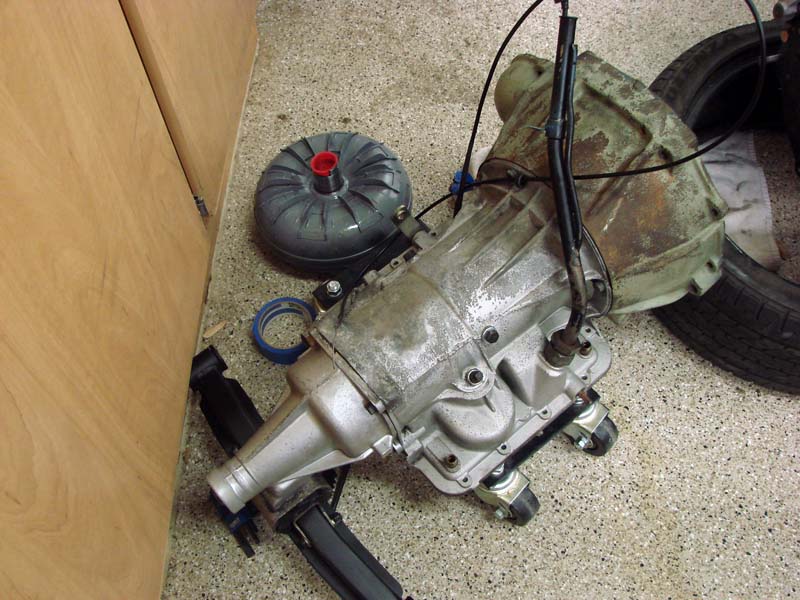
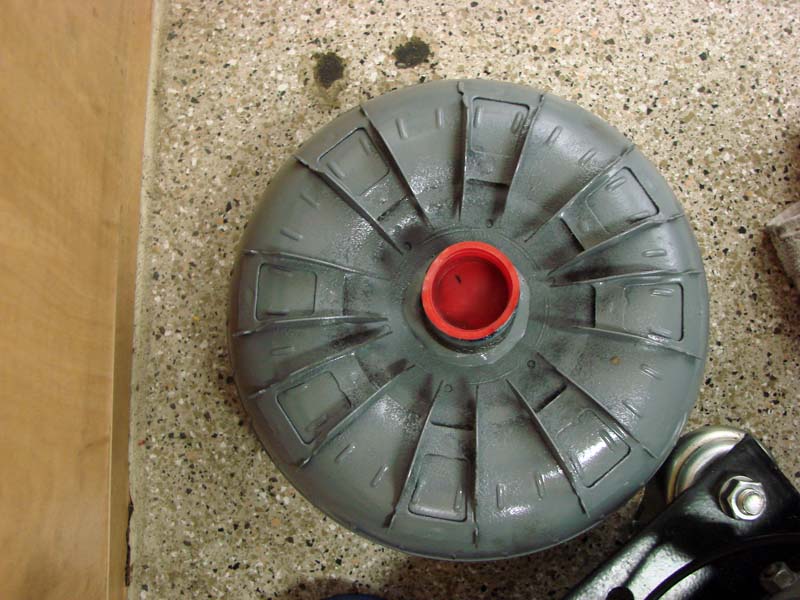
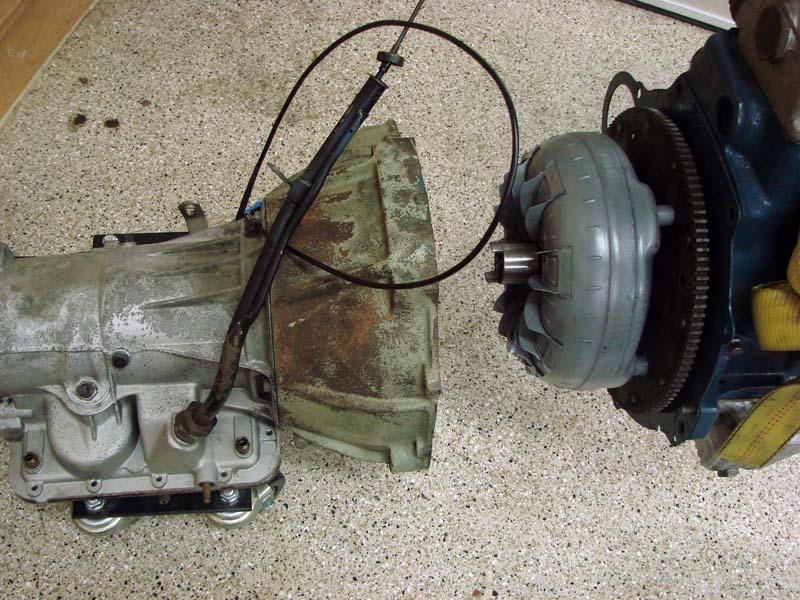
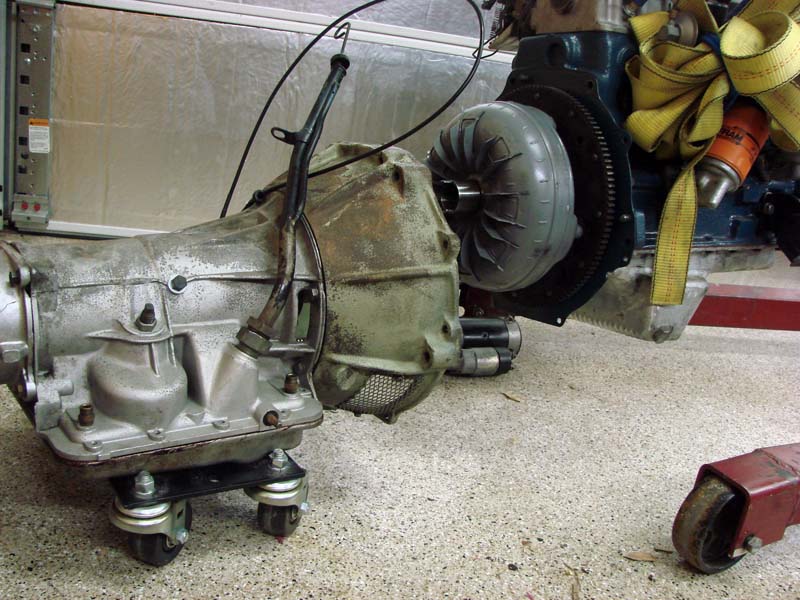
Here’s the freshly-rebuilt Borg-Warner 35 and the rebuilt (higher stall speed) torque converter, ready to be mated to the fresh stroker motor:
Anyhow, reattaching and adjusting the shifter linkage and throttle linkage was a bit tedious, and re-routing / reconnecting the wiring harness could have been difficult. However, one thing that really helped a lot was the fact that Becky took a TON of pictures of the engine bay from all angles before we started disassembly, and labeled several wires that looked like they might be confusing later. Between those pictures and a wiring diagram I found online, we were good to go.
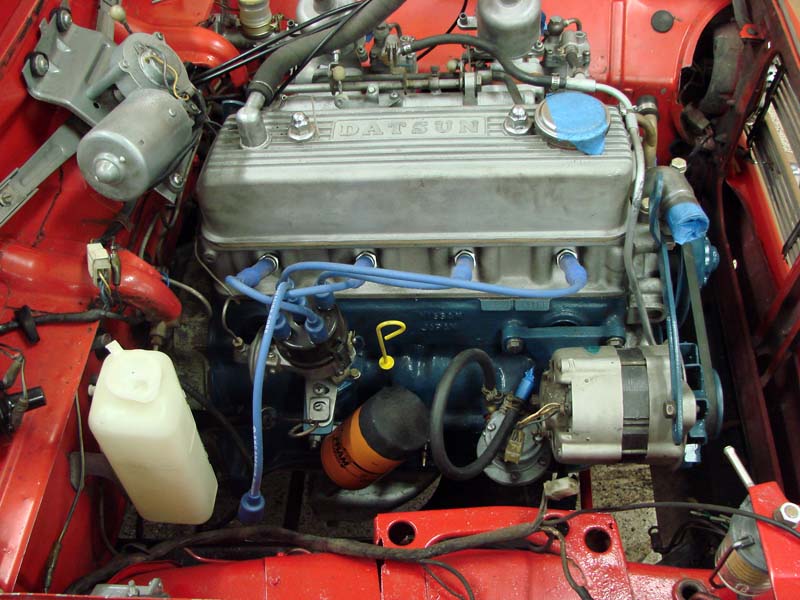
Fluids were filled, fuel pump was primed (a vacuum pump brake bleeder is a great help here), and fingers were crossed – Fortunately, she fired right up. A little fiddling with the timing and the mixture, and she settled into a nice, lopey idle. The cam is a little more radical than what I’d expected, and it sounds like a MUCH larger engine. The increase in displacement from 1600 cc’s to 2000 cc’s is nice, but what’s REALLY awesome about this engine is the torque it makes. The longer stroke really wakes it up, and she pulls nicely across the entire RPM range.
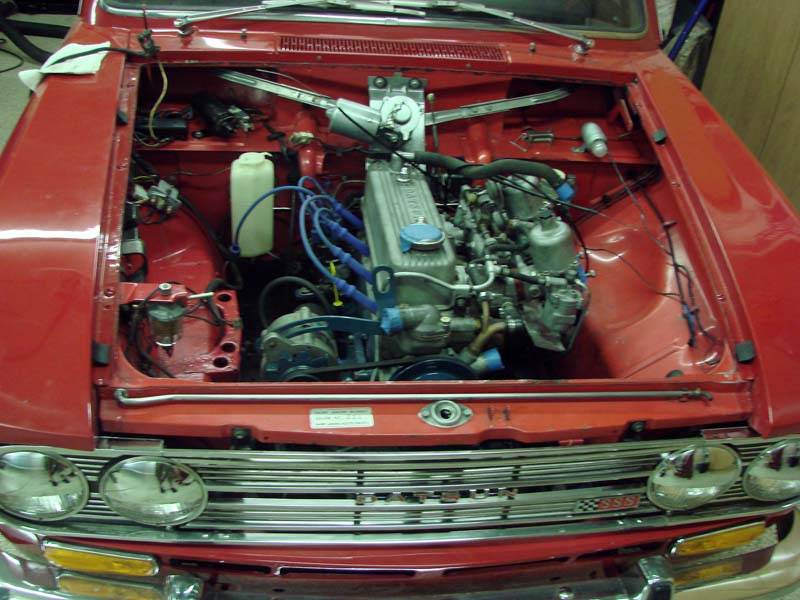
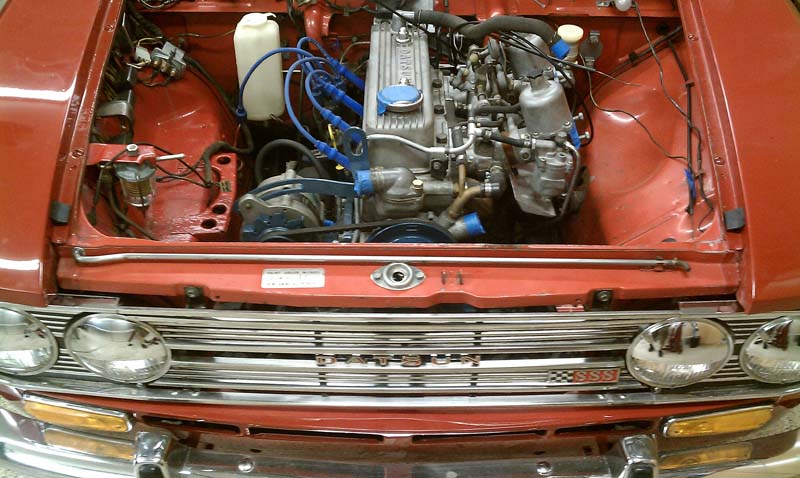
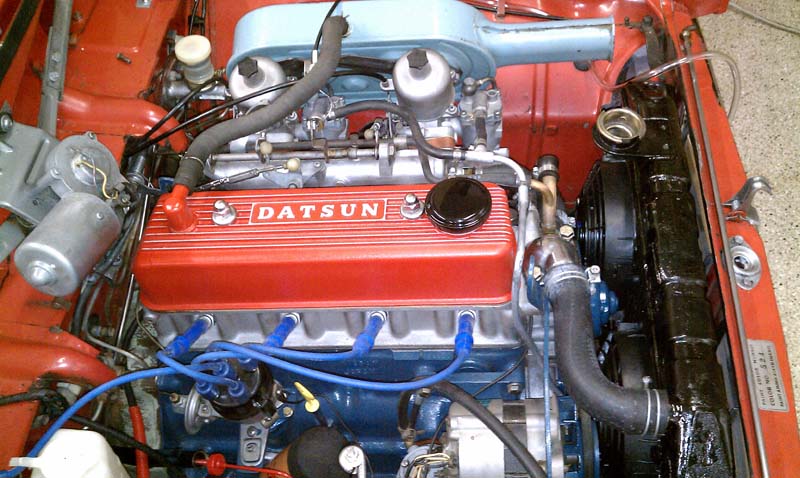
By now, the engine bay was looking much the way it was when it rolled off the assembly line in Japan, some 44 years prior. But it needed a little more visual appeal. In tribute to Nissan’s much-loved 2-liter SR20 engine, I decided the valve cover would look good in a wrinkle red powdercoat. A contrasting gloss black was chosen for the OEM oil cap, and a little polishing and buffing of specific bits and fittings really gave the engine a nice, functional appearance. We spent several hours just refurbishing the air cleaner. Fortunately, the paint underneath all that grime and oxidation was in great shape, and it really sets off the engine bay.
A couple issues were to be expected, and the first one we ran into was a colossal pain… First of all, since automatic transmissions are so complicated to me, I was certain that we’d have issues, and I was right. But it wasn’t with the rebuild! Actually, the Borg-Warner 35 transmission has a cable-actuated kickdown (to drop the transmission into a lower gear at wide-open throttle). This used to be referred to as “passing gear”. Anyway, the cable that was originally on the transmission was shot. 40 years of adjustments had taken their toll on the cable ends, and the plastic casing had split where it enters the transmission – this allowed transmission fluid to force up the cable housing and seem out through the cracks, coating the undercarriage with a layer of grimy road funk (which we scraped off earlier in the article). Obviously, this part is near impossible to obtain, so I decided to figure out how it works and find a new way to address the problem. With some help from Becky, I was able to see that at WOT, the cable (which is attached to the throttle mechanism) is pulled upwards, which actuates a cam in the transmission, which presses a plunger and increases the line pressure, causing a downshift.
Great! I’d just make a new cable – Off to the store, where I found a nice set of bike brake cables. I cut them, crimped on new ends, retrofitted the cable and housing onto the old mounts, dropped the trans pan to reconnect the cable to the cam, and re-installed the whole assembly. Adjusting the cable so that it actuates at JUST the right time takes some work. Early indications were promising, as the first test drive revealed the kickdown worked perfectly – she dropped into first and pulled ahead – hard! However, when I released the throttle, she refused to go back into a higher gear. A quick inspection revealed the cable was flexing at the top and the cam wasn’t returning to its original position. But, that would mean that something has to PUSH the cam back into position, and it’s not spring-loaded…
Several more hours of scouring the Internet for information led me to a boating forum in the UK. Apparently, these transmissions were also used in boats?!? Anyway, the clue was found therein: The cable has to be stiff enough to act as a puller AND a pusher, so that when the throttle returns to a closed position, the cable will push the cam back. But who’s ever heard of a cable that pulls AND pushes? I mean, that’s like pushing a piece of cooked spaghetti across a table, right? Well, not so fast. Lawnmower throttle cables do it all the time. Remember the old “rabbit and turtle” throttle controller on that old mower you used to push? Yep, that cable pulls and pushes. Off to the lawnmower shop!
At the time of this article, I actually DID go get a lawnmower throttle cable to modify for my application. Not long thereafter, Aaron (bwana) encouraged me to do it right and order a custom kickdown cable kit from Lokar, so I did. I much prefer making things work without resorting to buying new parts, but I think I’ll be glad I got the good stuff.
Read more: It runs! Let’s get the exterior put back together so we can go to a show!