Article Series
- 1972 Datsun 240Z RB25DET swap and restoration series
- Datsun 240Z restoration and modification - Part 2
- Datsun 240Z restoration and modification - Part 3
- Datsun 240Z restoration and modification - Part 4
- Datsun 240Z restoration and modification - Part 5
- Datsun 240Z restoration and modification - Part 6
- Datsun 240Z restoration and modification - Part 7
- Datsun 240Z restoration and modification - Part 8
- Datsun 240Z restoration and modification - Part 9
- Datsun 240Z restoration and modification - Part 10
- Datsun 240Z restoration and modification - Part 11
- Datsun 240Z restoration and modification - Part 12
- Datsun 240Z restoration and modification - Part 13
- Datsun 240Z restoration and modification - Part 14
- Datsun 240Z restoration and modification - Part 14

We left off in the last episode with a discussion of the amount of custom fabrication required to perform this swap. And, like we said, it’s been done before, but usually involves off-the-shelf parts. Anyhow, there’s a lot that has to be fabricated and modified.
For example, the RB oil pan won’t fit in the S30 chassis – it’s reversed. A lot of people use a RB20 oil pan and external pickup, but that’s a huge expense. The L24 engine has a front sump and pickup tube – You need a rear sump oil pan and pickup tube. So, rather than waste time scouring the internet for parts, I sourced a spare L24 oil pan, and Jason sliced off the flange. This was mated to the heavily-modified bottom half of the RB pan (reversed), and the inside of the pan, the baffles, and pickup tube were all modified as well.
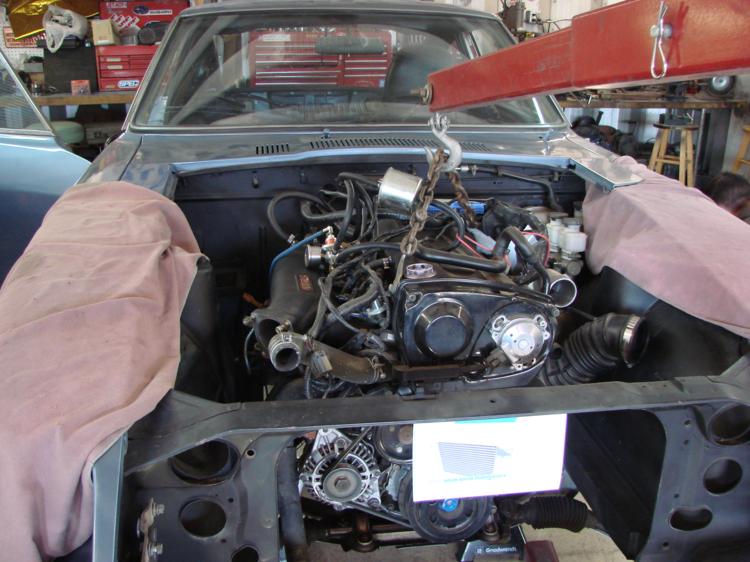
Custom motor mounts were fabricated to locate the engine in just the right spot – we wanted ample clearance for a large radiator and some good fans and a shroud, but we also wanted some room between the engine and firewall. It needed to clear the hood, but couldn’t sit so low as to cause clearance problems. This meant putting the motor in, measuring, making cardboard mockups, removing the engine, test-fitting, re-measuring, and reinstalling the engine a few times until the mounts were just right.

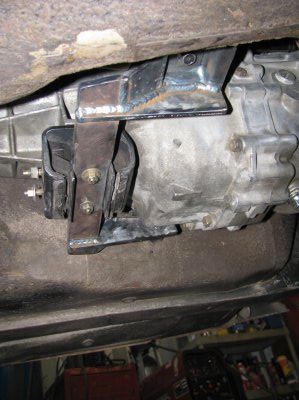
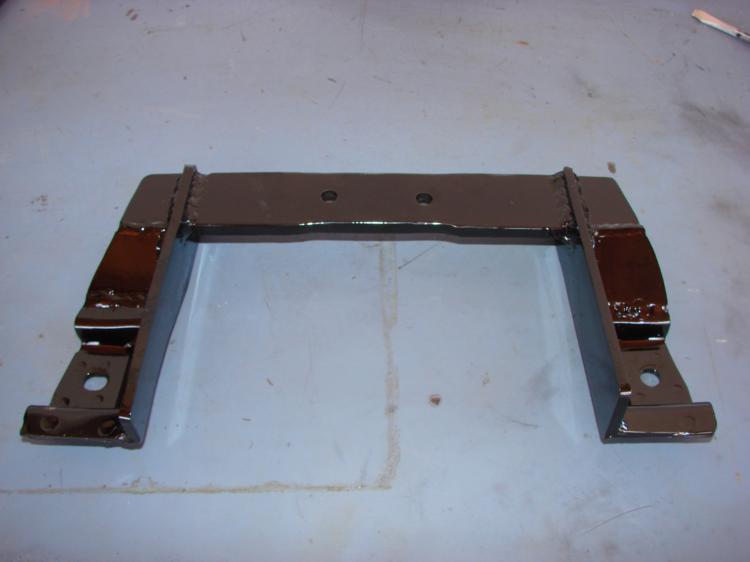
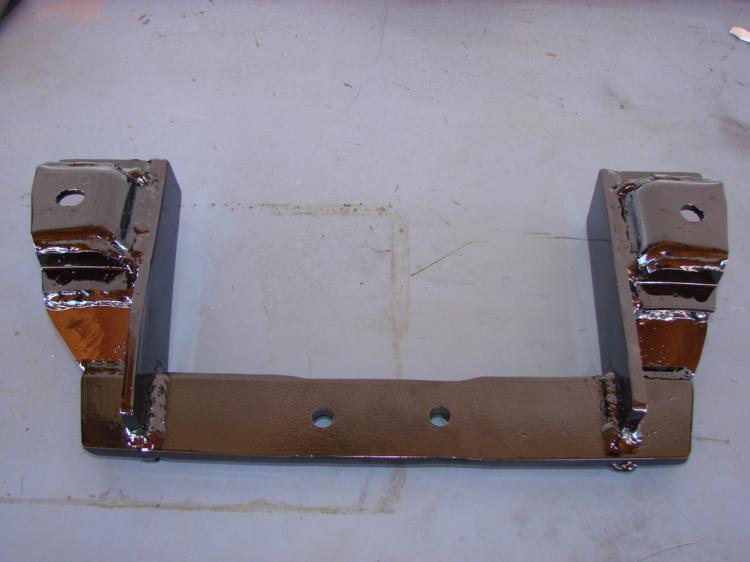
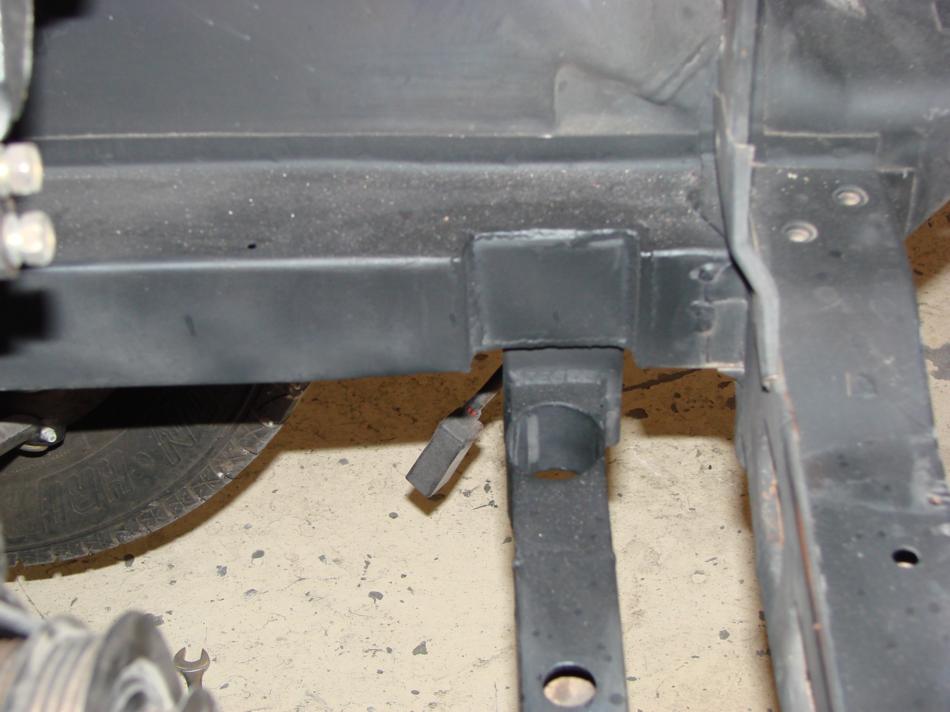
A transmission mount had to be fabricated as well. Here it is being test-fitted in raw form, and the finished product after being cleaned up, smoothed and powdercoated.
By the way, having your own powdercoating setup at your house is inexpensive and saves a ton of time. Maybe if we pester Jason (rotorimp here on the forums) enough, he’ll break down and do a how-to article on building one!
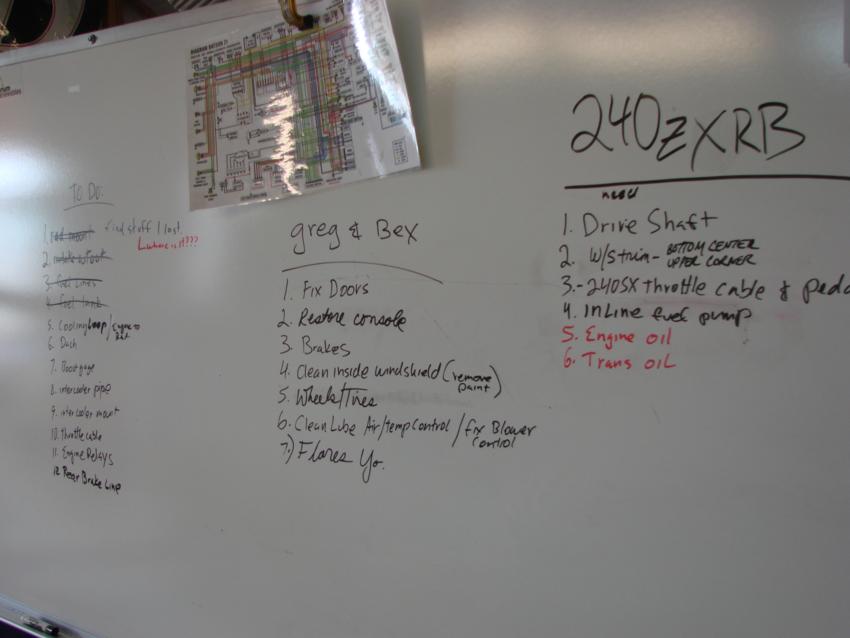
A little side note: When doing a project like this, it helps to have a big project board to keep track of things. You can usually find used dry-erase boards at yard sales, on Craigslist, or local government auctions.
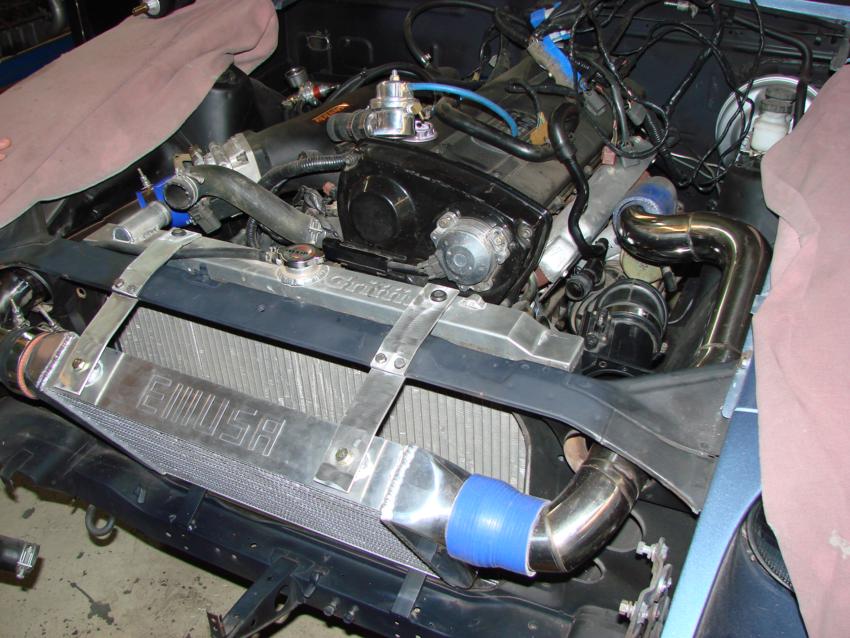
During the change in plans, I knew I wanted to do a front-mount intercooler – but I wanted it to look unique, and not disrupt the lines of the front of the car. There wasn’t really room for a V-mount setup, but the front end lends itself well to a canted intercooler. I think at some point, I’ll redesign the mounting brackets. But for now, they work fine.
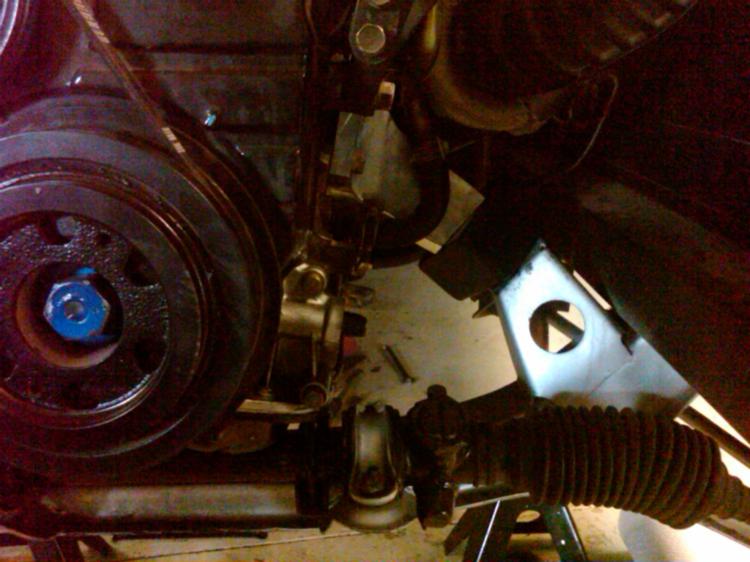
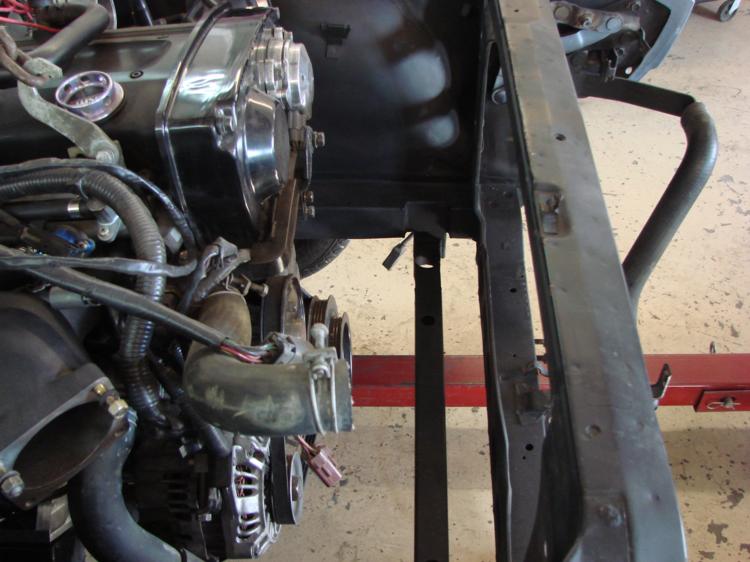
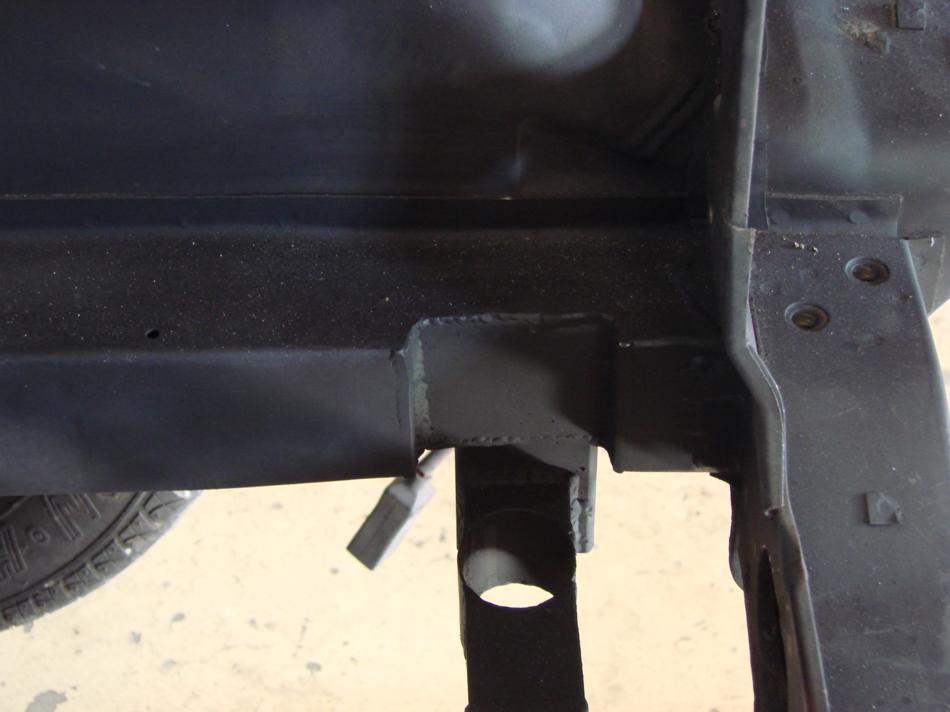
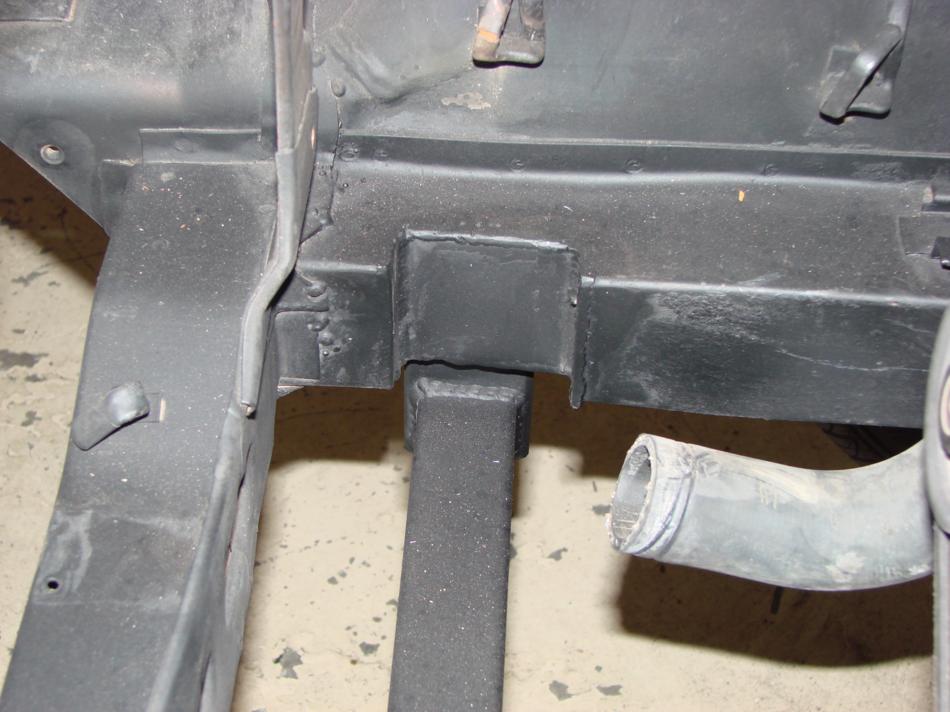
I really wanted to point out something super-trick that Jason did during the build (probably my favorite little detail). The Griffin radiator we had for the project was pretty large. And, we decided the radiator should be set lower in the chassis, so that it’s unobstructed by anything but the bumper. But that presented a problem, as it was too wide to fit between the frame rails. If it was mounted above the frame rails, we lost hood clearance and created interference in the airflow to the intercooler. And, being a budget project, we wanted to work with what we had. So, check out the slick frame notching and reinforcing that was done to accommodate the radiator – even an opening for the draincock:
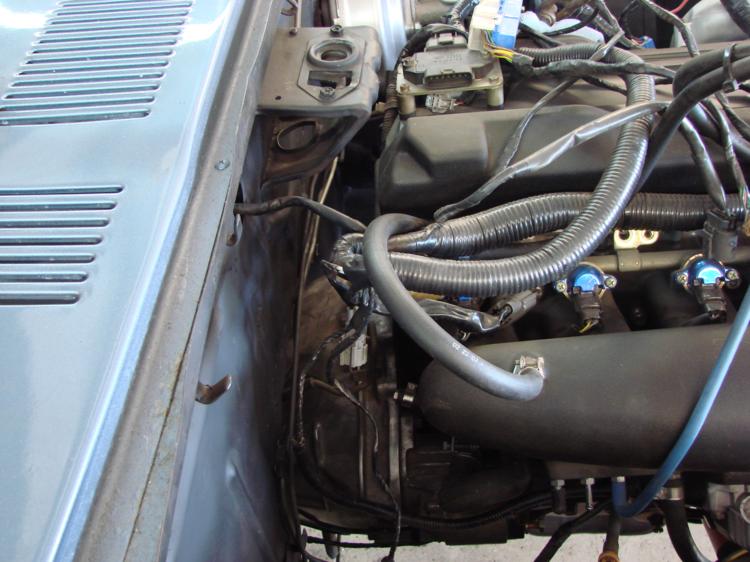
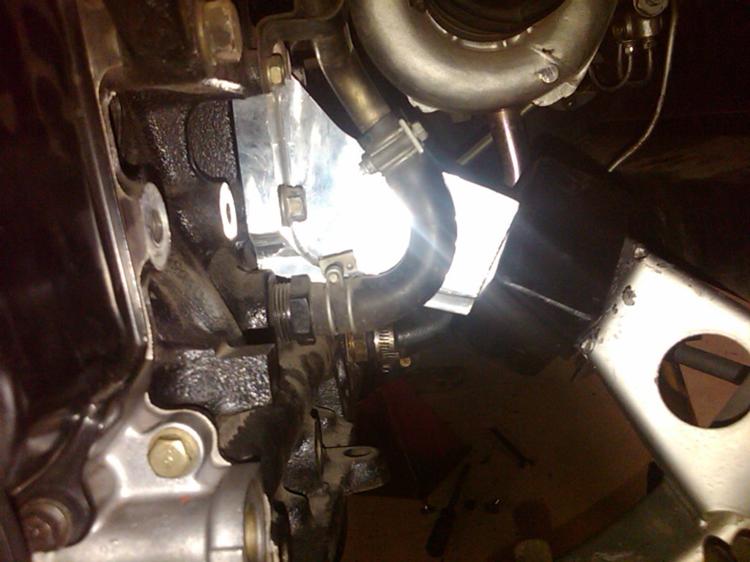
Jason ran into a bit of a challenge getting the coldpipe to traverse the span between the intercooler and the throttle body without restrictions… so he cut out a convex section of the fenderwell and reversed it, making a concave “bump-out” that allowed for a graceful curve in the piping. It’s one of those little details that no one notices, but it makes the install look clean and keeps it functional.
Whew! We covered a lot of ground in this episode…
Part 10 –Project 240Z and the completion of the RB25 install
Questions? Comments? Just want to discuss the build? Here’s where: Building an RB25DET-powered 240Z