Article Series
- 1972 Datsun 240Z RB25DET swap and restoration series
- Datsun 240Z restoration and modification - Part 2
- Datsun 240Z restoration and modification - Part 3
- Datsun 240Z restoration and modification - Part 4
- Datsun 240Z restoration and modification - Part 5
- Datsun 240Z restoration and modification - Part 6
- Datsun 240Z restoration and modification - Part 7
- Datsun 240Z restoration and modification - Part 8
- Datsun 240Z restoration and modification - Part 9
- Datsun 240Z restoration and modification - Part 10
- Datsun 240Z restoration and modification - Part 11
- Datsun 240Z restoration and modification - Part 12
- Datsun 240Z restoration and modification - Part 13
- Datsun 240Z restoration and modification - Part 14
- Datsun 240Z restoration and modification - Part 14

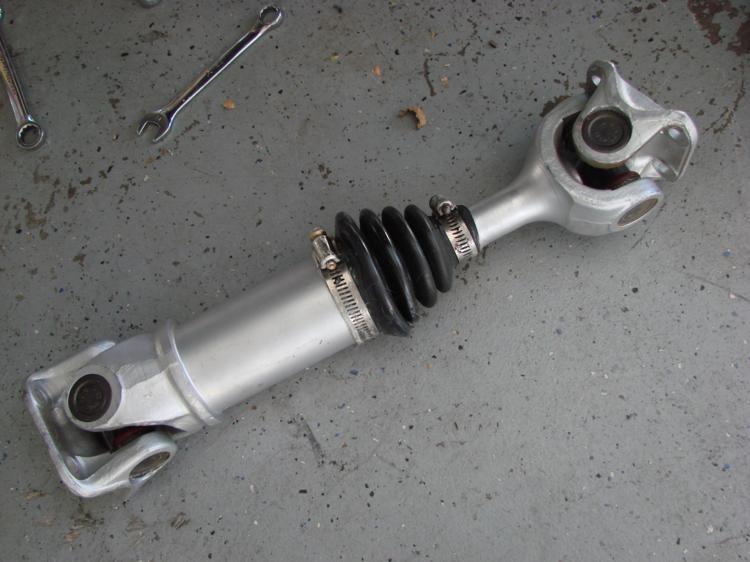
While awaiting the wheels and tires, I decided to restore the axles for reliability. New u-joints and boots were installed, but this wasn’t a project for the faint of heart. If I had to do it again, I’d buy refurbished units or one of the conversion kits that uses CV joint-style axles from a later Z.
When the wheels and tires arrived, we ran into another obstacle: The hub bore on the wheels was slightly too small for the front hubs. See, the early Z, just like the Roadster and many other Datsuns, has a small “flare” at the base of the hub. It’s not deep, but it’s just enough to cause fitment problems if you’ve got the wrong hub bore.
Not to worry – we have a machinist friend who mounted two of the wheels on a lathe and turned out just enough material from the lip of the mounting boss to allow the wheel to fit snugly over the hub. While this will preclude normal tire rotations, it’s a small inconvenience. I suppose we could have the two rear wheels machined to match, but it’s easier just to replace rear tires as needed.
If any part of this project has given me heartburn, it’s the damned differential. As any S30 owner knows, the OEM R180 open diff is insufficient for putting any kind of real power on the ground. However, finding a limited-slip replacement unit that will bolt in, and isn’t cost-prohibitive, is the challenge. Everyone says, “Oh, just buy a blah blah blah, they’re everywhere.” Wrong. In fact, the differential we really wanted for the car came only in 87-89 turbo Z’s… and even then, things can go haywire.
After searching high and low for an appropriate replacement diff, Becky found an ad for an 88 turbo Z that was non-running, and about the same price as a junkyard differential. A long drive across town might be worth it, right? Our thinking was, we could buy the shell, harvest the diff, and sell off the remainder of the parts, resulting in essentially a free rear end. So, I inspect the car, and something told me to check the rear end. I jacked it up, rotated one rear tire, and Becky confirmed that the opposite tire rotated in the other direction… somewhere along the line, the VLSD had gone bad, and an open diff from a junkyard had been installed. Back to the drawing board. As of this writing, the Z is still equipped with an open R200 differential. The search continues.
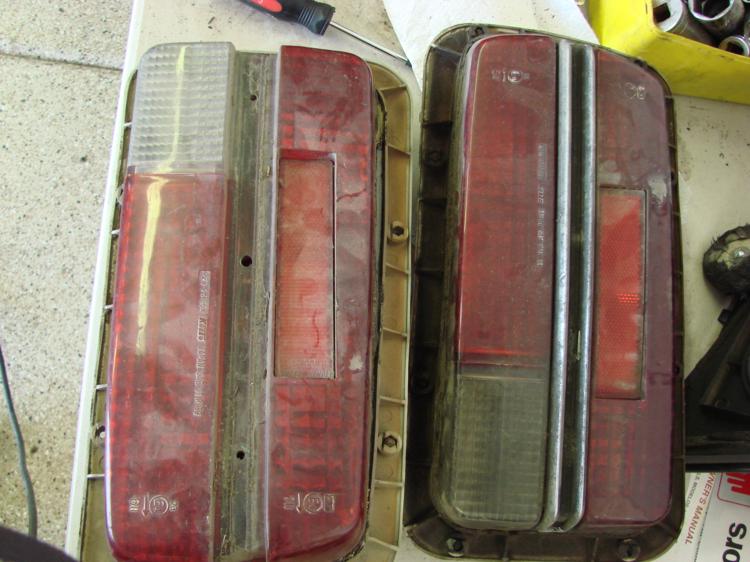
Seemed like everything remaining from here on out was small, half-day projects. My favorite part of any restoration is refurbishing and restoring the individual components that make up a car, no matter how insignificant they might seem. Here’s an example: After disassembling an entire taillight housing and restoring the socket, the wiring boot, the contacts, the lens, the trim, and the weatherstrip, it’s really rewarding to reinstall that as-new assembly onto a car with fresh paint. So, while we’re at it, that was one of the tasks to be done. The old taillights were faded, weather-checked, and severely heat-damaged. The chrome strip is actually plated plastic, and had lost most of its plating. These are difficult to remove without damaging the pins on the rear that hold it to the lens, but I removed them, smoothed the surface, and painted them a semi-gloss black. Here’s a little before and after:
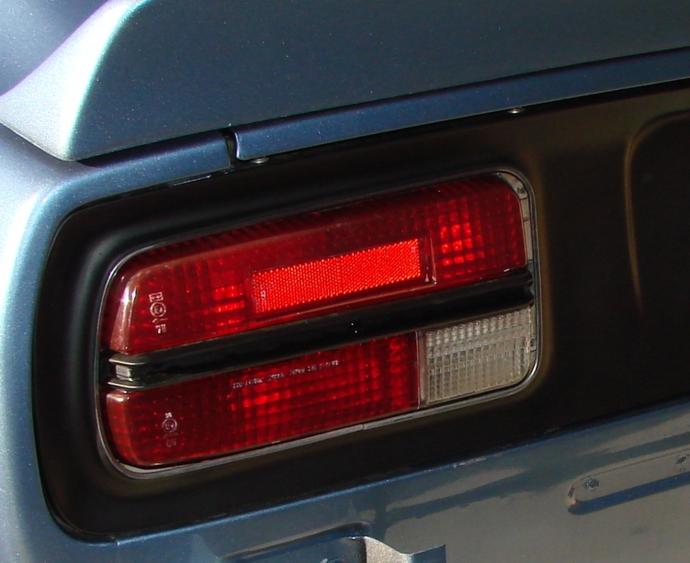
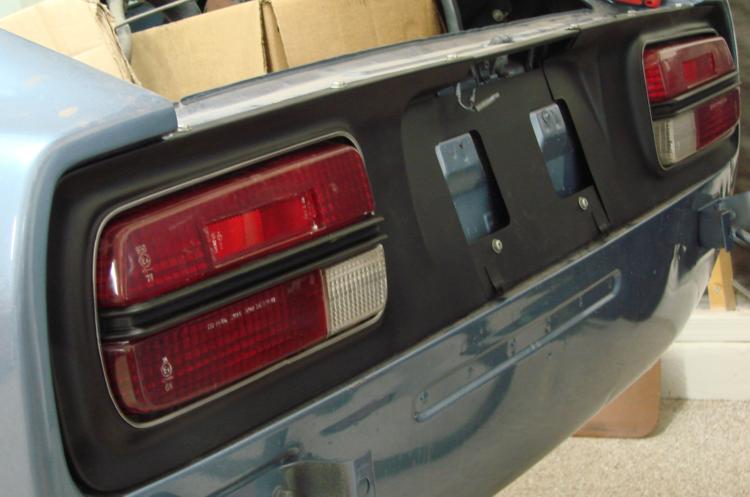
The corner markers and turn signals got the same treatment. If the rubber trim is still somewhat pliable, and you’re gentle with it, it can be refurbished without doing any damage. I’ve had a little success soaking OEM rubber seals for a few days in a Ziploc bag with some 303 vinyl protectant, but this really only works if the rubber isn’t completely cracked and crumbly. The rear panel that surrounds the taillights was removed, sanded, primed, and refinished with Eastwood Satin Black rally wheel paint for durability. NOTE: Masking off the tiny strip of metal trim around the taillights, which is crimped onto the rear panel, is a challenge. I used some fresh green masking tape and a new Exacto knife blade and got good results.
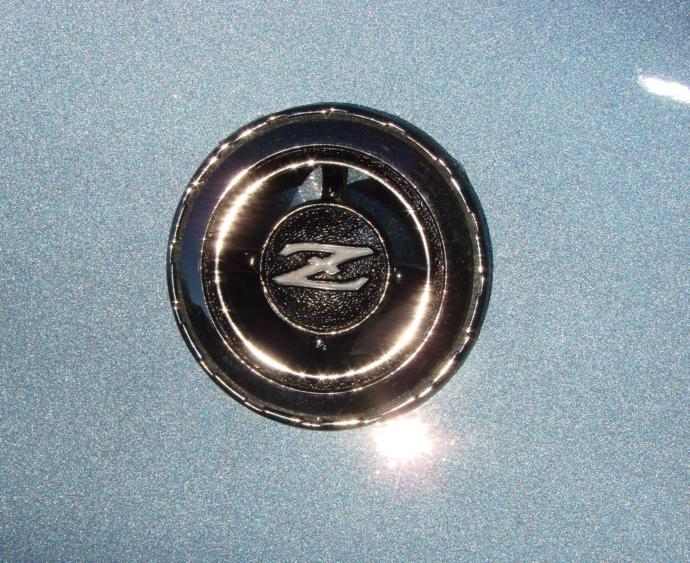
Early in the project, I decided to do away with the fender emblems (for a cleaner look) as well as the decklid emblems (so I could install the MSA spoiler). The sail panel emblems got restored by removing the original black accent paint with paint stripper. Then they were cleaned with degreaser and a stiff-bristle toothbrush, and I reapplied the black accents (and the white “Z” in the center) with a set of pinstriping brushes. They turned out great, don’tcha think?
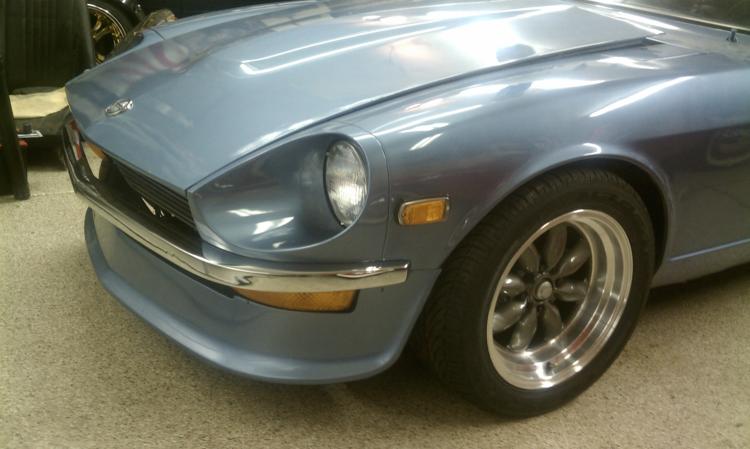
The original wiper arms were lightly bead-blasted to restore the original aluminum finish, and got a coat of Eastwood Satin Clear paint to protect the metal and keep it looking good. Meanwhile, the UPS guy arrived with a delivery we’d been waiting a LONG time for – Bella’s bumpers were back from chrome plating! Never mind getting some sleep that night, I wanted to put them on with the MSA front air dam and see her new “face”…
In Part 14, she finally takes her first trip under her own power! Project 240Z’s Maiden Voyage (around the block)…
Questions? Comments? Just want to discuss the build? Here’s where: Building an RB25DET-powered 240Z