Article Series
- 1972 Datsun 240Z RB25DET swap and restoration series
- Datsun 240Z restoration and modification - Part 2
- Datsun 240Z restoration and modification - Part 3
- Datsun 240Z restoration and modification - Part 4
- Datsun 240Z restoration and modification - Part 5
- Datsun 240Z restoration and modification - Part 6
- Datsun 240Z restoration and modification - Part 7
- Datsun 240Z restoration and modification - Part 8
- Datsun 240Z restoration and modification - Part 9
- Datsun 240Z restoration and modification - Part 10
- Datsun 240Z restoration and modification - Part 11
- Datsun 240Z restoration and modification - Part 12
- Datsun 240Z restoration and modification - Part 13
- Datsun 240Z restoration and modification - Part 14
- Datsun 240Z restoration and modification - Part 14

If you haven’t noticed by now, this project was done somewhat backwards – Ordinarily, I’d tear the car down, and restore it in order (engine, drivetrain, suspension, body, paint, interior). But I really needed to be motivated, and I just couldn’t wait to see her in her new paint color.
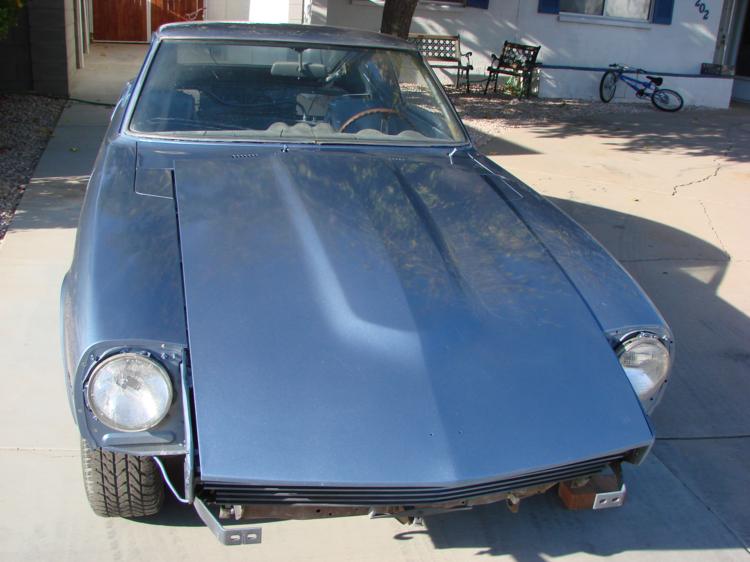
Speaking of paint, I’ve done bodywork and paint ONE time in my life – and hated it. Despite all my restorations and modded cars, it’s the one skill I just don’t seem to have much luck with. As such, it’s one of those things I’ll farm out to an expert.
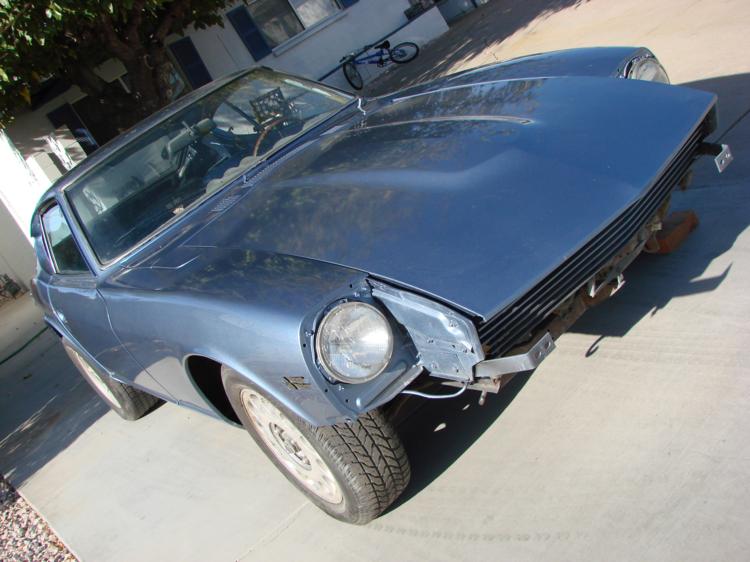
A couple hints for anyone following along: I HATE repaints when there’s a lot of masking involved. My feeling is, if you’re going to do a color change on a car, it had better involve removing the glass, trim, bumpers, interior, etc. A crappy repaint will kill your value if it’s obvious, so take your time and do it right. I removed everything including the windshield (had my local windshield installer guy come out and remove that), masked the dash and steering wheel myself, and triple-checked the car for anything I didn’t want to be repainted. This not only makes sure you get good paint coverage, but your painter will appreciate not having to be cautious.
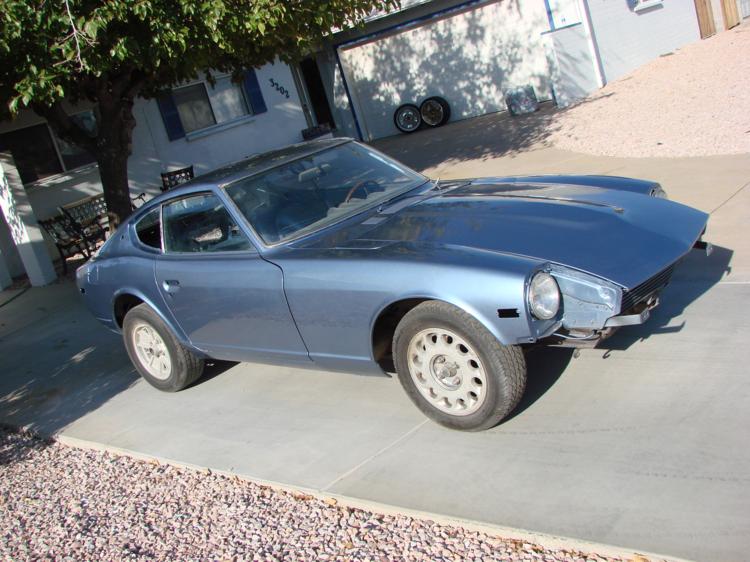
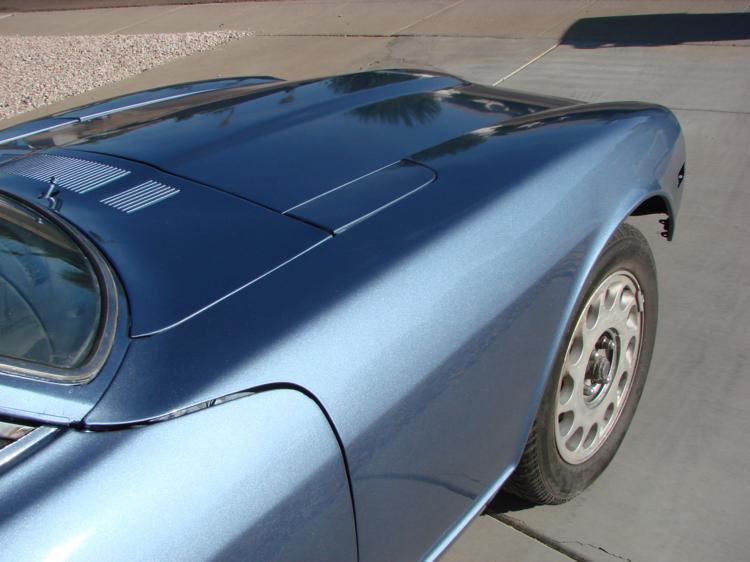
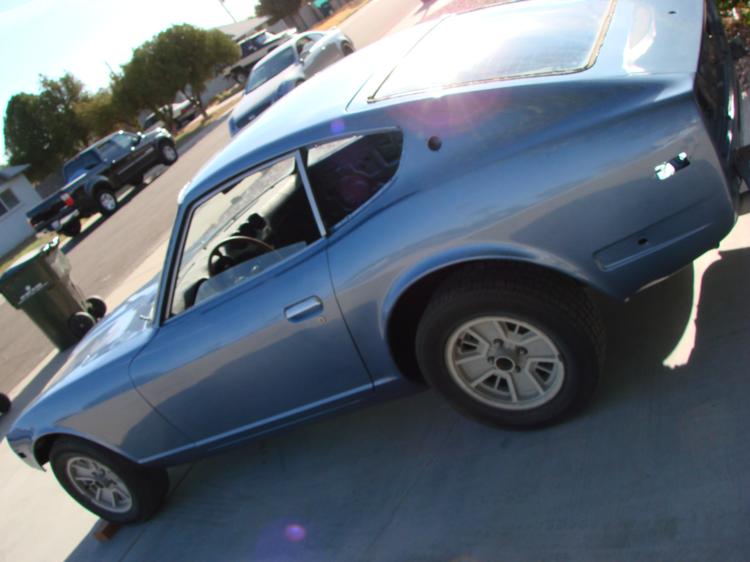
Now, the paint color becomes important later in the story, but here’s the deal on it for now: I was sitting at a stoplight and a vehicle pulled up next to me. It was obviously freshly-washed, and the paint color just jumped out at me… I literally stared at it driving away, caught up to see it again, changed lanes to see the side in the shade – THAT was the color I wanted. I drove straight to a dealership to get the color code: It’s from a 2005 Honday Odyssey minivan, Ocean Mist Metallic. A quick trip to our local auto paint supply shop and she’s off to the painters!
When it comes to the budget for paint and bodywork, a couple things worked in my favor here: Even though the car had a lot of little dings and imperfections, I made it clear that this wasn’t going to be a show car – it’s a driver. So, I wanted it smooth but within budget. Having already removed everything that wasn’t going to get painted blue, and also not having a deadline in mind, both helped with the cost. This way, the bodywork could be done a little at a time, and the painter could shoot the car, the door jambs, inside the hood and decklid, as well as the extra parts, without worrying about masking for overspray. In preparation for the paint shop visit, I had ordered the MSA front air dam and the replica BRE spoiler. A month later, she was done.
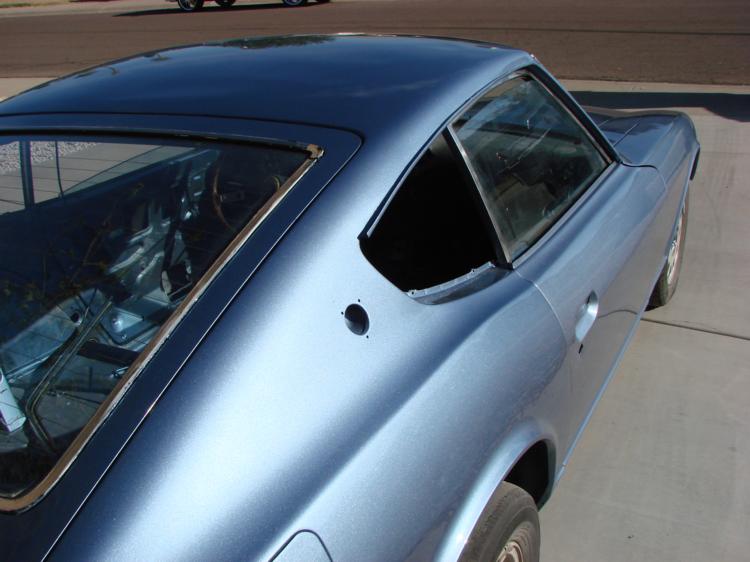
Here she is with her new paint:

With that completed, I was motivated to press on with the project – But reality had other plans for me, and another huge delay was right around the corner…
Part 4 – The Z project screeches to a halt…
Questions? Comments? Just want to discuss the build? Here’s where: Building an RB25DET-powered 240Z