Article Series
- 1972 Datsun 240Z RB25DET swap and restoration series
- Datsun 240Z restoration and modification - Part 2
- Datsun 240Z restoration and modification - Part 3
- Datsun 240Z restoration and modification - Part 4
- Datsun 240Z restoration and modification - Part 5
- Datsun 240Z restoration and modification - Part 6
- Datsun 240Z restoration and modification - Part 7
- Datsun 240Z restoration and modification - Part 8
- Datsun 240Z restoration and modification - Part 9
- Datsun 240Z restoration and modification - Part 10
- Datsun 240Z restoration and modification - Part 11
- Datsun 240Z restoration and modification - Part 12
- Datsun 240Z restoration and modification - Part 13
- Datsun 240Z restoration and modification - Part 14
- Datsun 240Z restoration and modification - Part 14

Once Becky drove the car, it really started to settle in – We did it. After all the hassles, the thoughts of giving up and selling it, and the setbacks, it really was totally worth it. Jason took it for a long drive and came back with a satisfied smile – After all, he had put countless hours into the build as well, so it was really rewarding to see him pleased with the way it turned out.
But as fun as it is to build and drive a special-interest vehicle, the REAL joy for us is sharing them with other people. There’s a local charity car show that happens annually that we’ve been supporting for a few years, and Becky decided she wanted to debut Bella at the Jennabears Show. But as cool as it was, and as good as it drove, it was missing something – something that would really tell onlookers that there was something special going on here.
Stripes? Nah. Too gaudy.
Louvers? No, too 70’s.
Pinstriping? Uhhh, no.
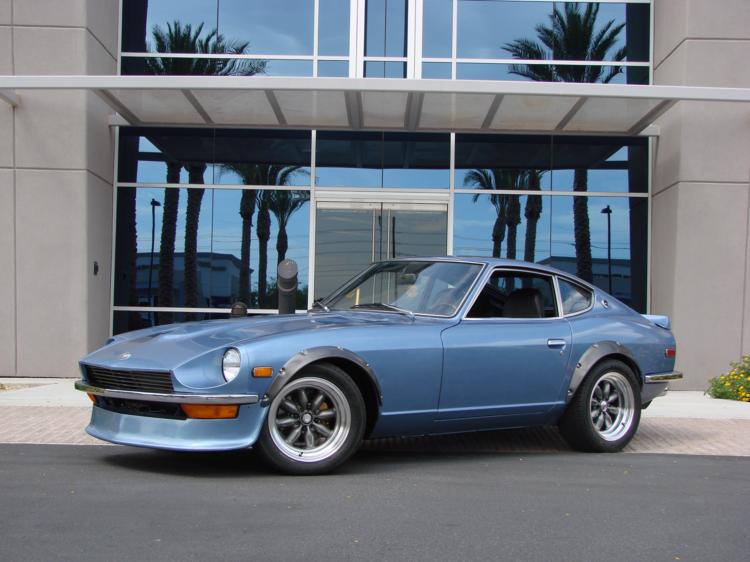
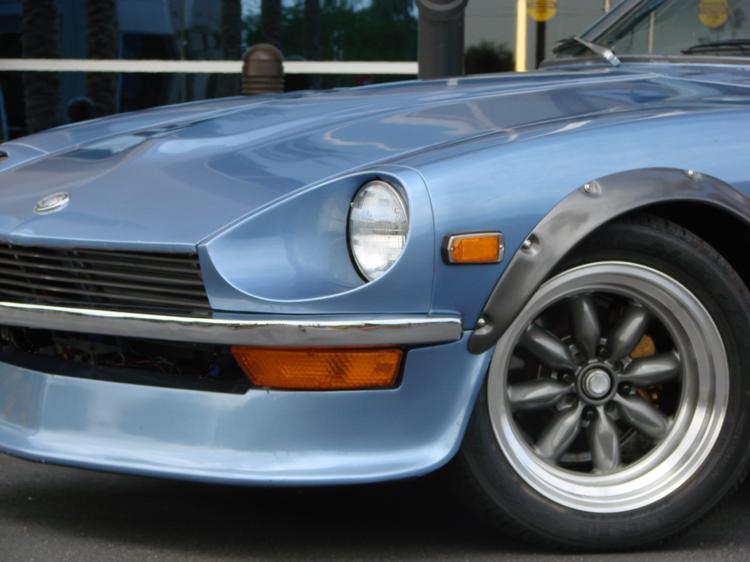
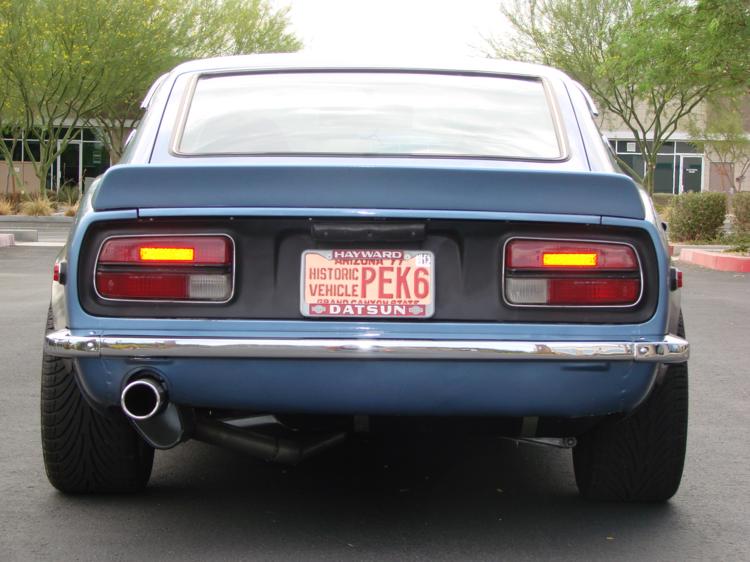
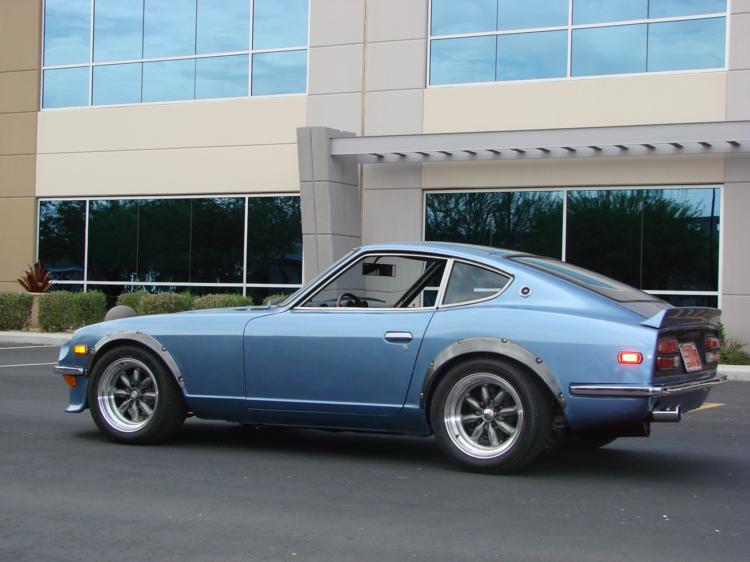
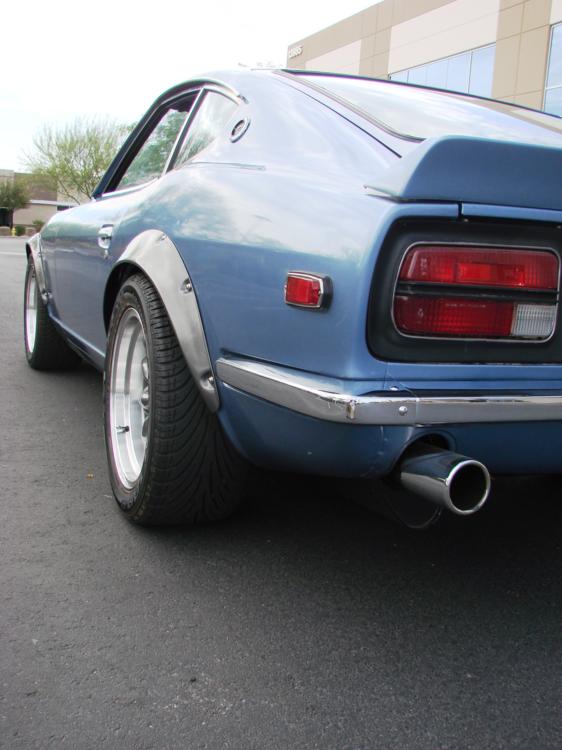
Flares? Wait, you’re gonna drill holes in those fenders that were so carefully massaged back into shape? Hell yeah, and Becky decided they should be painted gunmetal grey metallic, to match the wheel centers. So, our good friends at Classic Datsun Motorsports in Vista, CA shipped out a set of ZG flares just in time. There’s a specialty fastener warehouse here in Phoenix that has a ton of cool hardware, so I purchased a bag of stainless steel allen head bolts and concave recessed washers to secure the flares.
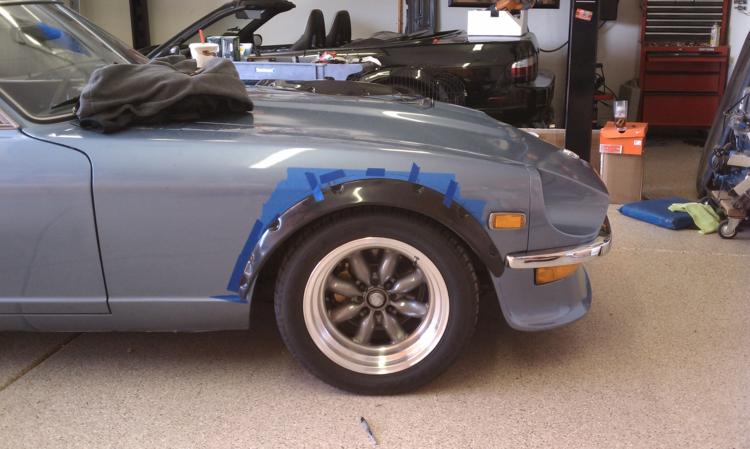
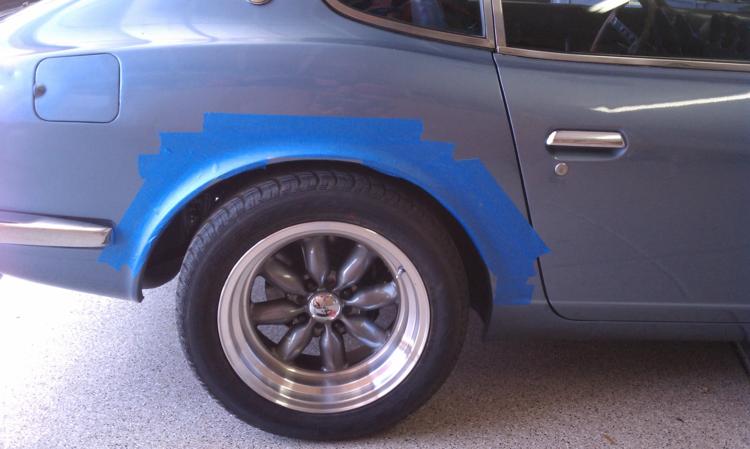
With the assistance of our friend Cody from Desert Datsuns, the necessary sanding, trimming and alignment of the flares was done. By the next day, I had them painted and installed. The result was better than we expected, and I think it really sets off the Z perfectly.
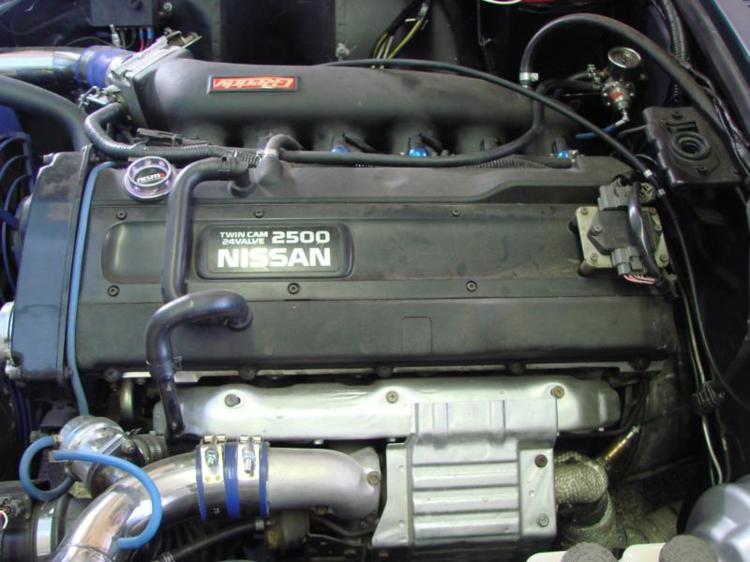
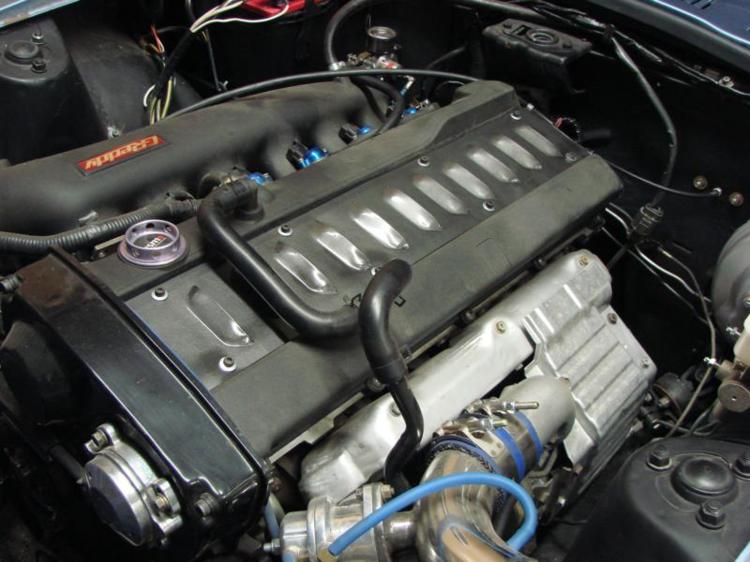
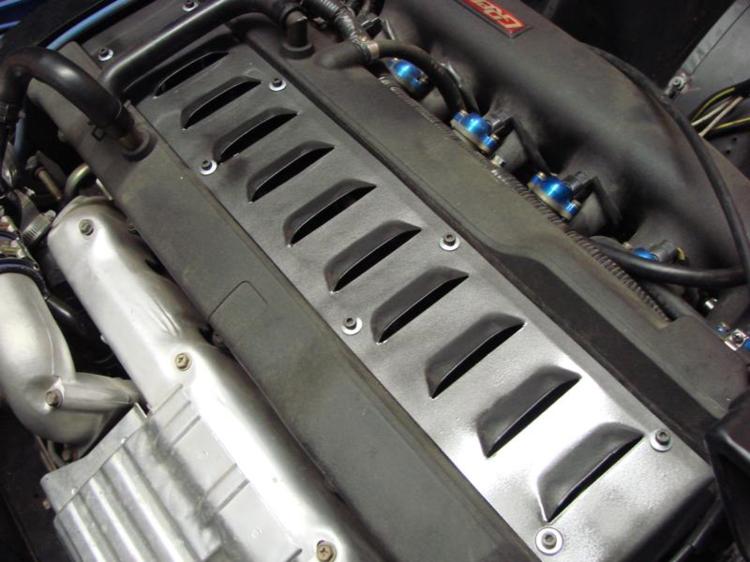
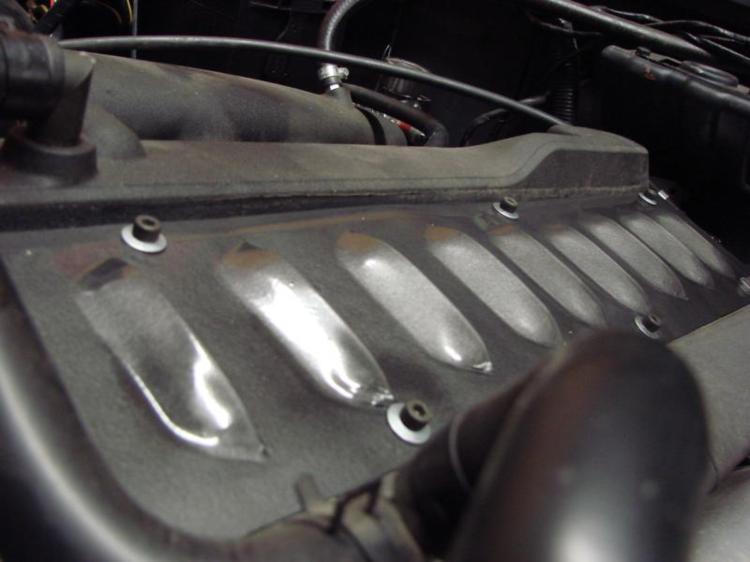
The flares were done and installed a couple days before the show, and one more thing needed to be installed. That day, UPS delivered an RB custom coil cover from NICO member and fabricator “bmxarmy”. If you haven’t checked out his thread, do it – it’s awesome! Our local powdercoat shop agreed to do a one-day turnaround on the coil cover, and Becky wanted it to match the wheel centers and flares – I think it turned out awesome. The stock RB coil cover, obviously, is shown in the picture to the left:
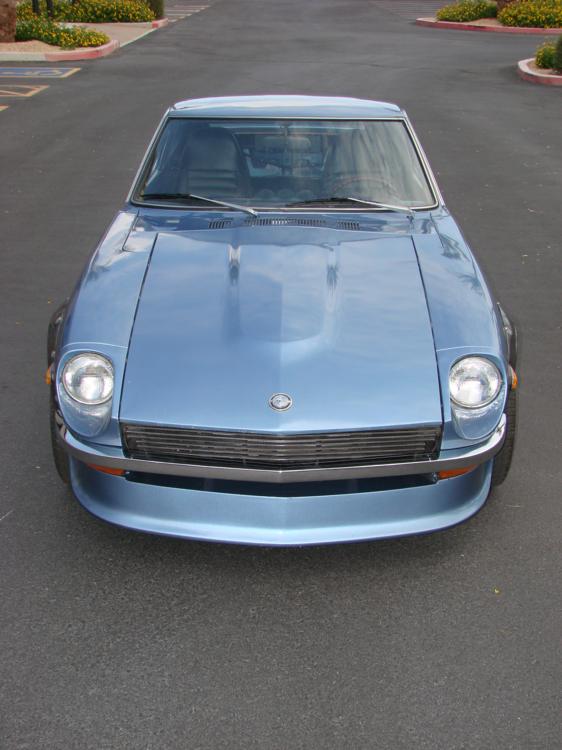
We finished buttoning up the car at midnight before the show, and the show was a success. Bella made it there and back (about a 40-mile round-trip in traffic) without incident. Becky had a great time talking to onlookers about her new ride… it’s always amusing for me when someone walks up and admires the car, and asks, “Is that yours?” …and I point to her. (Even more enjoyable is watching them slowly realize she knows her way around a car, and a thing or two about classic Datsuns).
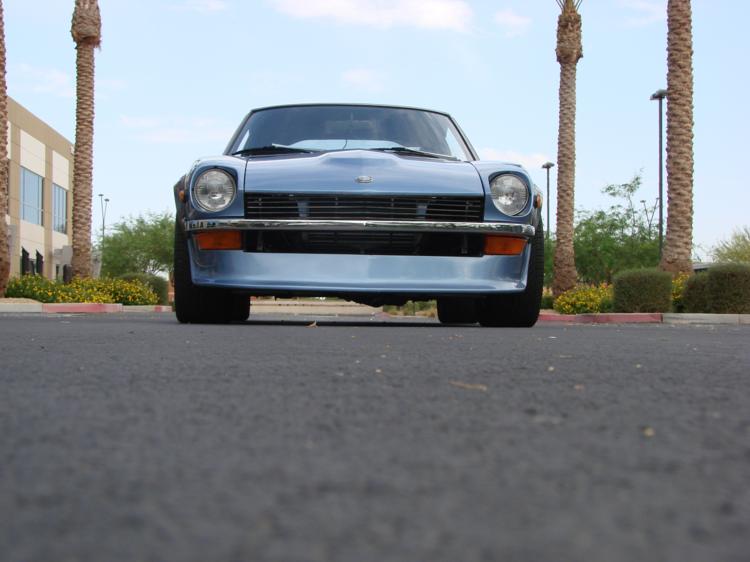
Anyway, without further ado, it’s time to show you guys how she turned out.
Becky and I hope you’ve enjoyed this article series, and more than that, we hope it inspires you to rescue and restore an old Datsun of your own. Thanks for joining us, and we’ll see you on the NICOclub.com forums!
Questions? Comments? Just want to discuss the build? Here’s where: Building an RB25DET-powered 240Z